Solve the Yrami square well and library puzzles in Lahoreh for Omikron: The Nomad Soul. Get the tradutech and learn the Hamastag'n translation.
Walkthrough
- 1After speaking with Boz, take the Lahoreh pass and travel to Lahoreh.
- 2Go to the main library on foot.
- 3Once inside, find and purchase the books "Table of Cosmic Correspondence" and "Treatise on Anti-Gravity" from the shelves in the center.
- 4Read both books.
- 5Go to the outside of the inner library and find a scientist. Show them your reincarnation spell.
- 6Speak to the guard in front of the elevator.
- 7Take the elevator to the top floor.
- 8Go to the book shelves and obtain the second book on Hamastag'n.
- 9Examine the Hamastag'n book and talk to the other scientist in the room.
- 10When asked for the equation, refer to the book from the lower floor and provide the top answer to receive the tradutech.
- 11Locate and use the white switch on the other side of the room to darken it.
- 12Access your inventory and use the tradutech on the Hamastag'n book to translate it.
- 13After the guard turns the lights back on, leave the building via the elevator and proceed to the newly awakened base.
- 14Enter the building in front of you for potions and items, then proceed to the building on the right to meet Jenna and Dakobah.
- 15After their conversation, go to Yrami square.
- 16Locate the locked well (circle) and the four pillars (*). Use the clues from the old map of Lahoreh to find the correct combination for the pillars. The symbols on the map indicate coordinates, and the arrow shows direction. The specific symbols and their corresponding pillar numbers are: Symbol #1 (circle with a line through it) corresponds to the top-right pillar (1). Symbol #2 (wavy lines or 2 ~'s) corresponds to the bottom-right pillar (2). Symbol #3 (2 diagonal lines with a line through it or a bent H) corresponds to the bottom-left pillar (2). The top-left pillar (3) also uses a symbol. The order for the pillars is 3, 1, 2, 2.
- 17Stand on the circle (well) to descend into a cave with 5 pedestals.
- 18Solve the pedestal puzzle: The middle pillar (A) must be activated before starting the other rounds. The sequence for pedestal #1 is 3, 2, 4, 1. The sequence for pedestal #2 is 2, 1, 4, 3, 1, 3.
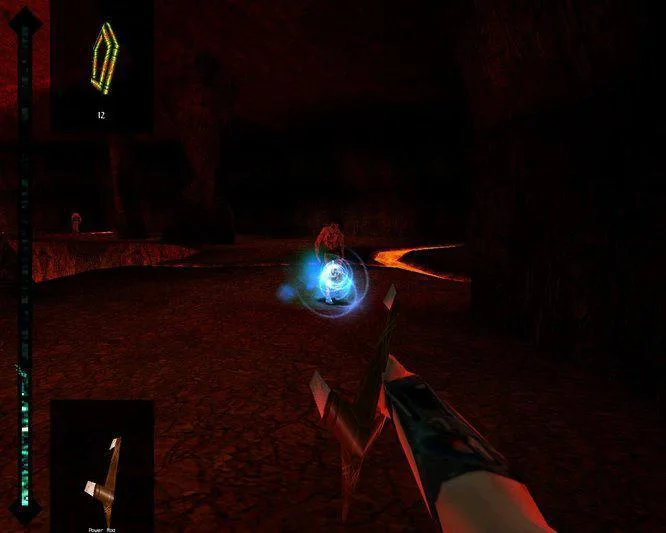
- 19A large metallic object will descend. Note that this object can be difficult to board; try jumping at an angle.
- 20Once on the metallic object, observe the symbols on the ground and in the next room. You will need three jewels, one from X'endars temple and two from boxes in the room. One of the jewels in the boxes will be a duplicate of the original but incorrect. Use the symbols to identify the correct jewel.
Tips
- If you lack sufficient mana, visit the new sorcery shop near the entrance of Lahoreh, up a crooked ramp.
- Ensure you have at least 2 empty inventory slots before speaking to the guard in front of the elevator.
- The metallic object in the cave can be challenging to board; persistence and angled jumps may help.
- Pay close attention to the symbols in the final room to identify the correct jewel.
100% Human-Written. AI Fact-Checked. Community Verified. Learn how AntMag verifies content