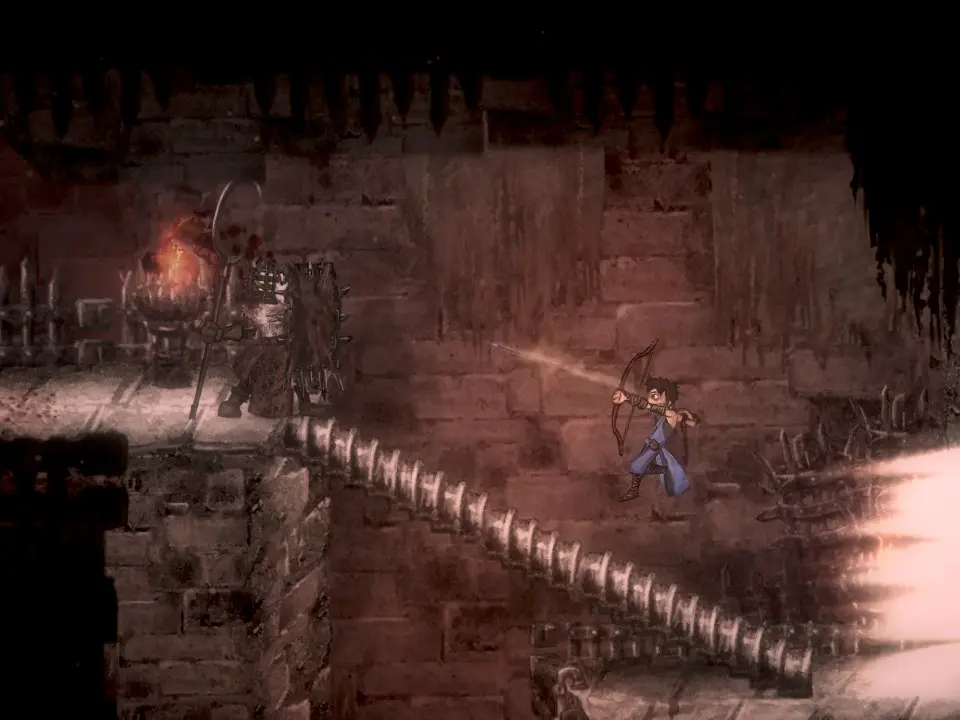
Kraeken Cyclops
The Kraeken Cyclops serves as the very first boss encounter in Salt and Sanctuary, acting as a crucial tutorial for the game's fundamental combat mechanics, including dodging, blocking, and stamina management. You will face this formidable foe immediately upon reaching the shores of the mysterious island, specifically in the area known as The Shivering Shore, directly after the initial character creation and introductory sequence.
Defeating the Kraeken Cyclops is mandatory to progress further into the game and reach the first sanctuary. This encounter is designed to introduce players to the rhythm of combat, emphasizing patience, observation, and precise execution over brute force.
Location and Encounter Trigger
- Location: The Shivering Shore.
- Trigger: The encounter begins automatically after you traverse the initial shipwreck debris and approach the large, ominous figure lumbering on the beach. There's no way to avoid this fight.
Kraeken Cyclops Attacks and How to Counter Them
The Kraeken Cyclops has a limited but impactful moveset, designed to teach you core defensive maneuvers. Understanding and reacting to these attacks is key to victory.
Phase 1: Standard Attacks
During its primary phase, the Cyclops employs three distinct attacks. Each has a clear wind-up, providing an opportunity to react.
- Overhead Slam:
- Description: The Cyclops raises its massive club high above its head before bringing it down with crushing force. This is its slowest but most damaging attack.
- Counter: Roll through the attack towards the Cyclops's legs. This puts you in a safe position behind or beside it, allowing for counter-attacks. Attempting to roll away can sometimes still catch you in the hit box.
- Opportunity: This attack leaves the Cyclops vulnerable for a significant duration after it lands, offering the best window for damage.
- Horizontal Sweep:
- Description: The Cyclops swings its club in a wide arc across the ground. This attack has a moderate wind-up.
- Counter:
- Roll: Roll through the sweep in the direction it's coming from, towards the Cyclops.
- Block: If you have a shield equipped, you can block this attack. Be mindful of your stamina, as blocking consumes a significant amount. A successful block will stagger you slightly but prevent damage.
- Opportunity: A shorter window than the overhead slam, but still allows for 1-2 quick hits if you're positioned well.
- Ground Pound (Shockwave):
- Description: The Cyclops lifts one foot and stomps the ground, creating a localized shockwave that radiates outwards. This attack has a quick wind-up.
- Counter: Jump over the shockwave. The timing is relatively forgiving. Rolling will not avoid the shockwave effectively.
- Opportunity: This attack offers a very brief window for a single hit, usually while the Cyclops is recovering from the stomp.
Strategy and Tips for Defeating the Kraeken Cyclops
The Kraeken Cyclops is a test of fundamental skills. Focus on these principles:
- Patience is Key: Do not rush your attacks. Wait for the Cyclops to complete its attack animation before retaliating. Getting greedy will often result in taking unnecessary damage.
- Stamina Management: Every dodge roll, block, and attack consumes stamina. Keep an eye on your stamina bar. Running out of stamina will leave you vulnerable and unable to defend yourself. Prioritize dodging over attacking if your stamina is low.
- Stay Close, Roll Through: The safest place to be is often close to the Cyclops's legs. Rolling through its attacks (especially the Overhead Slam and Horizontal Sweep) positions you behind or beside it, minimizing the chance of being hit and opening up counter-attack opportunities.
- Jump the Shockwave: This is a unique mechanic for this boss. Practice the timing for jumping over the Ground Pound shockwave.
- Weapon Choice: At this early stage, your starting weapon is perfectly adequate. There are no specific elemental weaknesses for the Kraeken Cyclops, so focus on consistent physical damage. Faster weapons (like daggers or swords) allow for quicker hit-and-run tactics, while heavier weapons (like axes or hammers) deliver more damage per hit but require longer commitment.
- Healing: You'll have a limited number of healing flasks (Salt Bottles) at this point. Use them strategically when your health drops significantly, ideally after successfully dodging an attack and creating some distance.
- Learn the Tells: Each attack has a distinct wind-up animation. Pay attention to these visual cues to anticipate and react appropriately. This is a core skill for all future boss fights.
Recommended Loadout (Starting Gear)
Since this is the first boss, you'll be using your starting class equipment. All starting classes are capable of defeating the Kraeken Cyclops. If you chose a class with a shield, practice blocking the Horizontal Sweep to conserve stamina on rolls, but prioritize rolling for the Overhead Slam.
Rewards
Upon successfully defeating the Kraeken Cyclops, you will receive essential resources for your journey:
- Salt: A significant amount of Salt, crucial for leveling up at Sanctuaries.
- Black Pearl: A rare crafting material used for upgrading equipment. This is your first Black Pearl, so save it for a weapon or armor piece you intend to use for a while.
- Path Unlocked: The path forward into the Shivering Shore and towards the first Sanctuary will be cleared, allowing you to progress.
Common Pitfalls and Missables
- Getting Stunlocked: Allowing the Cyclops to hit you multiple times in a row can lead to a quick death. Prioritize getting out of harm's way.
- Stamina Depletion: Repeatedly rolling or attacking without managing stamina will leave you unable to dodge crucial attacks.
- Ignoring the Ground Pound: Trying to roll through the shockwave will often result in taking damage. Remember to jump!
- Over-committing to Attacks: Don't try to land too many hits in one go. Stick to 1-2 hits after an opening, then prepare to dodge again.