
Canyon Gauntlet
Welcome to the "Canyon Gauntlet," a challenging sub-section within the expansive Sand Canyon level. This area is designed to test your mobility, target prioritization, and resource management. Expect relentless waves of enemies in tight, winding passages and open arenas. Mastering this gauntlet is crucial for progressing through the game.
Initial Encounter: The Open Arena
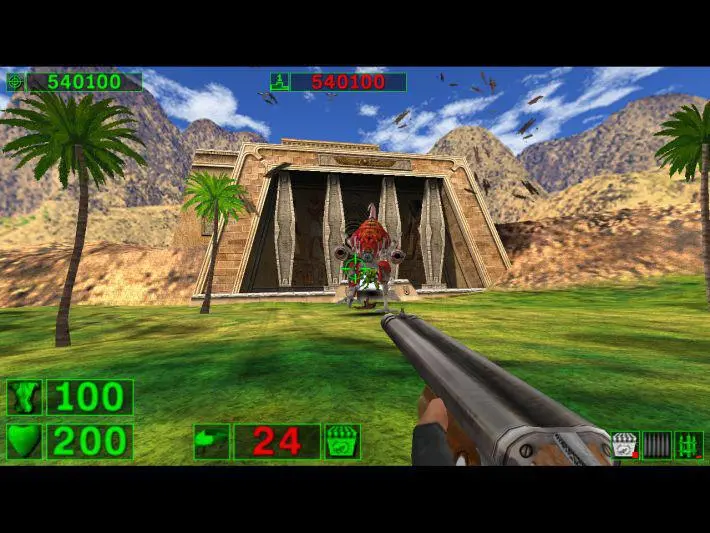
Upon entering the Canyon Gauntlet from the initial Sand Canyon approach, you'll find yourself in a relatively open, albeit rock-strewn, arena. This serves as your baptism by fire.
- Enemy Waves:
- Wave 1: A swarm of Headless Kamikazes will rush you from multiple directions. Their signature scream is your cue to prepare for impact.
- Wave 2: Shortly after, several Gnaar (both one-eyed and two-eyed variants) will emerge, often accompanied by more Kamikazes.
- Wave 3: The final push in this initial area usually involves a mix of Kleer Skeletons, known for their rapid melee attacks, alongside any remaining Gnaar and Kamikazes.
- Tactical Advice:
- Keep Moving: Standing still is a death sentence. Continuously strafe and circle-strafe to avoid Kamikaze explosions and Gnaar projectiles.
- Utilize Cover: The large rock formations and canyon walls, while not indestructible, can provide momentary respite from ranged attacks and break enemy lines. Use them to funnel enemies or create distance.
- Prioritize Threats:
- Kamikazes: Always your top priority due to their instant-kill potential. Use the Shotgun or Double Shotgun for quick, close-range eliminations.
- Gnaar: Keep them at a distance. The Minigun or Shotgun are effective.
- Kleer Skeletons: Their speed makes them dangerous. The Shotgun or Minigun are good choices.
- Key Item Acquisition:
- Rocket Launcher: Your first Rocket Launcher is typically found in this open arena, often nestled behind a prominent, larger rock formation near the center or a side wall. This weapon is invaluable for larger threats later on, so conserve its limited ammunition.
- Ammunition & Health: Scattered throughout this initial area are various health pickups (Small Health, Large Health) and ammunition packs for your Shotgun and Minigun. Keep an eye out for them, especially after clearing a wave.
The Winding Passages: Introduction to Werebulls
After clearing the initial open arena, the canyon narrows significantly, leading you into a series of winding, claustrophobic passages. This is where you'll encounter a new, formidable foe.
- Enemy Introduction:
- Sirian Werebulls: These aggressive, charging beasts are a significant threat. They will charge directly at you, dealing massive damage if they connect. Their roars often precede their appearance.
- Tactical Advice for Werebulls:
- Dodge, Don't Block: Their charge cannot be blocked. Your primary defense is to strafe sideways at the very last moment to avoid their impact. Timing is key.
- Lure into Narrow Passages: While they are dangerous in open areas, you can use the canyon's natural geometry to your advantage. Lure Werebulls into narrower sections. This limits their maneuverability and makes them easier targets, as they have less room to adjust their charge.
- Exploit Weakness: A well-placed Rocket to the face or several close-range Double Shotgun blasts will quickly dispatch a Werebull. The Minigun can also be effective if you maintain a steady stream of fire on their head.
- Environmental Awareness: Be mindful of other enemies that might accompany Werebulls. Kleer Skeletons or Kamikazes can distract you, leading to a fatal charge. Clear smaller threats first if possible.
- Navigational Tips:
- Check Corners: The winding nature of these passages makes ambushes common. Always approach corners cautiously, ready to fire.
- Hidden Pickups: Health, armor shards, and ammo are frequently tucked away in small alcoves or behind rock pillars in these passages. Thoroughly explore each turn.
Mid-Gauntlet Respite and Reinforcements
As you navigate deeper into the Canyon Gauntlet, you'll often find small, slightly wider areas that serve as temporary respites, but also as new ambush points.
- Enemy Composition: Expect a continued mix of Headless Kamikazes, Gnaar, Kleer Skeletons, and Sirian Werebulls. Sometimes, a larger group of Kleer Skeletons will spawn in these wider sections, forcing you to maintain high mobility.
- Item Placement: These areas frequently contain larger health packs (e.g., Serious Health) or armor vests, signaling a tougher fight ahead or a reward for surviving the previous onslaught.
- Common Pitfall: Don't get complacent after clearing a wave. More enemies often spawn from behind you or from previously unseen side passages. Always be aware of your surroundings.
Concluding the Gauntlet
The Canyon Gauntlet typically concludes with a final, intense encounter before leading you to the next major area of the Sand Canyon. This often involves multiple Werebulls or a large wave of mixed enemies.
- Final Challenge: Prepare for a multi-pronged attack. It's not uncommon to face two or three Werebulls simultaneously, possibly backed by Kleer Skeletons or Gnaar.
- Recommended Loadout: For this final push, ensure your Rocket Launcher has some ammo. The Double Shotgun and Minigun are also excellent choices.
- Strategy: Focus fire on the Werebulls first, using rockets or concentrated shotgun blasts. Use the environment to separate them if possible. Once the larger threats are down, clean up the remaining smaller enemies.
- Rewards: Successfully navigating the Canyon Gauntlet will often reward you with significant health and armor pickups, along with a substantial amount of ammunition, preparing you for the challenges ahead in the broader Sand Canyon level.
By following these strategies and remaining vigilant, you will conquer the Canyon Gauntlet and emerge victorious, ready to face the next trials of Serious Sam: The First Encounter.