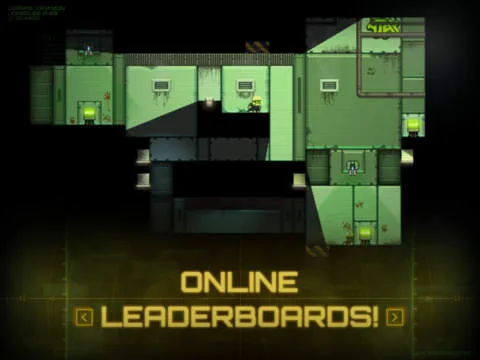
Master Stealth Inc.'s Chamber 6: Blind Panic! Follow this step-by-step guide to navigate sound tiles, moving platforms, and lasers to achieve that S-Rank.
Alright, let's tackle Chamber 6: Blind Panic. This one's all about quick reflexes and timing, especially if you're aiming for that S-Rank with 0 deaths, 0 spotted, and under 45 seconds. Don't worry, we'll break it down so you can nail it.
Walkthrough
- 1Step 1: The Initial Descent and Platforming
You'll start by dropping down to a panel. Hack it, then immediately start climbing the ledges all the way to the platform on your right. Once you reach the platform with the sound tiles, don't hesitate! You need to jump off the tiles onto the square moving platform directly below. From there, quickly jump onto the rising square platform ahead. After that, jump up and off the next two sound tiles, aiming for the small moving square block. Finally, use this block to land on the larger rectangular platform that circles the Grinder. - 2Step 2: Navigating the Drones and Lasers
From the rectangular platform, leap up onto the upper platform that's covered in sound tiles. Immediately hop up to the panel and activate it. Now, jump off this platform and land in the middle of the sound tiles below. Your next move is crucial: jump to the right, making sure you go *between* the laser beam and the Red Drone on the left. Your target is the last Terminal in the bottom-right corner. Make a mad dash for it! - 3Step 3: The Final Dash to the Exit
Hack the Terminal. Once the laser show dies down, drop down and make a direct line for the ledges and platforms that lead to the exit. Speed is key here; you need to be as quick as possible to avoid getting zapped by any lingering deadly lasers.
Tips for S-Rank
- The S-Rank targets are tight: 45 seconds, 0 deaths, and 0 spotted. Every second counts, so practice the jumps and movements until they're second nature.
- The sound tiles are your friends for quick movement, but be precise. Missing a jump here can cost you precious time or even a life.
- The section between the laser and the Red Drone in Step 2 is a tight squeeze. Don't panic; just focus on the path and keep moving.
- Don't linger after hacking the final Terminal in Step 3. The lasers can be unforgiving, so get to the exit as fast as you can.
100% Human-Written. AI Fact-Checked. Community Verified. Learn how AntMag verifies content