
Navigate Paralogue 1: The Shifting Sands in Unknown 9: Awakening. Learn to manipulate treacherous environments and acquire valuable resources as a Seeker.
Welcome, Seeker, to your first true test beyond the familiar confines of the initial chapters. Paralogue 1, "The Shifting Sands," introduces you to the dynamic and often treacherous environments of the Unknown 9 world. This mission is crucial for acquiring valuable resources and understanding how to manipulate the environment to your advantage. Prepare for a journey through ancient ruins and shifting terrain, where observation and quick reflexes are key.

Mission Briefing & Objectives
Your primary objective in "The Shifting Sands" is to locate and retrieve the Whispering Relic, an artifact rumored to hold fragments of forgotten knowledge. Along the way, you'll encounter hostile cultists guarding the ruins and face environmental puzzles involving the shifting sands themselves. A secondary objective is to uncover all three Ancient Tablets scattered throughout the area, which provide lore and bonus experience.
Initial Approach & Pathfinding
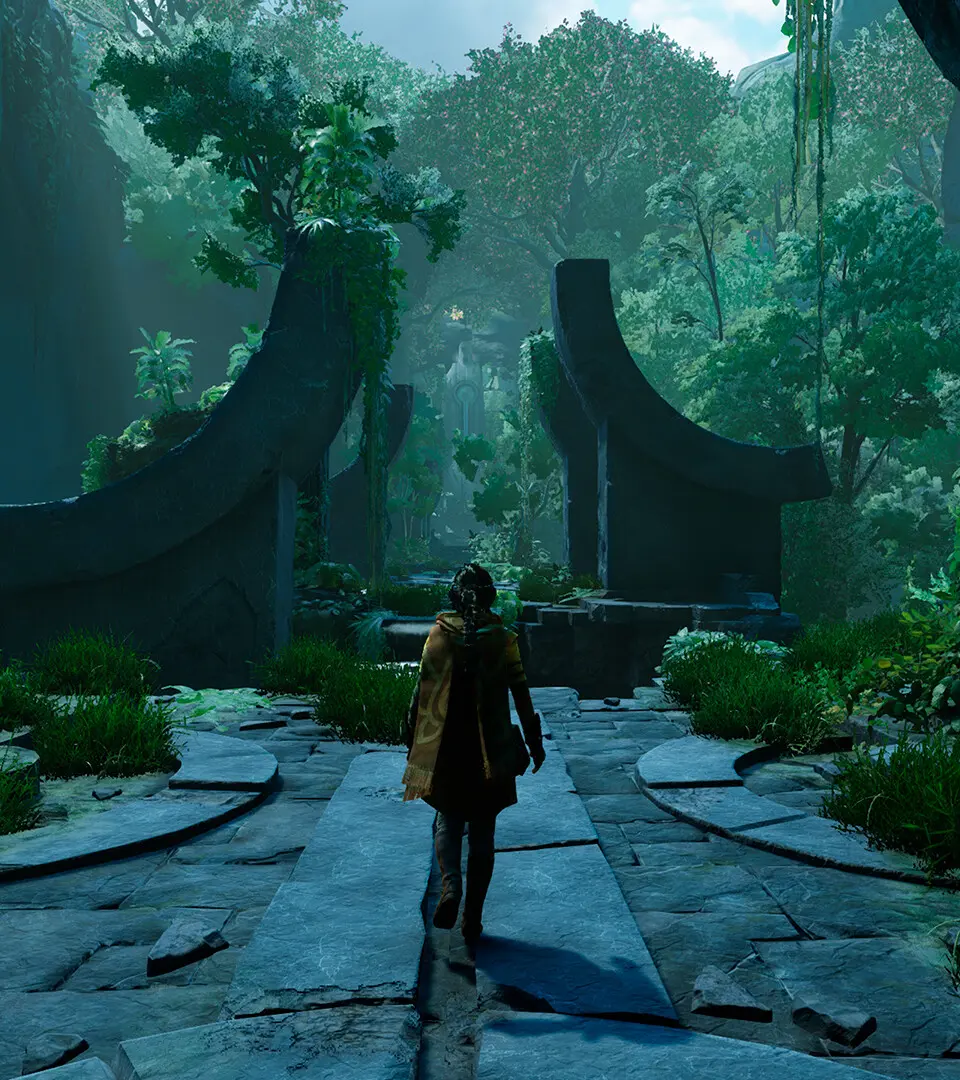
- Starting Point: You begin at the edge of a vast desert expanse, facing the entrance to the Sunken Temple ruins. Immediately to your left, you'll spot a small alcove containing a Desert Bloom Potion. This is invaluable for healing, so grab it.
- First Encounter: As you approach the temple entrance, two Desert Cultists (Melee) will emerge from behind crumbling pillars. Utilize your acquired abilities. A well-timed Kinetic Push can knock them off balance, allowing for a swift follow-up attack. Focus on one at a time to minimize incoming damage.
- Entering the Ruins: Once the cultists are dealt with, proceed through the main archway. The path ahead is a narrow canyon.
Navigating the Shifting Sands
The central mechanic of this paralogue is the shifting sands. Certain areas are marked by swirling dust and unstable ground. Stepping on these areas for too long will cause you to sink, leading to a quick mission failure. Observe the patterns!
Section 1: The Sunken Courtyard
- Observation Point: Upon entering the courtyard, immediately look up and to your right. You'll see a precarious ledge. This is your first clue to environmental interaction.
- Sand Pit Puzzle: The main courtyard floor is a large sand pit. There are several stable stone platforms. Your goal is to cross to the far side.
- Strategy: Observe the sand currents. They flow in predictable patterns. Wait for a moment of calm, then sprint across to the nearest stable platform.
- Hidden Item: On the second stable platform from the entrance, you'll find a small urn containing 50 Gold Coins. Break it open.
- Cultist Ambush: As you reach the final stable platform, two Desert Cultists (Ranged) will appear on the elevated ledges flanking the exit. They will fire energy projectiles.
- Strategy: Use the stone pillars for cover. Employ your Absorption Shield to deflect incoming projectiles, then use Kinetic Burst to stagger them before closing the distance or finding an angle for a ranged attack of your own.
- Ancient Tablet 1: After defeating the ranged cultists, look directly beneath the ledge where the right cultist was positioned. Tucked away in a small alcove is the first Ancient Tablet.
Section 2: The Whispering Caverns
Beyond the courtyard, you'll enter a series of interconnected caverns. The sand here is less of a direct threat, but crumbling pathways and hidden traps are prevalent.
- Crumbling Bridge: A narrow stone bridge spans a deep chasm. Parts of it will collapse as you cross.
- Strategy: Sprint across without hesitation. Do not stop. If you fall, it's an instant mission restart.
- Pressure Plate Trap: Immediately after the bridge, a short corridor leads to a wider chamber. A subtle discoloration on the floor indicates a pressure plate.
- Strategy: Walk around the discolored section. Triggering it will release a volley of poisoned darts from the walls, inflicting a debilitating debuff.
- Cultist Patrol: In the wider chamber, a patrol of three Desert Cultists (Mixed) – one melee, two ranged – will be moving in a circular pattern.
- Strategy: Wait for them to separate slightly. Isolate the melee cultist first, then use cover and your ranged abilities to pick off the archers. Consider using Temporal Slow to gain an advantage if they group up.
- Ancient Tablet 2: In the far-right corner of this chamber, behind a large, cracked urn, you'll find the second Ancient Tablet.
Locating the Whispering Relic
The final section leads to the heart of the ruins where the relic is held.
- Relic Chamber Entrance: A grand, but partially collapsed, archway marks the entrance to the relic chamber. Two Elite Desert Cultists guard the entrance. These cultists have more health and deal increased damage.
- Strategy: Focus fire on one at a time. Utilize your most powerful abilities, such as a fully charged Kinetic Blast, to quickly reduce their numbers. Don't be afraid to use your Desert Bloom Potion if your health drops low.
- The Whispering Relic: Once the elite cultists are defeated, proceed into the chamber. The Whispering Relic rests on a pedestal in the center. Approach it to initiate a brief cutscene and acquire the relic.
- Ancient Tablet 3: Before leaving the relic chamber, look behind the pedestal. Tucked into a small recess is the final Ancient Tablet.
Exiting the Paralogue
With the Whispering Relic in hand, a new exit path will open up on the opposite side of the relic chamber. Follow the glowing markers to safely leave the area and complete Paralogue 1.
Rewards & Post-Mission Analysis
Upon successful completion of "The Shifting Sands," you will receive:
- Whispering Relic: Unlocks a new passive ability slot.
- Experience Points: Significant boost for your character.
- Gold: Varies based on items collected.
- Bonus Experience: Awarded for collecting all three Ancient Tablets.
This paralogue teaches the importance of environmental awareness and adapting your combat strategies to different enemy types. The shifting sands mechanic will reappear in later stages, so mastering it here is crucial for future success.
100% Human-Written. AI Fact-Checked. Community Verified. Learn how AntMag verifies content