
The Drowner (Green Reaper)
In the chaotic world of Vampire Survivors, the term "Reaper" typically conjures images of the formidable Red Death, the relentless harbinger of the 30-minute mark. However, a distinct and equally menacing variant exists, often colloquially referred to as the "Green Reaper" by the community due to its verdant hue. Its official in-game name is the Drowner, and it presents a unique challenge that demands specific strategies and understanding.
The Drowner is not merely a reskin; it possesses distinct characteristics, attack patterns, and resistances that differentiate it from its crimson counterpart. Understanding where and why this aquatic antagonist appears is crucial for survival and progression.
Where to Encounter the Drowner
The Drowner is intrinsically linked to specific stages and conditions, primarily those involving water or unique environmental hazards. It serves as a powerful mid-boss or a recurring elite enemy, testing your build's adaptability.
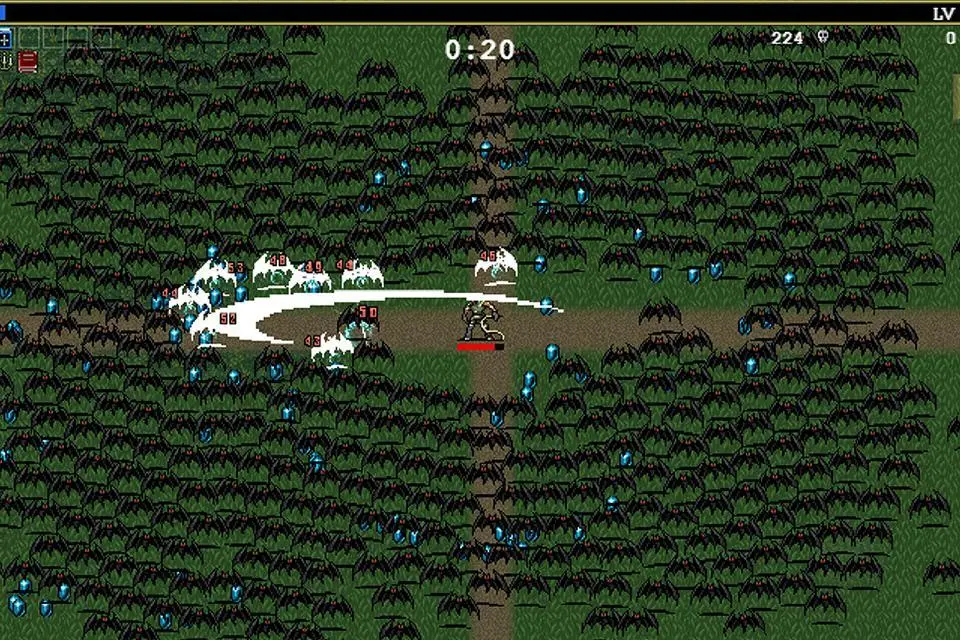
- Lake Foscari (Main Stage): This is the primary location for encountering the Drowner. It appears as a recurring elite enemy, particularly in the later stages of a run (typically after the 15-minute mark) and in greater numbers as the timer approaches 30 minutes. Its presence is thematic, aligning with the lake environment.
- Abyss Foscari (Challenge Stage): In this more perilous version of Lake Foscari, Drowners appear more frequently and with increased health and damage. They can spawn in waves, making crowd control and area-of-effect weapons essential.
- Dairy Plant (Rare Occurrence): While less common, Drowners can sometimes appear as rare elite spawns in the Dairy Plant, especially in Endless Mode or under specific curse conditions. These encounters are less predictable but still require a prepared build.
Drowner Characteristics and Attack Patterns
Unlike the Red Death, which primarily relies on direct melee attacks and overwhelming speed, the Drowner exhibits a more ranged and area-denial approach. Its key characteristics include:
- Projectile Attacks: The Drowner frequently launches slow-moving, high-damage projectiles that can track the player. These projectiles are often water-themed, resembling bubbles or geysers. Maintaining distance and constant movement is key to dodging these.
- AoE Water Puddles: Upon taking damage or at regular intervals, the Drowner can create temporary water puddles on the ground. Standing in these puddles slows You and inflicts continuous damage. This forces players to reposition frequently.
- High Health and Defense: Drowners possess significantly higher health pools than standard enemies and often have a degree of resistance to certain damage types (e.g., fire, holy). This makes burst damage and sustained DPS crucial.
- Slower Movement Speed: Compared to the Red Death, the Drowner is generally slower, making kiting a more viable strategy. However, its ranged attacks compensate for this lack of speed.
Recommended Loadouts and Strategies
Defeating the Drowner requires a strategic approach that prioritizes mobility, area control, and sustained damage. Here’s a breakdown of effective strategies and recommended weapons/items:
Weapon & Evolution Recommendations:
- Vandalier (Peachone + Ebony Wings): Excellent for consistent, wide-area damage, helping to clear surrounding enemies and chip away at the Drowner's health.
- Holy Wand (Magic Wand + Empty Tome): Provides rapid, piercing projectiles that can effectively hit the Drowner even through other enemies. The Empty Tome's cooldown reduction is vital.
- Hellfire (Fire Wand + Spinach): While Drowners have some fire resistance, the sheer damage and area coverage of Hellfire can still be effective, especially with high Might.
- La Borra (Santa Water + Attractorb): Creates persistent damage zones that are perfect for trapping and damaging the Drowner, especially when it's slowed or cornered. The Attractorb helps with experience collection.
- Garlic / Soul Eater (Garlic + Pummarola): Essential for early-game survival and keeping smaller enemies at bay, allowing you to focus on the Drowner. Soul Eater provides valuable healing.
- Lightning Ring / Thunder Loop (Lightning Ring + Duplicator): Offers burst damage and can clear large groups, making it easier to isolate the Drowner.
Passive Item Recommendations:
- Wings: Crucial for maintaining distance from the Drowner's projectiles and escaping its water puddles.
- Empty Tome: Reduces cooldowns, allowing for more frequent attacks and better crowd control.
- Duplicator: Increases projectile count, boosting damage output for many weapons.
- Spinach: Straight damage increase, always beneficial.
- Candelabrador: Increases area, making your weapons more effective against the Drowner and its surrounding minions.
- Armor: Reduces incoming damage from projectiles and puddles, increasing survivability.
General Strategy Tips:
- Prioritize Movement: Always be moving. The Drowner's projectiles are slow but track, and its puddles punish stationary players. Circle strafing is highly effective.
- Clear Minions: While focusing on the Drowner, ensure your build can also handle the waves of smaller enemies that accompany it. Overwhelm can quickly lead to death.
- Exploit Kiting: Due to its slower speed, you can often kite the Drowner around the map, leading it into your persistent damage zones (e.g., La Borra, Crimson Shroud).
- Burst vs. Sustained: A balance of burst damage (e.g., Thunder Loop) and sustained DPS (e.g., Vandalier) is ideal. Burst can quickly chip away at its health, while sustained damage ensures constant pressure.
- Consider Arcana:
- Sarabande of Healing (II): Provides crucial healing, especially if you're taking damage from puddles or projectiles.
- Out of Bounds (VI): Increases area and duration, making weapons like La Borra even more potent.
- Wicked Season (VII): For builds focused on growth, this can significantly boost your power over time.
Common Pitfalls and How to Avoid Them
- Getting Cornered: Allowing yourself to be boxed in by other enemies or environmental obstacles is a death sentence. Always have an escape route.
- Ignoring Projectiles: Underestimating the damage of the Drowner's projectiles can quickly deplete your health. Prioritize dodging.
- Lack of Area Damage: A build too focused on single-target damage will struggle against the Drowner and its accompanying hordes. Ensure you have sufficient crowd control.
- Under-leveled: Attempting to tackle Drowners in Lake Foscari or Abyss Foscari without a sufficiently evolved and leveled build will result in a swift demise. Grind for power-ups and evolutions before engaging.
- Forgetting Passives: Don't overlook the importance of passive items like Wings for movement speed or Armor for damage reduction. They are just as crucial as your weapons.
By understanding the Drowner's unique behaviors and preparing with the right build and strategy, you can transform this formidable "Green Reaper" into just another obstacle on your path to ultimate survival.