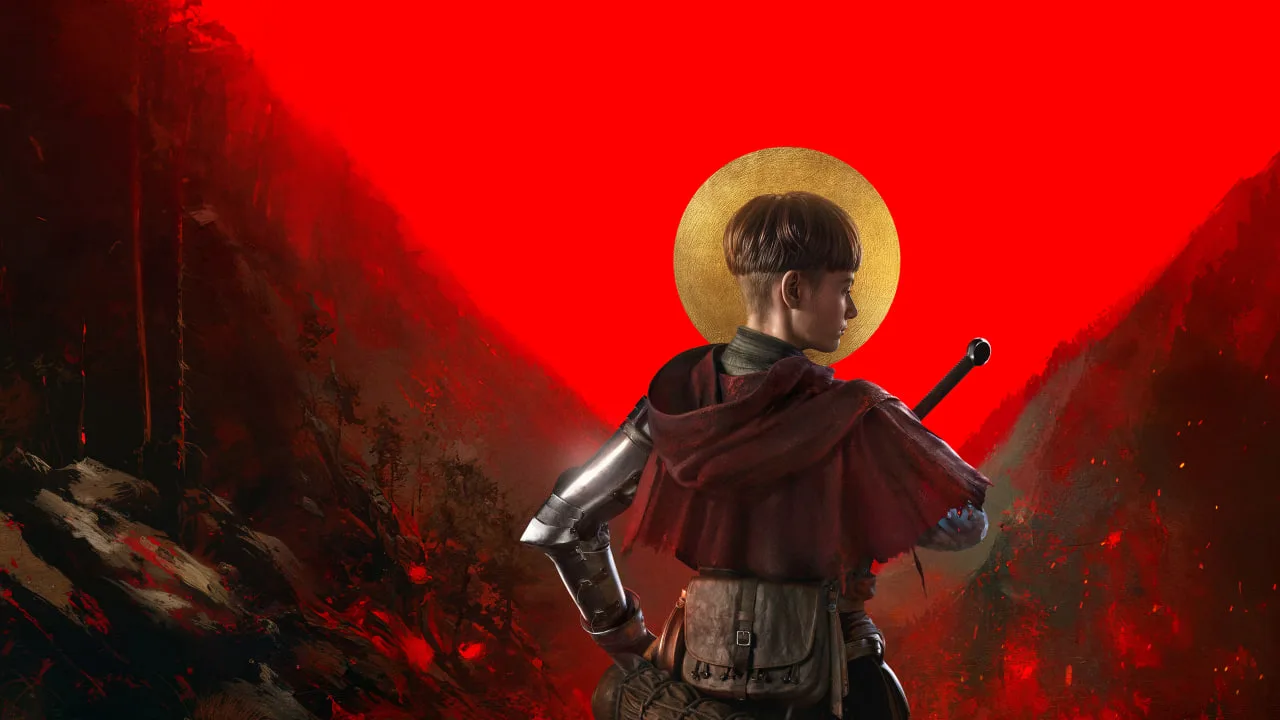
Reference guide for Phase 1: The Manifestation in 1384 Ex Voto. Understand enemy behaviors and environmental hazards encountered in this early stage.
The Manifestation marks the initial encounter with a formidable foe, demanding a measured approach and keen observation of Aeta's surroundings. This phase often tests your understanding of basic combat mechanics and your ability to manage the battlefield. Expect this entity to use predictable, sweeping attacks that can be dodged with well-timed rolls. A key mechanic to master here is the parry system; successfully parrying an attack from The Manifestation, especially its heavy overhead slam, will open it up for a critical hit, dealing significant damage. Keep an eye on the environment for any interactive elements that might offer a temporary advantage, such as explosive barrels or elevated platforms. Resource management is also crucial; ensure you have at least two Flasks of Crimson Tears ready for immediate use, as this phase can chip away at Aeta's health if not handled efficiently. Do not overcommit to attacks; focus on landing one or two hits after a successful dodge or parry before repositioning.
A common mistake during The Manifestation phase is to become overly aggressive, leading to missed dodges and unnecessary damage. Remember that Aeta is a young knight errant, and survival is paramount. Prioritize learning the attack patterns over rushing to deplete the boss's health bar. Another pitfall is neglecting to manage Aeta's stamina. Spamming attacks or dodges without regard for stamina regeneration will leave you vulnerable. Always leave enough stamina for at least one evasive maneuver. If The Manifestation begins to charge a particularly devastating attack, indicated by a glowing aura and a distinct audio cue, immediately disengage and create distance. This phase often serves as a prelude to more complex mechanics, so a solid understanding of Aeta's core abilities, such as the Quick Slash and the Shield Bash, will serve you well.
100% Human-Written. AI Fact-Checked. Community Verified. Learn how AntMag verifies content