New to Deliver At All Costs? Learn the ropes with our guide on character creation, starting loadouts, and essential early-game tips to get your delivery career off the ground.
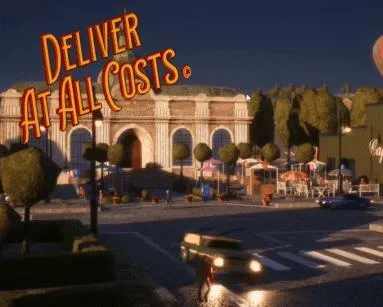
Hey there, driver! So you're diving into Deliver At All Costs, huh? Awesome choice! This game throws you into the chaotic life of a delivery person with a past you'll uncover as you go. You'll be tackling all sorts of wild missions, trying to get packages delivered under the clock, and trust me, the world is super destructible, leading to some hilarious moments. If you ever get stuck, don't sweat it – this guide is here to help you navigate those tricky deliveries and reach the end with less frustration.
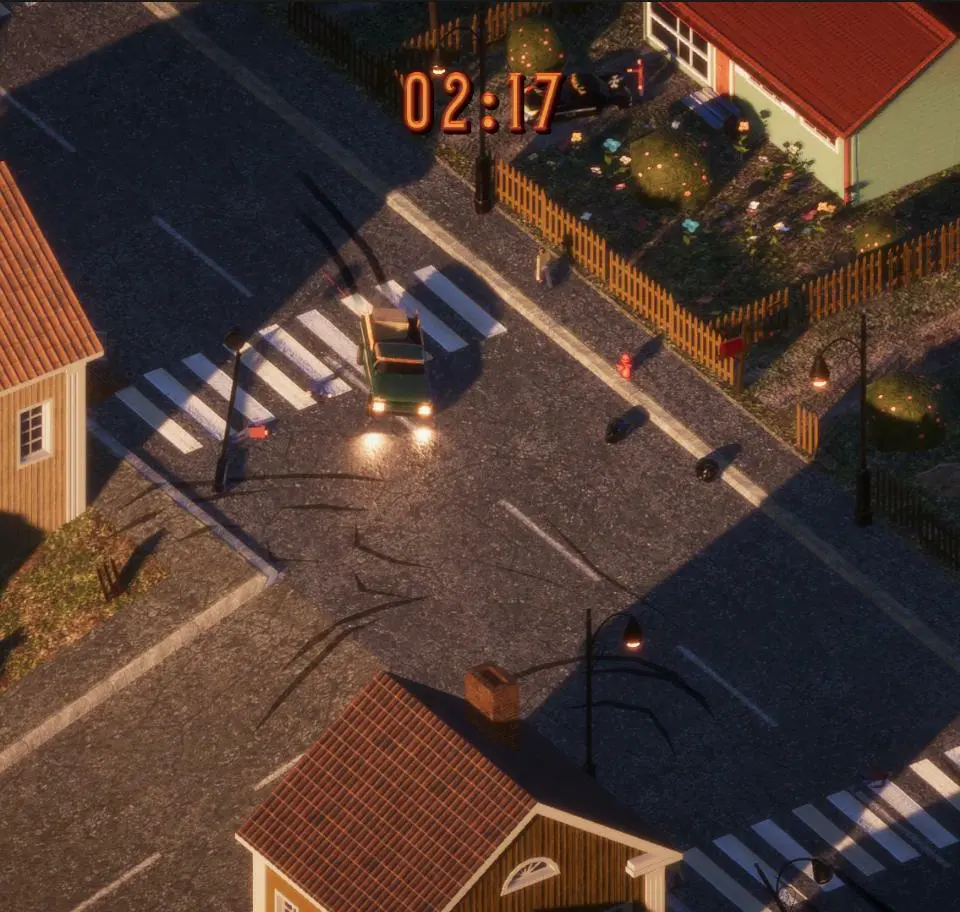
We'll cover all the missions, but sometimes the bits between missions can be a bit of a headache too. Usually, you'll just be driving between your place and the We Deliver HQ. If you need directions, just hit up on the D-pad, and a map marker will pop up. You can use the links below to jump straight to a specific mission, or just follow along as you play. We've also got some general tips to make your life easier on the road.
Deliver at all Costs walkthrough: General tips
How to save your game in Deliver At All Costs
Good news, you don't have to worry too much about losing progress! Deliver At All Costs has an auto-save feature. But if you want to be extra sure, especially after finding some cool collectibles, you can manually save your game anytime. Just open the menu, head to Settings, and hit Save. When you're done playing for the day, make sure to use the Save & Exit option in the settings menu before you quit.
How to respawn your vehicle in Deliver At All Costs
Uh oh, lost your ride or it got turned into scrap? No worries! Find a phone box – they're marked on the map with an orange square. Interact with one, and a new vehicle will spawn nearby. Keep an eye on your map; it should show you where your fresh set of wheels is.

How to repair your vehicle in Deliver At All Costs
Things can get a bit banged up out there. If your engine takes a hit, it seems to repair itself over time, so just try to avoid further damage. If a wheel gets damaged, though, you'll need to get out of your truck and interact with the specific wheel to fix it.
How to fast travel in Deliver At All Costs
While driving or walking gets you everywhere, sometimes you just need to cut down on travel time. Keep an eye out for boats or trains on the map. Visiting these locations will let you fast travel to other spots on the map for free!
How to escape the police in Deliver At All Costs
If you've been a bit too much of a nuisance and the cops are on your tail, the easiest way to ditch them is to find a dumpster. Just interact with it to hide inside. After a short while, the police will give up the chase.
How to acquire new gadgets in Deliver At All Costs
As you progress, you'll find gadgets that can be equipped to your truck, and they're super useful both during and after missions. Some, like the crane, winch, and armor plating, you'll get just by playing the game. Others, like the hell horn, require a bit more effort. You can find blueprints for these by completing side-missions (marked with green question marks on the map) or by buying them at shops (marked with dollar signs). Once you have a blueprint, you'll need to develop it at your desk back at your apartment or hideout. You'll also need parts, which can be bought from shops or found in red chests scattered around the world.

How to equip and use gadgets in Deliver At All Costs
Getting gadgets is one thing, but you need to equip them to use them! Some missions will automatically equip necessary gadgets. For free-roam, open your journal, go to the Inventory tab, and you can equip one delivery gadget and one auxiliary gadget. Delivery gadgets like the crane are used by pressing or holding Square/X. Auxiliary gadgets, such as Time Control, are activated by pressing or holding Circle/B.
How to get money in Deliver At All Costs
Completing missions will net you a good chunk of cash. But if you're looking to pad your wallet further, drive around and look for crates marked with a yellow 'X'. Smashing them with your vehicle or kicking them on foot will give you a small cash bonus. Every bit counts!

How to replay missions in Deliver At All Costs
Want to tackle a mission again? It's easy! Open your journal, go to the Notes tab, and select the missions log. You can then replay any mission you've completed by selecting it and pressing Triangle/Y.
How many chapters are there in Deliver At All Costs?
There are 13 chapters in Deliver At All Costs. Most are pretty quick, but a couple might take a bit longer.
How many acts are the in Deliver At All Costs?
The game is split into three acts, each with its own map. Act one is the longest, while the final act is the shortest.
Does Deliver At All Costs have multiplayer?
Nope, this is a strictly single-player experience. No multiplayer features here!
How long does it take to complete Deliver At All Costs?
You're looking at about 10-15 hours to finish the main story. If you're aiming for all the achievements and side-missions, you might get 20 hours or more out of it.
Deliver At All Costs mission guide – St. Monique area
Shake, Rattle and Explode
We're kicking things off with a simple mission. After loading some fireworks onto your truck, just drive to the delivery spot. Your main goal here is to avoid hitting any fireworks that fall off on the way, or your truck might not make it!
Aways Refreshing
First up, drive to the marked destination. Once you're there, hop out and chat with Joey Sweets. You'll then need to park your truck in the highlighted area and push that box of melons onto the back. Now, it's off to the next spot to spray these slightly-past-their-prime melons and get rid of that smell. Drive carefully and try not to bump into anything, or you'll lose too many melons – smooth moves are key!

At the next stop, park up so the melons can get sucked into the machine. Activate it, and once they're processed, drive your truck to collect them as they're spat out on the other side. Now, you've got another drive to a new location. Again, be super careful not to lose too many melons. Park in the correct spot, activate the machine, and get those melons painted! Once that's done, carefully drive back to where you originally picked up the melons to wrap this mission up.
Fishing for Love
To get started, drive to the destination on your map. Looks like someone's trying to impress a special someone with a giant fish! Get your truck into position and use your crane (Square/X button) to load the fish. Then, start driving to the next location. Keep an eye out, because as you drive, the fish will get hungry and impatient, making your truck swerve. Look for fish icons on the map and crash into the barrels of food to keep it happy.
At the next spot, get your vehicle lined up correctly and paint the fish. Now, you need to drive to the drop-off point. Remember to feed the fish along the way to keep it content. Once you arrive, use your crane again to deliver the fish from the back of your truck into the marked area.
Up, Up and Astray
This mission kicks off at We Deliver. Load the balloon machine into your truck and start driving – you've got balloons to deliver to various spots on the map. It's not a super tough mission, but watch out for ramps and bumps, as they can send your truck flying, and who knows where you'll land! After you've finished all the deliveries, dump the balloon machine at the indicated spot.
A Delicate Machine
This one also starts at We Deliver. Use the winch to load the Seismic machine onto your truck. Grab the winch from the back of your truck, climb the structure, attach the winch to the hook, then climb back down and connect it to the machine. Get back in your truck, reel in the winch, position your vehicle correctly, and then lower the machine.
Once it's loaded, you need to deliver it to an active volcano. When the machine starts acting up in the back of your truck, be aware that seismic activity is about to happen. The mission gets more intense as you approach the mountain – be super careful to dodge falling rocks, as they can instantly destroy your truck. Even if you get hit, don't worry too much, the checkpoints are pretty forgiving.

At the mountain's summit, unload the seismic machine. Grab the winch from the back of your truck, climb the nearby frame, attach the winch to the hook, then climb back down and connect it to the machine. Get in your vehicle and use the winch to get the machine in the correct position by reeling it in and moving your truck forward or backward as needed.
A Five Ton Bird Perch
Start this mission by driving to the town hall. Park near the statue, get out of your vehicle, and attach the winch from the back of your truck to the statue. You can then drive away, dragging the statue to the next location. Don't stress if the statue looks a bit worse for wear by the time you get there.
At your destination, you'll need to load a new statue into the back of your truck. Use the winch and the structure for this. With the new statue secured, you need to drive back to the town hall, but watch out for multiple seagulls...
100% Human-Written. AI Fact-Checked. Community Verified. Learn how AntMag verifies content