Break down game screen elements in SUPERVIVE. Understand the HUD, including the player status and resource bars, to leverage information for combat.
Understanding the various elements displayed on your screen is crucial for mastering SUPERVIVE. This section breaks down the HUD (Heads-Up Display) and other visual cues, providing actionable strategies to leverage this information during intense combat and exploration.
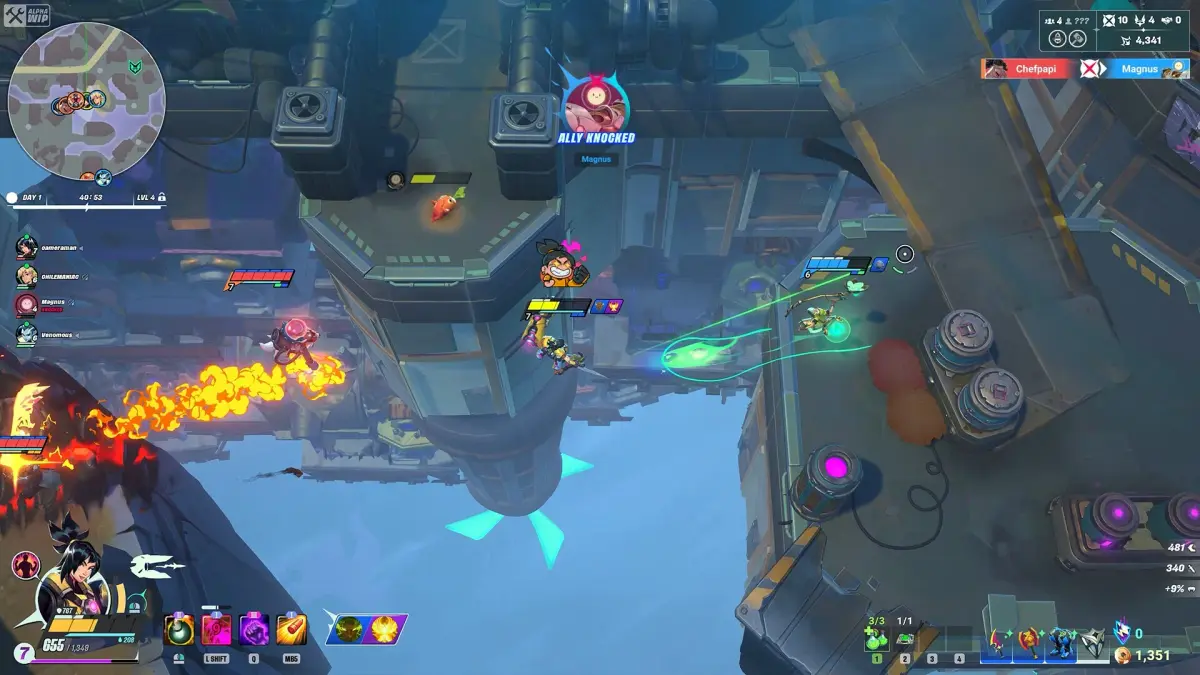
I. Top-Left HUD: Player Status & Resources
- Health Bar (Red): This prominent bar indicates your current Health Points (HP). When it depletes, your character is incapacitated.
- Strategy: Keep a close eye on this, especially during boss encounters. If it drops below 30%, consider using a "Med-Kit Alpha" (found in supply crates or dropped by Elite Enforcers) or activating your "Emergency Shield Protocol" (ability, cooldown 60s).
- Actionable Step: To quickly restore HP, press
Upon the D-Pad to cycle through healing items. Select "Med-Kit Alpha" and pressX(Xbox) /Square(PlayStation) to consume.
- Stamina Bar (Green): This bar governs actions like sprinting, dodging, and heavy attacks. Depleting it leaves you vulnerable.
- Strategy: Manage your stamina carefully. Avoid continuous sprinting in open areas unless actively escaping. Use short bursts of dodge to reposition, conserving stamina for critical heavy attacks against armored foes.
- Actionable Step: To regain stamina faster, disengage from combat for a few seconds. Certain consumables like "Stimulant Injector" (rare drop from "Bio-Engineered Mutants") can instantly restore a portion of your stamina.
- Energy Cells (Blue): Displays your current energy cell count, used for activating special abilities and weapon mods.
- Strategy: Energy Cells are a precious resource. Prioritize using them for your most impactful abilities, such as the "Overload Pulse" (stuns multiple enemies) or powering up your "Plasma Rifle's" charged shot.
- Location: Energy Cells are typically found in small, glowing canisters scattered throughout the environment, particularly in abandoned research labs and military bunkers. They can also be scavenged from defeated "Automated Sentinels."
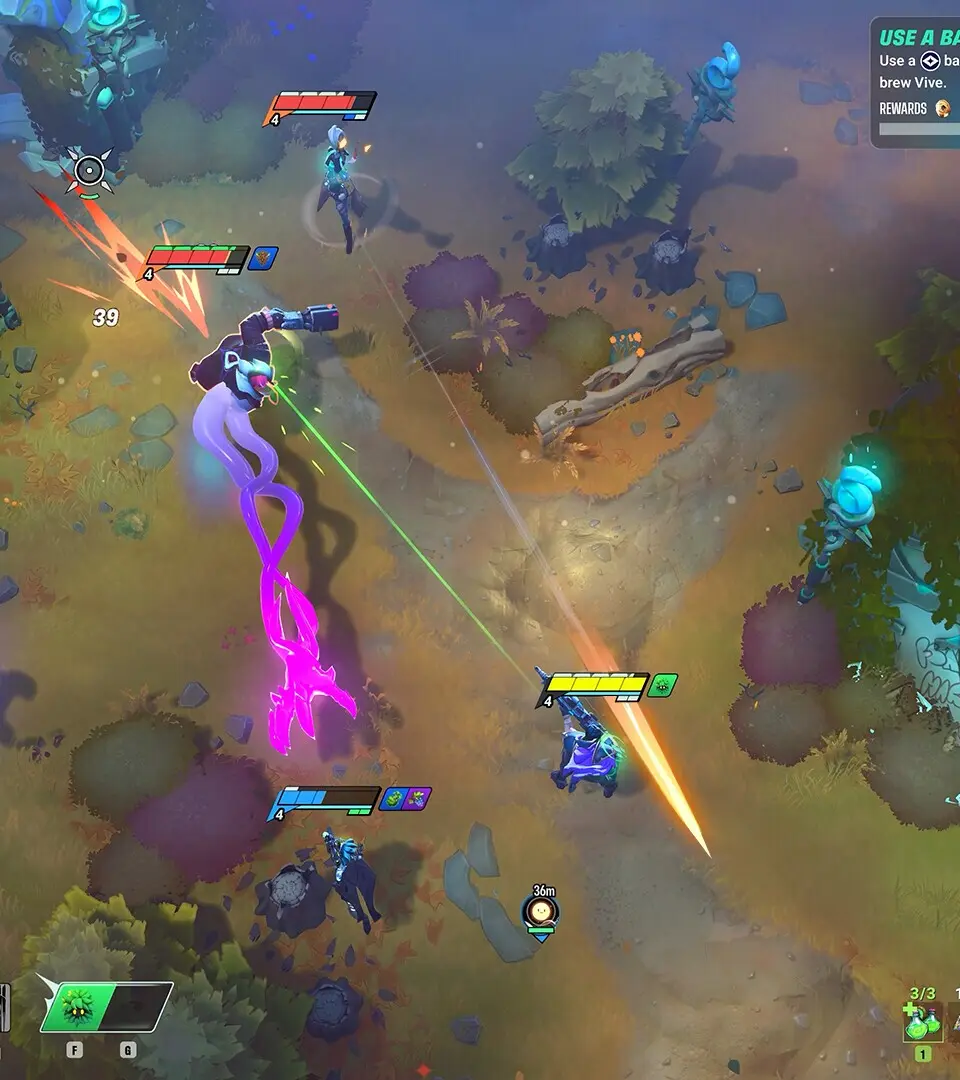
II. Top-Right HUD: Objective & Mini-Map
- Current Objective: A brief text description of your immediate goal.
- Strategy: Always be aware of your current objective. If you're lost, consult the full map (press
Menu/Options) to get your bearings. Sometimes, secondary objectives will appear here, offering bonus rewards. - Example: "Locate Data Core in Sector 7," or "Eliminate all Hostiles in the Containment Zone."
- Strategy: Always be aware of your current objective. If you're lost, consult the full map (press
- Mini-Map: A small, circular map displaying your immediate surroundings, enemy positions (red dots), objective markers (yellow diamond), and points of interest (blue icons).
- Strategy: The mini-map is your best friend for situational awareness. Pay attention to enemy movement patterns and use it to plan flanking maneuvers or avoid ambushes. Red cones indicate enemy line of sight.
- Actionable Step: If you see multiple red dots converging, prepare for a firefight. Consider deploying a "Proximity Mine" (found in weapon caches) at a chokepoint shown on the mini-map to thin the herd.
III. Bottom-Left HUD: Weapon & Ammo
- Equipped Weapon Icon: Shows the icon of your currently selected weapon.
- Strategy: Familiarize yourself with each weapon's icon to quickly identify what you're holding. This is crucial for fast weapon switching in combat.
- Ammo Count: Displays current magazine capacity / total reserve ammunition.
- Strategy: Never let your reserve ammo run dry, especially for your primary weapon. Reload proactively during lulls in combat. Scavenge ammo from defeated enemies or locate "Ammo Crates" (green boxes) throughout the levels.
- Actionable Step: If you're low on "5.56mm Rounds" for your "Assault Rifle Mk. II", switch to your "Combat Shotgun" (uses "12 Gauge Shells") and seek out an ammo crate.
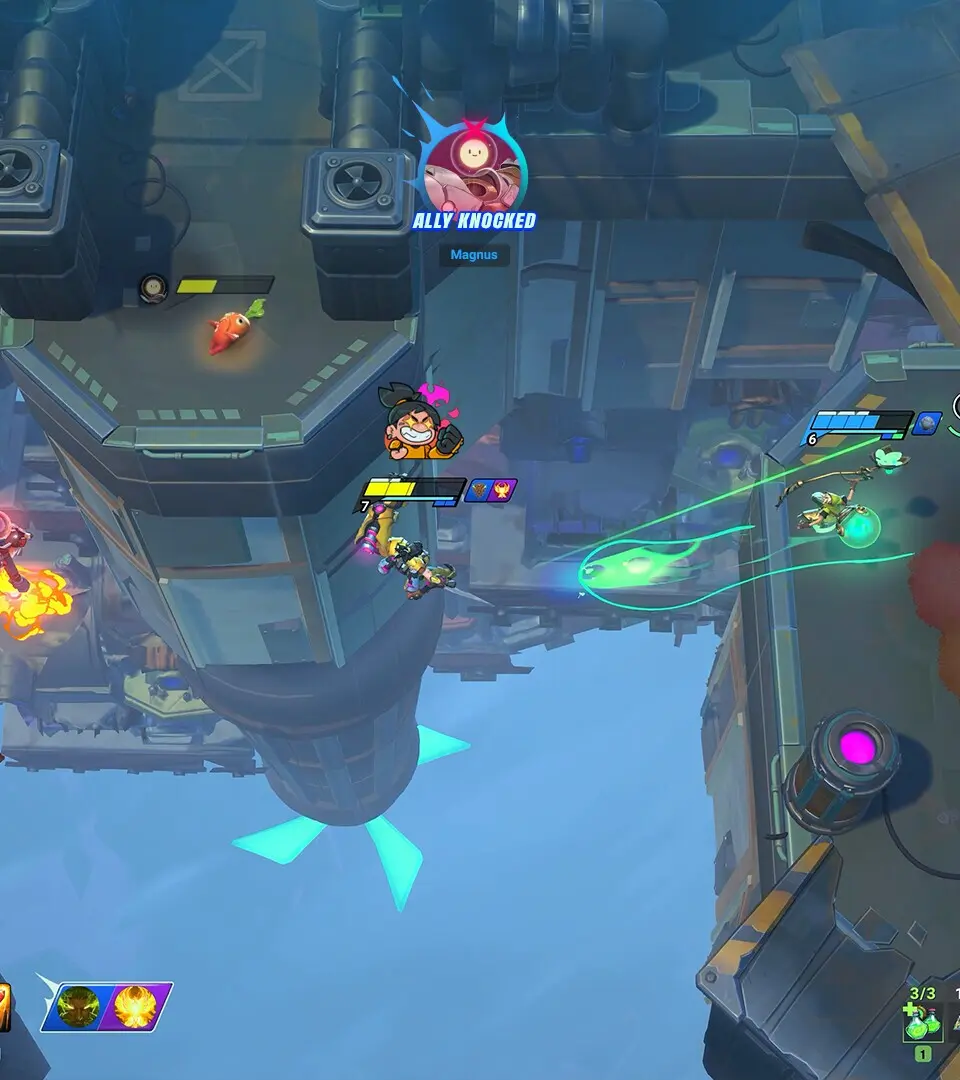
IV. Bottom-Right HUD: Abilities & Consumables
- Ability Slots: Icons representing your equipped special abilities, often with cooldown timers.
- Strategy: Learn the cooldowns of your abilities. Don't waste powerful abilities on weak enemies. Save your "Temporal Distortion Field" for large groups or high-threat targets.
- Actionable Step: When the cooldown for your "Kinetic Blast" ability is nearly finished (indicated by a filling circle around the icon), prepare to unleash it on the next incoming wave of "Corrupted Drones."
- Consumable Slot: Displays the icon of your currently selected consumable item.
- Strategy: Keep your most frequently used consumable (e.g., "Med-Kit Alpha" or "Stamina Boost") in this slot for quick access.
- Actionable Step: Use
Lefton the D-Pad to cycle through your available consumables. Select the "EMP Grenade" when facing "Automated Turrets" and deploy it withY(Xbox) /Triangle(PlayStation).
100% Human-Written. AI Fact-Checked. Community Verified. Learn how AntMag verifies content