Complete walkthrough for Prologue: A Crossing of Fates (2) in The Legend of Heroes: Trails Beyond the Horizon. Includes battle tutorials, item locations, and objectives.
Walkthrough
- 1The game begins with battle tutorials in the VAR-halla Sector.
- 2You'll face an Elder Wyvern (LVL 6, HP 4873) accompanied by two Creeping Pine. This battle serves as a tutorial for Command Battle, SCLM, and AT Bonus. You can use Feri's Krugan Blade to cause ARES/RES ↓. The S-Boost gauge will fill but cannot be used.
- 3After the battle, the camp menu has been redesigned. The Orbment menu is not yet accessible, and Bergard's gear is locked.
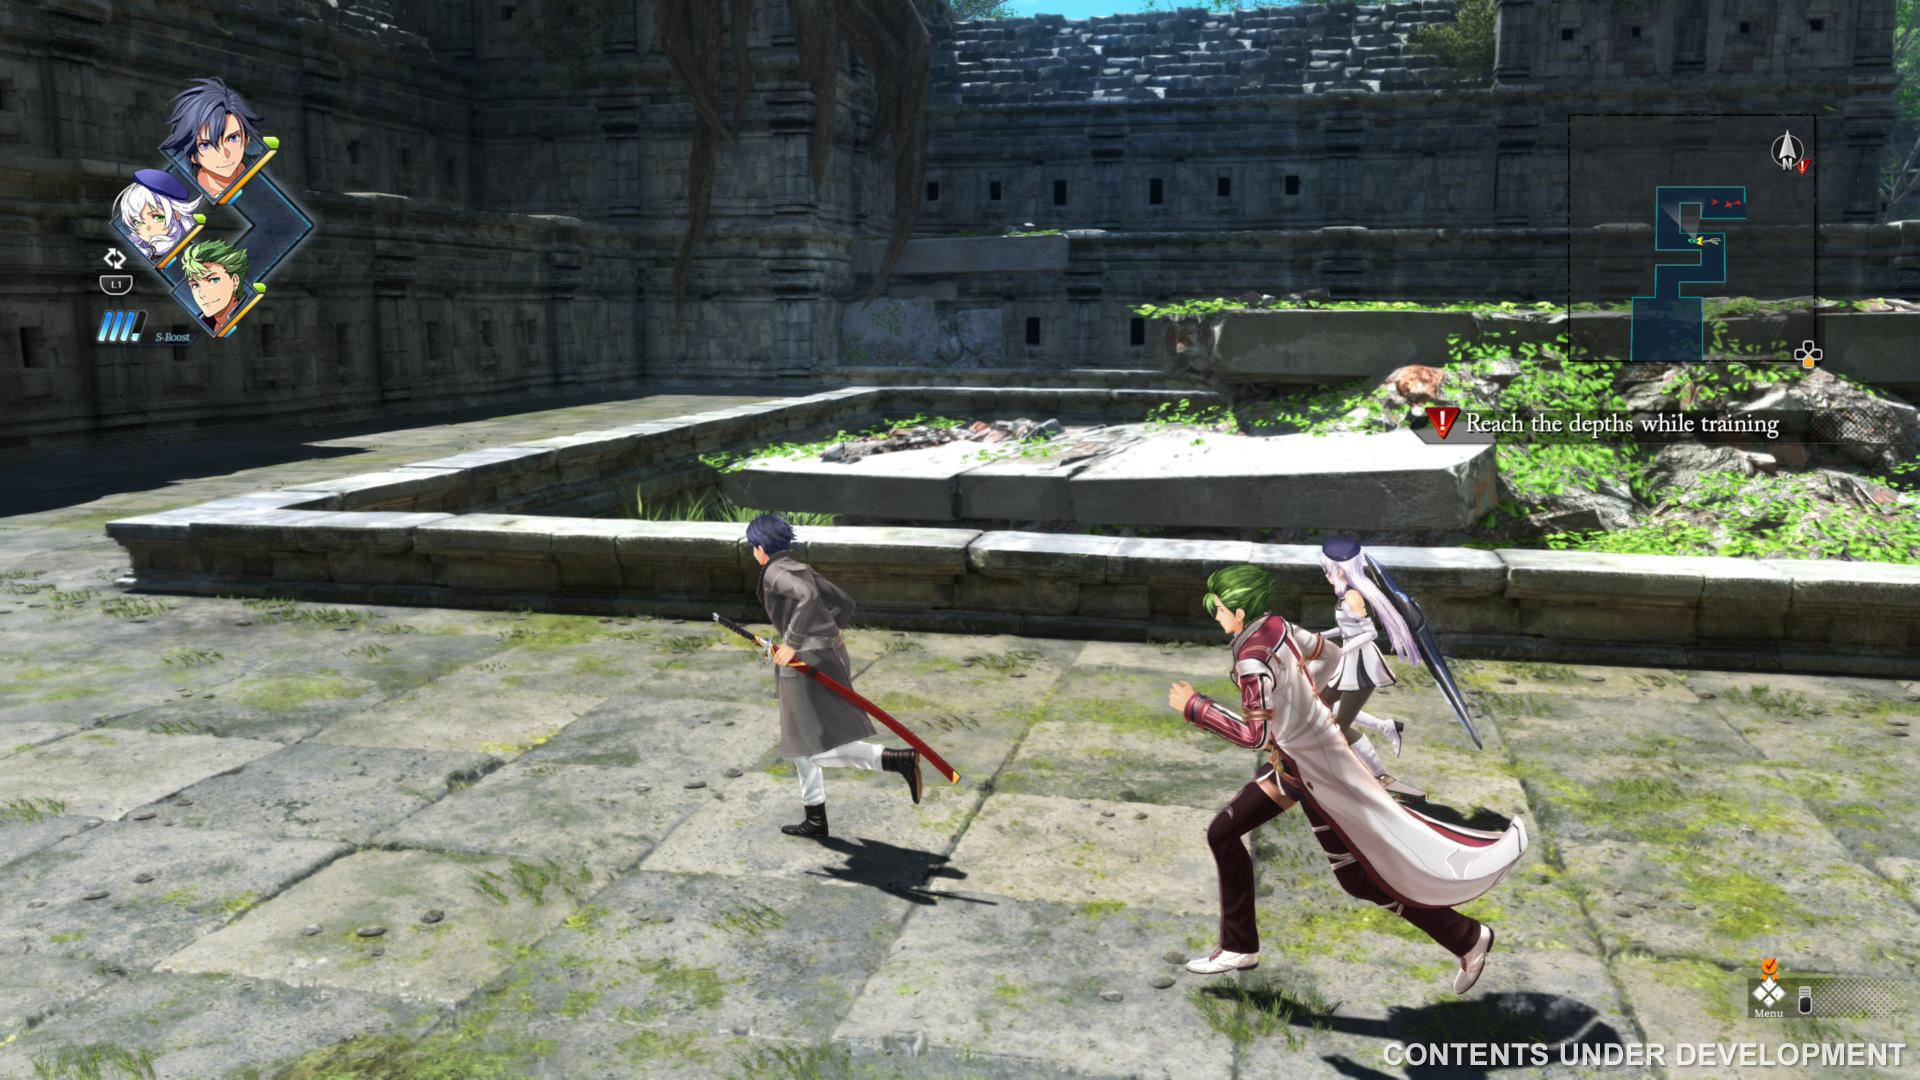
- 4Follow the red marker for a tutorial on Field Battles against bees.
- 5Engage in a Command Battle against five bees, guided by Feri to use Charge Attack.
- 6Further ahead, tutorials cover Quick Arts (hold triangle, cooldown applies, field attacks reduce cooldown) and Escaping Command Battles. The Gauntleg is weak to Earth/Water; consider Bergard as leader.
- 7After the battle, take the left path to find a chest with HP 1. This unlocks the Orbment Menu.
- 8The other path offers a tutorial for the ZOC Field Battle mechanic (hold R3 to activate, slows enemies, increases ATK and stun damage). This battle must be fought on the field without initiating Command Battle after stunning enemies.
- 9Switch POVs to the right side of the map.
- 10Learn about Shard Commands (similar to Brave Orders from Cold Steel 3/4/Reverie, costing S-Boost bars).
- 11Proceed past the next set of monsters without interruptions. You still cannot use S-Boost on individual characters.
- 12Go up the stairs to the right and collect EP 1.
- 13At the next red marker, a tutorial for Deadly Strikes occurs. Use ZOC or Charge Attack > Command Battle.
- 14At the subsequent fork, the right stairs lead to a chest with Cool Choker.
- 15Further ahead, behind a group of Ogre Wasps, find a chest with Impede 1.
- 16At the next red marker, a scripted battle introduces the Stun gauge, EX Chain (requires SCLM link + Level 1 S-Boost), and Shard Boost.
- 17Switch POVs again. A Charging Station is nearby.
- 18Head north up stairs for Force Emblem.
- 19Another Charging Station is found towards the end. Use it if needed.
- 20Proceeding past the Charging Station changes the POV, and you cannot switch back to the previous team or edit their equipment.
- 21A Charging Station is present before the next fork. Go south for a chest with Angel Ring.
- 22Another Charging Station is at the end of this path. Use it and save your game.
- 23Advance to trigger the next objective.
- 24Mandatory Objective: Defeat all enemies.
- 25Optional Objective: Win the fight within 60 turns for SP +2.
- 26A tutorial for BLTZ (an AT-Bonus with a back-up member) will occur.
Tips
- NG+ bonuses include Vitality Droplet, Power Droplet, Fortitude Droplet, Spirit Droplet, and Magic Droplet from Trails through Daybreak, and Daybreak Droplet x3, Zeram Powder, and Zeram Capsule from Trails through Daybreak 2, if Clear Data is found.
- NG+ Holo Cores and Arts Drivers are limited to those not default to playable characters.
- The Gauntleg is weak to Earth/Water; consider Bergard as leader for Quick Arts.
- Use ZOC (hold R3) to slow enemies and increase stun damage.
- Shard Commands cost S-Boost bars.
- EX Chain is available when an enemy is stunned, requiring SCLM link and Level 1 S-Boost.
- S-Crafts (R2 + direction button) require 100 CP and S-Boost.
- S-Boost gauge gains a bar per S-Craft used, up to 9 bars, resetting to 4 at the end of battle.
- Characters using S-Craft enter a cooldown period.
- HP 1
- EP 1
- Cool Choker
- Impede 1
- Lighter
- Strike 1
- Force Emblem
- Angel Ring
- SP +2 (Optional Objective)
100% Human-Written. AI Fact-Checked. Community Verified. Learn how AntMag verifies content