Master the Battle of the Grudge of Karag Dron in Total War: Warhammer 40,000. Learn effective army compositions and tactical deployment to crush your foes.
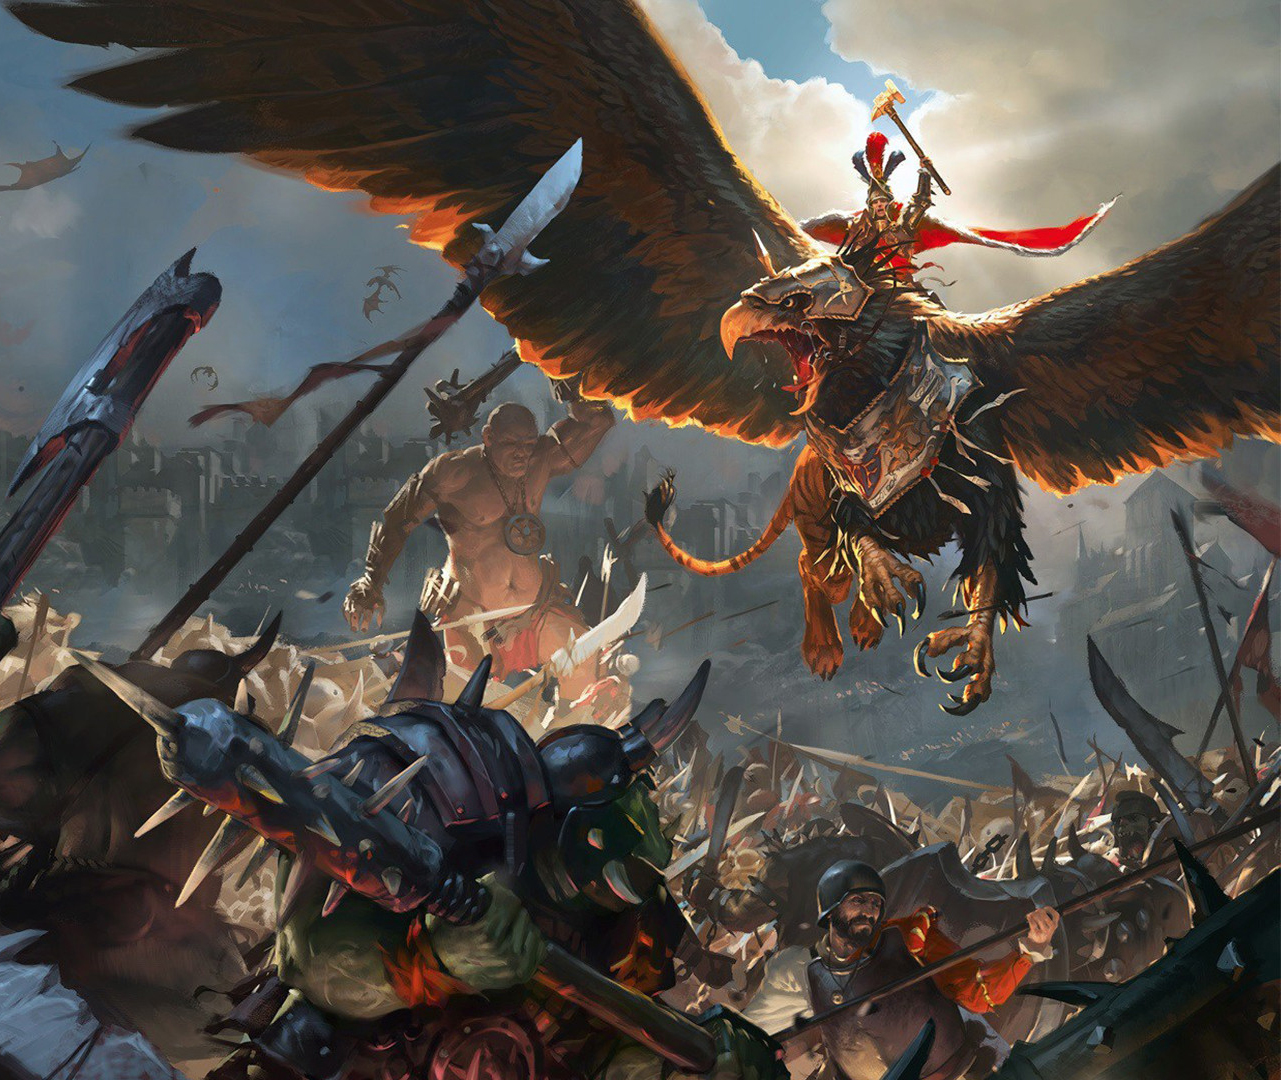
The Battle of the Grudge of Karag Dron is a significant event in Dwarven history, often representing a desperate defense against overwhelming odds or a brutal reclamation of lost territory. This battle typically involves the Dwarfs, led by their valiant Thane or High King, facing off against a formidable enemy, often Greenskins or Chaos forces, who have desecrated their ancestral holds or stolen their precious artifacts. The Dwarfs' resolve is tested as they fight for honor, vengeance, and the very survival of their kin. The outcome of this battle can have far-reaching consequences for the Dwarven holds and their standing in the Old World.
Successfully navigating the Battle of the Grudge of Karag Dron requires leveraging the Dwarfs' inherent strengths: their resilience, their superior armor, their devastating ranged firepower, and their powerful artillery. The terrain of Karag Dron, often depicted as mountainous or within the confines of a Dwarven hold, typically favors defensive tactics. For the Dwarfs, the strategy revolves around establishing an unyielding defensive line, utilizing their ranged units to inflict heavy casualties, and employing their artillery to break enemy formations. For the enemy, the objective is to overcome the Dwarven defenses through sheer ferocity, numbers, or by exploiting any weaknesses in their formations. This battle is a testament to Dwarven tenacity and their unwavering commitment to their grudges.
Dwarven Defensive Strategy
As the Dwarfs, your primary objective is to defend Karag Dron and uphold your honor. Deploy your infantry in a strong defensive formation, ideally within the confines of the hold or on advantageous terrain that channels the enemy. Position your Thunderers and Quarrellers behind your frontline, ensuring they have clear lines of fire to unleash a devastating barrage. Utilize your artillery, such as the Grudge Thrower or Flame Cannon, to target massed enemy units, breaking their morale and inflicting heavy casualties. Your elite melee units, like Hammerers or Ironbreakers, should be held as a reserve to plug any gaps or to counter any enemy breakthroughs.
Enemy Offensive Strategy
The enemy's strategy will depend on their faction, but generally, they will aim to overwhelm the Dwarven defenses through brute force or by exploiting any perceived weaknesses. If facing Greenskins, expect a ferocious, direct assault. If facing Chaos, anticipate a more brutal and relentless push, possibly with daemonic reinforcements. The enemy will likely try to concentrate their forces to break through a specific point in the Dwarven line. They might also attempt to flank the Dwarven positions if the terrain allows. The key for the enemy is to maintain relentless pressure and not allow the Dwarfs to establish a stable defensive posture.
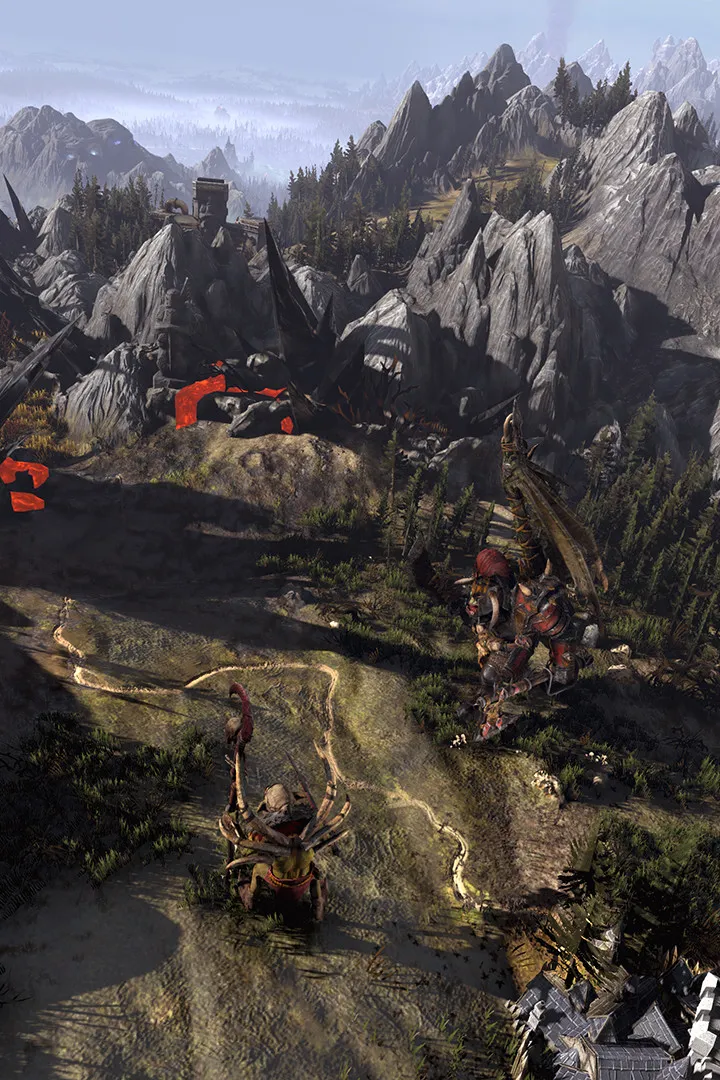
Leveraging Dwarven Fortifications and Terrain
The battleground of Karag Dron, often a Dwarven hold, provides significant advantages. Utilize the narrow passages, defensive walls, and elevated positions to your benefit. These features can channel enemy attacks, funneling them into kill zones where your ranged units and artillery can inflict maximum damage. For the Dwarfs, it's about maximizing the defensive benefits of their stronghold. For the enemy, it's about finding a way to breach these defenses, perhaps through siege engines, powerful magic, or by finding an unguarded entrance.
100% Human-Written. AI Fact-Checked. Community Verified. Learn how AntMag verifies content