Review the Empire Unit Tier List for Total War: Warhammer 40,000. Understand unit strengths, weaknesses, and powerful synergies for dominating the battlefield.
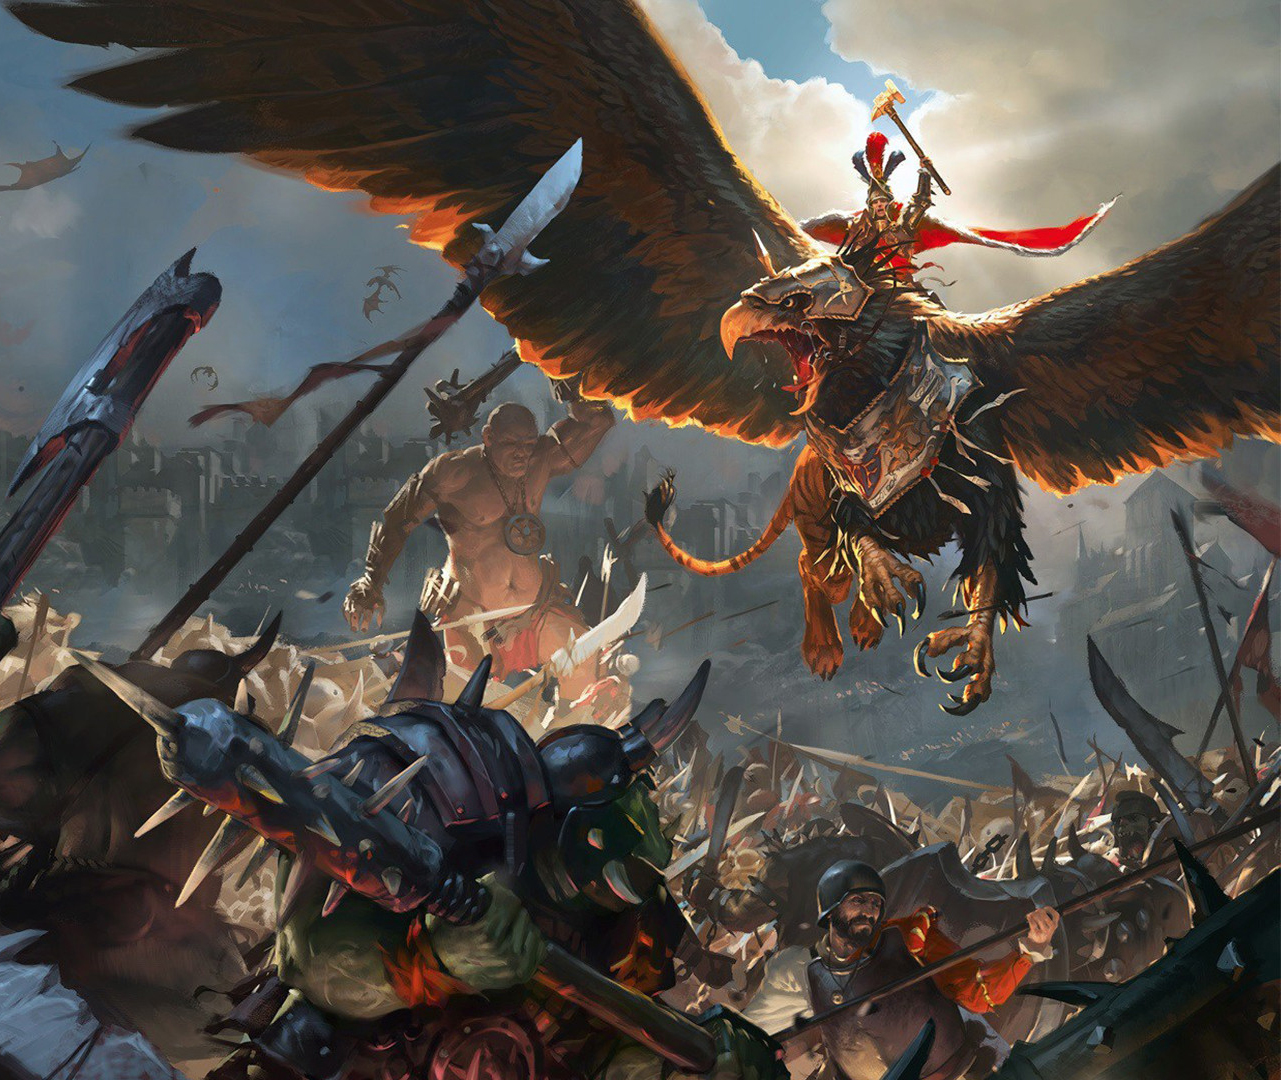
The Empire in Total War: Warhammer III offers a robust and adaptable roster, excelling in combined arms tactics. Their strength lies in disciplined infantry, potent ranged firepower, and impactful cavalry. Mastering the unit tiers and their synergistic potential is paramount for success on the battlefield. Early game forces often consist of foundational units like Spearmen and Swordsmen, providing a solid defensive core. As your empire expands and your military infrastructure develops, you gain access to more specialized units. Halberdiers become crucial for dealing with large threats, while Handgunners offer devastating anti-infantry firepower. The core synergy revolves around supporting your frontline with effective ranged fire and specialized melee units.
A key aspect of Empire strategy is the effective integration of artillery. Units like the Great Cannon and Mortars can significantly weaken enemy formations before they even reach your lines, making them easier for your infantry to engage and defeat. This artillery support is vital for breaking enemy charges and creating openings. Furthermore, the Empire's cavalry, particularly the elite Reiksguard and the terrifying Demigryph Knights, are designed for decisive flanking maneuvers and shattering enemy formations. When combined with disciplined infantry that can hold an enemy in place, these cavalry charges can lead to devastating pincer attacks and rapid routs. Always analyze your opponent's army composition to identify weaknesses and tailor your unit selection and deployment accordingly.
Empire Unit Tiers, Roles, and Synergies
The following table outlines the typical progression and roles of Empire units throughout a campaign. Note that specific stats can vary based on game updates and DLCs, but these general roles and synergies remain consistent.
| Tier | Unit Type | Primary Role | Key Stats/Abilities | Synergies | Recruitment & Upkeep Considerations |
|---|---|---|---|---|---|
| I | Spearmen | Line Holding, Anti-Cavalry | High armor-piercing melee defense, Shielded (early variants) | Forming a defensive line to protect ranged units and artillery. Excellent for pinning enemy cavalry. | Cheap to recruit and maintain. Essential early game backbone. Found in basic Barracks. |
| I | Swordsmen | Basic Melee Combat, Line Holding | Decent melee attack and defense, good armor. | Can hold their own against most basic infantry. Synergize with flanking cavalry to exploit engaged enemies. | Low cost, readily available from early military buildings. |
| II | Empire Archers | Ranged Harassment, Anti-Infantry | Decent range and missile damage. | Provide supporting fire to soften up approaching enemies. Can be positioned on flanks to deter enemy skirmishers. | Requires Archery Range. Moderate upkeep. |
| II | Crossbowmen | Ranged Harassment, Anti-Infantry | Higher armor-piercing missile damage than archers, but shorter range. | Effective against armored infantry. Best used in volleys to quickly eliminate threats. | Requires Crossbowmen's Range. Slightly higher upkeep than archers. |
| III | Halberdiers | Elite Anti-Large, Line Holding | High armor-piercing melee attack, bonus vs. large units. | Crucial for countering enemy monsters and cavalry. Can hold the line effectively against powerful single entities. | Requires advanced military buildings (e.g., Halberdier Barracks). Higher upkeep. |
| III | Greatswords | Elite Melee Infantry, Line Breaking | High melee attack, armor-piercing damage, good charge bonus. | Excel at breaking through enemy lines and engaging elite enemy infantry. Synergize with artillery that softens targets. | Requires advanced military buildings. Significant upkeep cost. |
| IV | Handgunners | Elite Anti-Infantry Ranged, Armor Piercing | High armor-piercing missile damage, effective range. | Devastating against enemy infantry formations. Best used behind melee lines to maximize volleys. | Requires advanced military buildings (e.g., Gunpowder Workshop). Moderate to high upkeep. |
| IV | Mortars | Artillery, Anti-Infantry, Siege Support | High explosive damage, area of effect. | Excellent for softening up dense enemy infantry formations and bombarding fortifications. | Requires Siege Workshop. High upkeep. Vulnerable in melee. |
| IV | Great Cannon | Artillery, Anti-Large, Siege Support | High armor-piercing damage, long range. | Ideal for destroying large enemy units (monsters, cavalry, single entities) and breaking enemy formations from afar. | Requires Siege Workshop. High upkeep. Vulnerable in melee. |
| V | Reiksguard | Shock Cavalry, Flanking, Anti-Infantry | High charge bonus, armor-piercing melee attack, good speed. | Excellent for flanking maneuvers and disrupting enemy formations. Can shatter weaker infantry units with a well-timed charge. | Requires advanced cavalry building (e.g., Knightly Order). High upkeep. |
| V | Demigryph Knights | Shock Cavalry, Anti-Large, Flanking | Extremely high charge bonus, powerful armor-piercing attacks, bonus vs. large. | The premier shock cavalry. Devastating against large units and can break even elite infantry. Use for decisive charges and exploiting weaknesses. | Requires the highest tier cavalry building. Very high upkeep. |
Key Synergy Examples and Strategies
- Artillery & Infantry Core: Position Mortars and Great Cannons behind your frontline of Spearmen and Swordsmen. Use artillery to soften up approaching enemy hordes or large threats. Once the enemy is engaged with your infantry, your ranged units (Archers, Crossbowmen, Handgunners) can pour fire into their flanks or rear, maximizing damage and causing routs.
- Halberdier Defense Against Monsters: When facing enemy monsters or cavalry, deploy Halberdiers in a defensive formation. Their bonus vs. large will allow them to hold their ground and inflict significant damage, protecting your more vulnerable units. Support them with ranged fire.
- Cavalry Hammer and Anvil: Use your disciplined infantry (Spearmen, Swordsmen, Greatswords) to pin the enemy in place (the "anvil"). Once the enemy is fully engaged, launch devastating charges with Reiksguard or Demigryph Knights into their flanks or rear (the "hammer"). This tactic is highly effective at causing mass routs.
- Handgunner Volley Fire: Position Handgunners in a protected location, ideally behind your melee lines. Focus their fire on specific enemy units, especially heavily armored infantry or dangerous single entities. Their armor-piercing capabilities make them excellent for quickly eliminating key threats.
- Combined Arms Offensive: A balanced army should include a strong infantry core, effective ranged support, artillery for softening targets, and cavalry for flanking. Advance methodically, using artillery to disrupt and weaken, infantry to hold and engage, ranged to suppress and eliminate, and cavalry to exploit openings and deliver finishing blows.
Recruitment and Maintenance
Empire units are recruited from various military buildings within settlements. The tier of the building dictates the tier of units you can recruit. Early game focuses on basic Barracks for Spearmen and Swordsmen, supplemented by Archery Ranges. As you progress, you'll need to construct specialized buildings like the Halberdier Barracks, Gunpowder Workshop, and Knightly Orders to access higher-tier units. Each unit has an associated recruitment cost and an ongoing upkeep cost. Higher-tier units are significantly more expensive to recruit and maintain, so it's crucial to balance your army size with your economy. Overextending your military can lead to severe economic strain and make it difficult to replace losses.
100% Human-Written. AI Fact-Checked. Community Verified. Learn how AntMag verifies content