A walkthrough for Valkyrie Profile 2: Silmeria covering Crell Monferaigne and the optional Chateau Obsession dungeon, including item locations and boss strategies.
Afterward, jump to the right to check the Throne at east to get an Amulet. Hand over the Amulet to that Adventurer at the entrance of Kalstad to get Flawless Talisman. Next, proceed to Crell Monferaigne.
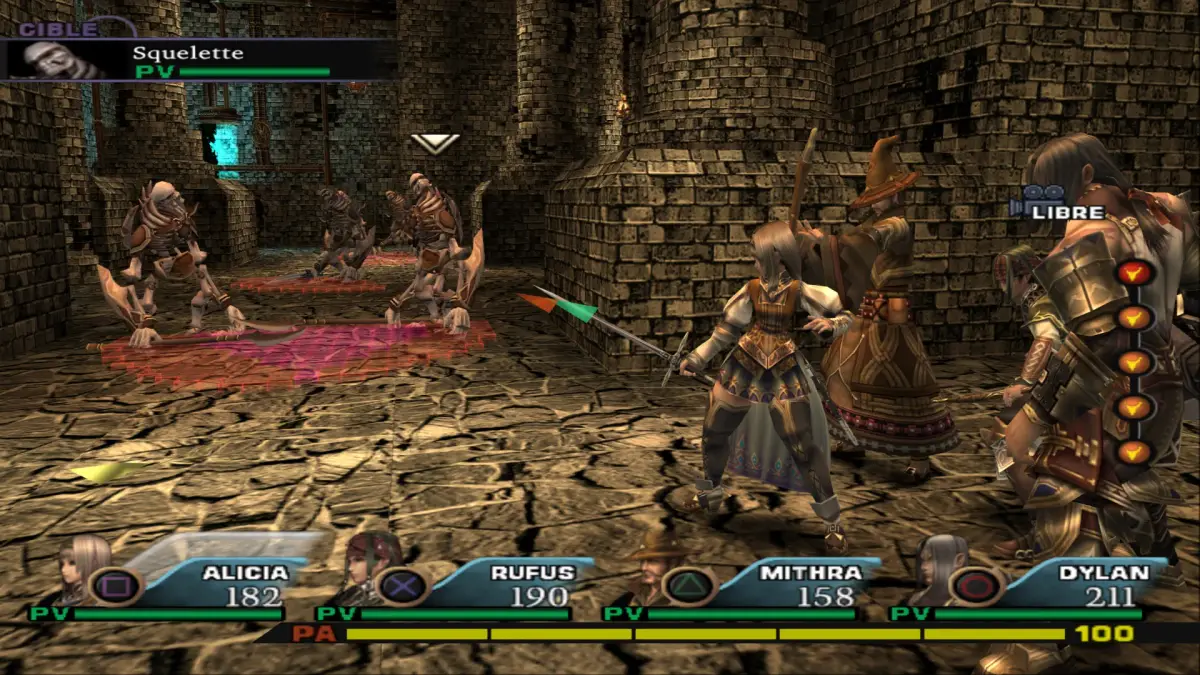
Crell Monferaigne
Item: Ice Crystal
Importance: Make sure you read the 3rd part of the tri-Ace Poem. The end reward (in Chapter 6) is the Tri Emblem.
Flare Crystal: Feed the dog 3 times.
Dog's Ring: Giant Bat (Body, 30%) & Dire Wolf (Tail, 30%) drop the Bone-Attached Meat. Giant Bat and Dire Wolf can be found in Kythena Plain. Dire Wolf also shows up in Lost Forest and more frequently. Get at least 15 Bone-Attached Meat. Feed the dog in Villnore:
- Feed it once for Sucked Bone
- Feed it 5 times for Bitten Shoe
- Feed it 10 times for Worn Out Cloth
- Feed it 15 times for Dog's Poop
- Sell these 4 Materials to the Crell Monferaigne shop.
- Meet the Regulars' Point which is 8000.
- Make 80000 OTH worth of purchase.
- Buy the Dog's Ring.
Nearby is the Bar. To the right, a path leads up, a Villager House, the Weapon Armor Shop, and another path up. Take the right path up and check the Villager House for an Ice Crystal. To the right, there is a dog where you can feed it the Bone-Attached Meat.
Backtrack and take the left path up. Take the right Villager House at the near right. Make sure you speak with an Old Man. There is actually an Old Woman in here but she usually stays in the back. Re-enter this Villager House then quickly go talk to her. She will give you the Broken Staff and Mace Head.
To the left, there are the Inn and one more Villager House. Within the Inn, speak with a Resident by the counter. As for the left-end Villager house, check the right end for the 3rd part of the tri-Ace Poem.
Once you're done talking around, exit for more scenes. Chateau Obsession and Crawsus Forest Ruins will show up on the Map. Chateau Obsession is optional, but it is covered below.
Optional #3 - Chateau Obsession
Items: Dwarf's Sacred Herb, Silver Scale, Silver Buckler, Double Search, Claymore, Golden Egg, Book Of Alchemy
Enemies: Will O Wisp, Satyr, Greater Demon, Giant Skeleton, Trash Demon, Dragon, Troll Chief, Berserker
Sealed Stones: Soul-Shaving Hook's Commandment, Shield's Protection, Lightless Jump's Commandment, EXP-Coveting Tapir's Reason
Einferia: Seluvia (100%)
To the right, there is a Spring and the Sealed Stone Soul-Shaving Hook's Commandment. Go up to another area. There is an Altar to the right, then go south. Check the left for a Dwarf's Sacred Herb. Go on to the right.
Get Alicia to stand on a red seal, then switch places with the near stone. Go on to the right.
Go up to another area, then check the lower left box. Move away as it is a trap. Get the Silver Scale. Use an enemy to get up to the left for a staff. It is another Einferia. After, use the enemy to get up further for the Sealed Stone Lightless Jump's Commandment. Backtrack to the previous area.
Go right, and there is an Altar. Stand on the seal and switch places with an enemy. Don't go up yet; check above for a box. Use the two enemies. As for the box, it contains a trap. After, get the Silver Buckler from the box. Go up to move on.
To the left end is a Double Search. Just switch places with the enemy that's in the air. To the right end, there is a Dwarf's Sacred Herb. Above that item, there is a Claymore. You will need to get the flying enemy (at the left) to the right end, as only that flying enemy can stay in mid-air when you crystallize it. Once you get the flying enemy in mid-air (near the Claymore), switch places and jump to the right. The box also contains a trap. After, get the Claymore from that box. Moving on, head up to the next area.
There is a Spring to the left and an Altar to the right end. For the right end, there is a large enemy, but you can avoid it. Just use the enemy that's in mid-air, then jump to the right. You will end up at the back of the enemy. To get back up, switch places with the upper right rock. Once you are up, jump and shoot SW to switch places with the left enemy. Of course, you can always just fight the enemy. You can fight the Dragon and Greater Demon. Anyway, to move on, go up at the left end.
Go right to save your game. To the upper right, there is a rock and the Sealed Stone Shield's Protection. Switch places with the rock to get up.
Set the Soul-Shaving Hook's Commandment at the Altar that's behind the large enemy and bring the Sting Protection. Once you are ready, go up for the boss fight.
Boss: Lady Clio
- Race: UnHoly, Magic
- Level: 22
- HP: 6800
- EXP: 70000
- OTH: 7200
- ATK: 200
- MAG: 280
- HIT: 58
- AVD: 50
- RDM: 10
- RST: 50
- Weight: 85
- Absorb Attribute: None
- Gender: Female
- Basic Evasion: 3
- Basic Guard: 5
- Counter Rate: 0
- Attribute Resist: -50 Thunder, 100 Earth, 50 Holy
- Abnormal Resist: Silence/Poison/Death/Petrify/Stun/Weaken/Transfer (100), Paraly/Confuse (50), Freeze (80)
- Re-Fightable: No
Bring Lezard into this fight for his Poison Blow. As for Weapons, equip the ones that enable Soul Crash or ones that enable 3 Attacks. As for skills, Iron Fist, Hard Body, Regeneration Heal, Guts, etc. If you intend on the Break Mode, make sure you broke enough parts with the side enemies before this boss fight.
All enemies will be taking damage from time to time. If you further Poison them, it works even better. Take out the two Trash Demons. As for that one Berserker, you can ignore it, but it offers lots of items. At least try to get as many items from it as you can. As for Clio, she is rather weak. Get close and do 4 Soul Crushes, starting from Aluze, Leone, Alicia, then Lezard. Clio's magic can...
100% Human-Written. AI Fact-Checked. Community Verified. Learn how AntMag verifies content