A detailed guide to navigating Floor 4 of Valkyrie Profile 2: Silmeria, including enemy locations, item drops, and strategies for defeating powerful foes like Tiamat and Returned Arectaris.
After Lezard joins your party, use the blue portal to return if needed. Otherwise, proceed to the lift located at the Northeast (NE) to reach Floor 4.
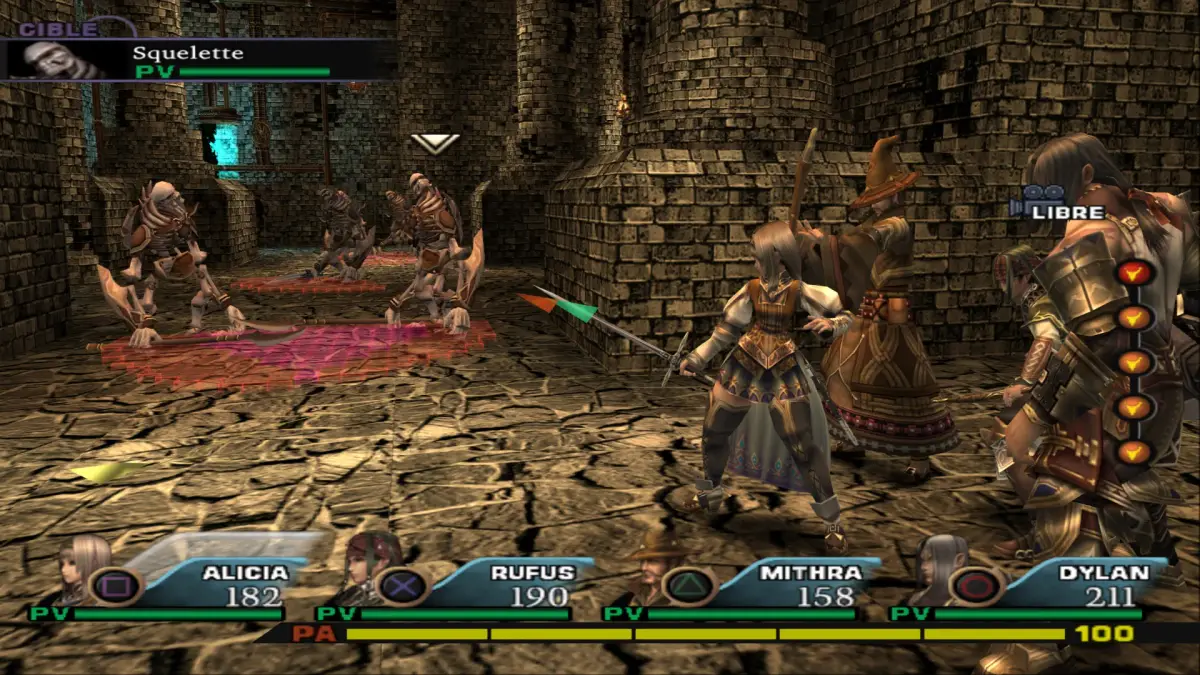
Floor 4
Items: Mithril Greave, Mithril Crown, Ether Greave, Blood Rain, Holy Crystal, Dismember Legion, Union Plum, Prime Elixir, Book Of Alchemy, Swordsman's Knowledge, Advance Furious, Goddess' Sacred Herb, Double Search, Liqueur Bottle, Bloody Ash, Golden Egg, Rebellion Truth, Sewn Clothes Florence Garb
Enemies: Umbrella, Escargone, Returned Arectaris, Koutarou, Tiamat, Destiny, Back Packer, Hamster, Black Pain, Hell Diver, Mechanic Third Rater, Lightning Kobold
Sealed Stone: Powerless Carrier Pigeon's Commandment
Returned Arectaris
Drops the Divine Bow Sylvan Bow (Leader Item or Drop Item - 15%). The Divine Bow Sylvan Bow's Given Damage is equal to the Bearer's Level * 20. It is recommended to use Rufus' Rating Zone.
Location: NE of Floor 4, the area just before the stairs. Encounter the SE enemy within this area. Aside from the SE enemy/Returned Arectaris, there is one enemy in the middle and another at NW. Beat the NW enemy and transfer it to the East. Switch places with the middle enemy, then switch places with the SE enemy and jump up immediately. Switch places with the crystal you placed at the East earlier. Both the middle and SE enemies will now be at SW. Move to the near NW from the middle, shoot SE to switch places with that enemy/Returned Arectaris. Lastly, switch places with the left enemy (the initial middle enemy). You can now attack that enemy to fight the Returned Arectaris.
Tiamat
Drops the Broken Sword Tyrhung (Leader Item or Drop Item - 15%).
Location: SE of Floor 4, the area just before the blue portal or the area where you fight the Hamster. Encounter the SW enemy within this area for a chance to fight Tiamat.
Strategy: Set the Sealed Stone Foodless Assaulter's Reason at an Altar to prevent Tiamat from healing itself.
Hamster
Drops the Ham Star, which grants 100% resistance against Paralyze, Poison, Freeze, Petrify, Stun, and Weaken. It is also one of the Lucky 7 Accessories.
Strategy: Flame Clothes Flame Mist is effective against Koutarou or Hamster. Attack it from behind. Check the empty box at the North of Floor 4, then chase the Hamster to the SE of Floor 4 (the area with the blue portal).
Koutarou
Drops the Sunflower Seed, a material for the Golden Egg.
Strategy: Flame Clothes Flame Mist is effective against Koutarou or Hamster. Attack it from behind. Check the empty box at the North of Floor 4, then chase the Hamster to the SE of Floor 4 (the area with the blue portal).
Back Packer
Drops the Holy Armor Aleph Strain (Drop Item - 15%).
Location: SW area of Floor 4. Encounter the SE walking human-like enemy near the box containing the Rebellion Truth. Move to the South of the area, standing on the floating enemy. Shoot NW; with the correct angle, the Photon will bounce back to the floating enemy you are standing on. Before the switch, jump to the right. Once the switch occurs, jump back onto the floating enemy. You will be around the SE, closer to the walking human-like enemy. Switch places with that enemy and wait for it to break the crystal. Drop down and attack it.
Go west for a Dog House where you can fight Dog Odin and Dog Frei. Backtrack and go east. You can go north and east. Go north first. To the west is the Mithril Greave. As for the globe, you can transfer it to the near NE, which will reveal the stairs up. Transfer a crystal to the east; there is another globe. At the east end, there are an Altar and an opened box. Check the box, and a Hamster will run off. A small ledge at the lower right contains the box with the Mithril Crown. For the second globe, transfer it up to near N/NE; it will raise more stairs. Now, with the second globe and a crystal, transfer them to the west. You can now work your way up to NW. The goal is to get the second globe on top of the first globe. Transfer the crystal (which cannot float in air) up one ledge, similar to some boxes on Floor 3. Since the crystal won't float, shoot it while it's in the air. The box at NW contains the Ether Greave. Backtrack and go east.
At NW, you can find the Blood Rain (a Normal Attack for Brahms). Around the middle, there is a Dog House where you can fight Dog Rufus and Dog Alicia. Nearby is a Holy Crystal. You can go NE, SW, and S. NE leads to Floor 5, but you cannot enter yet. For SW and S, go south to a Protection-Less Room. To the right is the Dismember Legion (a Normal Attack for Dylan). To the left is the Union Plum. Backtrack and go SW.
Around the middle, there is a Dog House where you can fight Dog Aluze. Nearby is also a Golden Egg. You can go NW, W, and S. NW is the path to the boss; avoid it for now. Let's start with W. You can find a Prime Elixir, Book Of Alchemy, Swordsman's Knowledge, and Advance Furious (a Normal Attack for Ahly). All of these have traps. Backtrack and go south.
At the middle, NE, and NW, you can obtain items.
100% Human-Written. AI Fact-Checked. Community Verified. Learn how AntMag verifies content