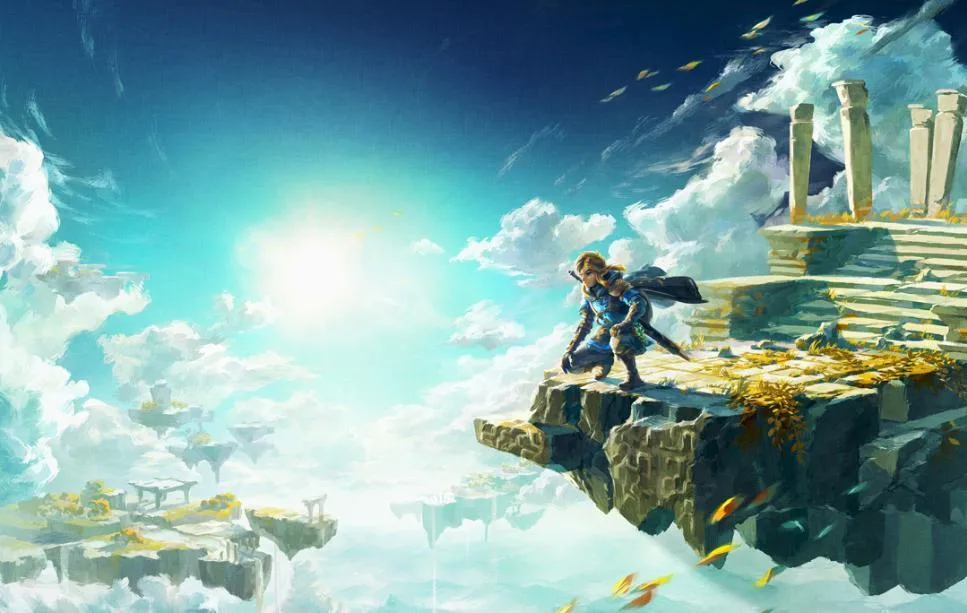
Embark on your adventure in Zelda: Tears of the Kingdom with this comprehensive, spoiler-free walkthrough. Discover all Korok Seeds, Shrines, Side Quests, and more.
Welcome to my 100% guide for The Legend of Zelda: Tears of the Kingdom. This guide is designed with minimal spoilers and covers all 1,000 Korok Seeds, 152 Shrines, 130 Side Quests, 31 Shrine Quests, 60 Side Adventures, 69 'Noxes', 86 Taluses, 4 Molduga, 35 Flux Constructs, 40 Froxes, 14 Gleeoks, 120 Lightroots, 147 Caves, 58 Wells, 20 Sage's Wills, 12 Dragon's Tears, 13 Zonai Reliefs, 15 Skyview Towers and 81 Hudson Signs. This game has A LOT.
This guide is effectively a series of bullet points guiding you from objective to objective. The maps should make navigation a little easier but do not cover all of Hyrule. The directions used will all use compass directions for navigation.
The in-game minimap can be set to always point North so navigation shouldn't be too difficult. Coordinates are also included for almost every point in the guide.
FAQs
Hyrule Compendium
The guide does not cover the Hyrule Compendium. The easiest way to fill the Compendium would be as you go. If you miss anything you can also use Rupees to fill the Compendium at the Hateno Ancient Tech Lab.
Shrines
For true 100% completion it is necessary to open all chests within Shrines. This will open a small chest icon next to the Shrine's name on the map.
Within the guide there are no Shrine Solutions, only locations.
Caves
For true 100% completion it is necessary to fully map and complete all Caves. A Cave is complete when its Bubbulfrog is killed. This will add a small tick mark to the Cave Entrance icon on the map. All Cave entrances will also need to be discovered for map completion.
Device Dispensers
For full map completion it is necessary to map all Zonai Device Dispensers. I would also recommend getting all available items from the Dispensers. Using Multiple Zonai Charges increases the number of devices dispensed.
amiibo
amiibo are completely optional for this guide. Admittedly the Super Smash Bros. Link amiibo makes at least 1 Korok easier as it will allow you to spawn in Epona thus skipping capturing a horse.
Koroks
This guide covers all 900 Koroks in the game. The terms used in referencing the Koroks are explained below
| Term | Image | Solution |
| Rock | Rock Koroks are Koroks hidden under conspicuous lone rocks | |
| Rock Pattern | Rock Pattern Koroks involve finding one or more nearby rocks and using them to complete a pattern embedded in the ground | |
| Metal Block Puzzle | Metal Block Puzzles involve matching or completing metal block formations using a nearby metal block chunk. | |
| Offering | Offering Koroks involve dropping 1 or more of a certain item into a bowl in front of statues such that all have an offering. | |
| Fairylights | Fairylight Koroks will either be atop certain objects, moving around an area or tucked away. You'll oily need to interact with them. They sometimes have red arrow signs pointing in their direction. | |
| Pinwheel Shooting | Standing near the pinwheel will cause targets to appear. Shoot the targets | |
| Lilies | Dive through a ring of flora to make the Korok appear | |
| Flower Trail | Follow a yellow flower, it will appear and disappear as you follow it | |
| Race | Step on the platform to begin the race and reach the goal ring before time runs out. | |
| Glide Challenge | Step on the platform and glide to the newly spawned platform without touching the ground | |
| Backpack | Transport a Korok to its friend. There are often nearby Zonai Devices you can use to assist in this endeavor. These will reward you with 2 Korok Seeds | |
| Shelter | Cover Statues by building or repairing a roof with nearby materials. | |
| Ascend | Use the Ascend ability to pass through a stump | |
| Dandelion | Attack the Flower to spawn a seed that slowly descends. Interact with the seed before it hits the ground. |
Mini-bosses
Mini-bosses will be covered as they're found along the planned path. If you're having trouble towards the early-game just leave a marker and return later. Lynels will usually be shown on the map, allowing you to fight or avoid as you see fit.
Map
The Map sections used in the map were created using Zelda Dungeon's Interactive TOTK Map. This can also be a useful tool for tracking your progress.
Depths Locations
All Named Locations in the Depths will have a Chest Containing a Large Crystallized Charge which will be useful for increasing your battery meter. All "Abandoned Mine" locations will also contain a Forge Construct that acts as a vendor. Activating the Forge Constructs count for Map Completion %.
Side Quests and Upgrades
When a Side Quest can be completed during a later backtrack it will be noted. All other Side Quests can be completed between planned warps at your own discretion.
Armor can be upgraded as you go past the 'Upgrade Points'. After you unlock the fourth one you can upgrade at your own discretion.
Camera
Once you unlock the Camera you'll need to take pictures of the following enemies at your own discretion. Do not delete these pictures before using them for Side Quests.
| Creature | Image |
| Chuchu | |
| King Gleeok | |
| Horse | |
| Grizzlemaw Bear | |
| Cucco | |
| Eldin Ostrich | |
| Frox | |
| Bokoblin | |
| Aerocuda | |
| Battle Talus | |
| Stalnox | |
| Lynel | |
| Horriblin |
Farming Dragon Parts
Recommend getting Traveler Medallion ASAP, mark with Purah Pad Scope then teleport to nearest po
100% Human-Written. AI Fact-Checked. Community Verified. Learn how AntMag verifies content