Dominate Chivalry 2's battlefields by mastering class abilities and specializations. Learn the strengths of classes like Knight and Man-at-Arms.
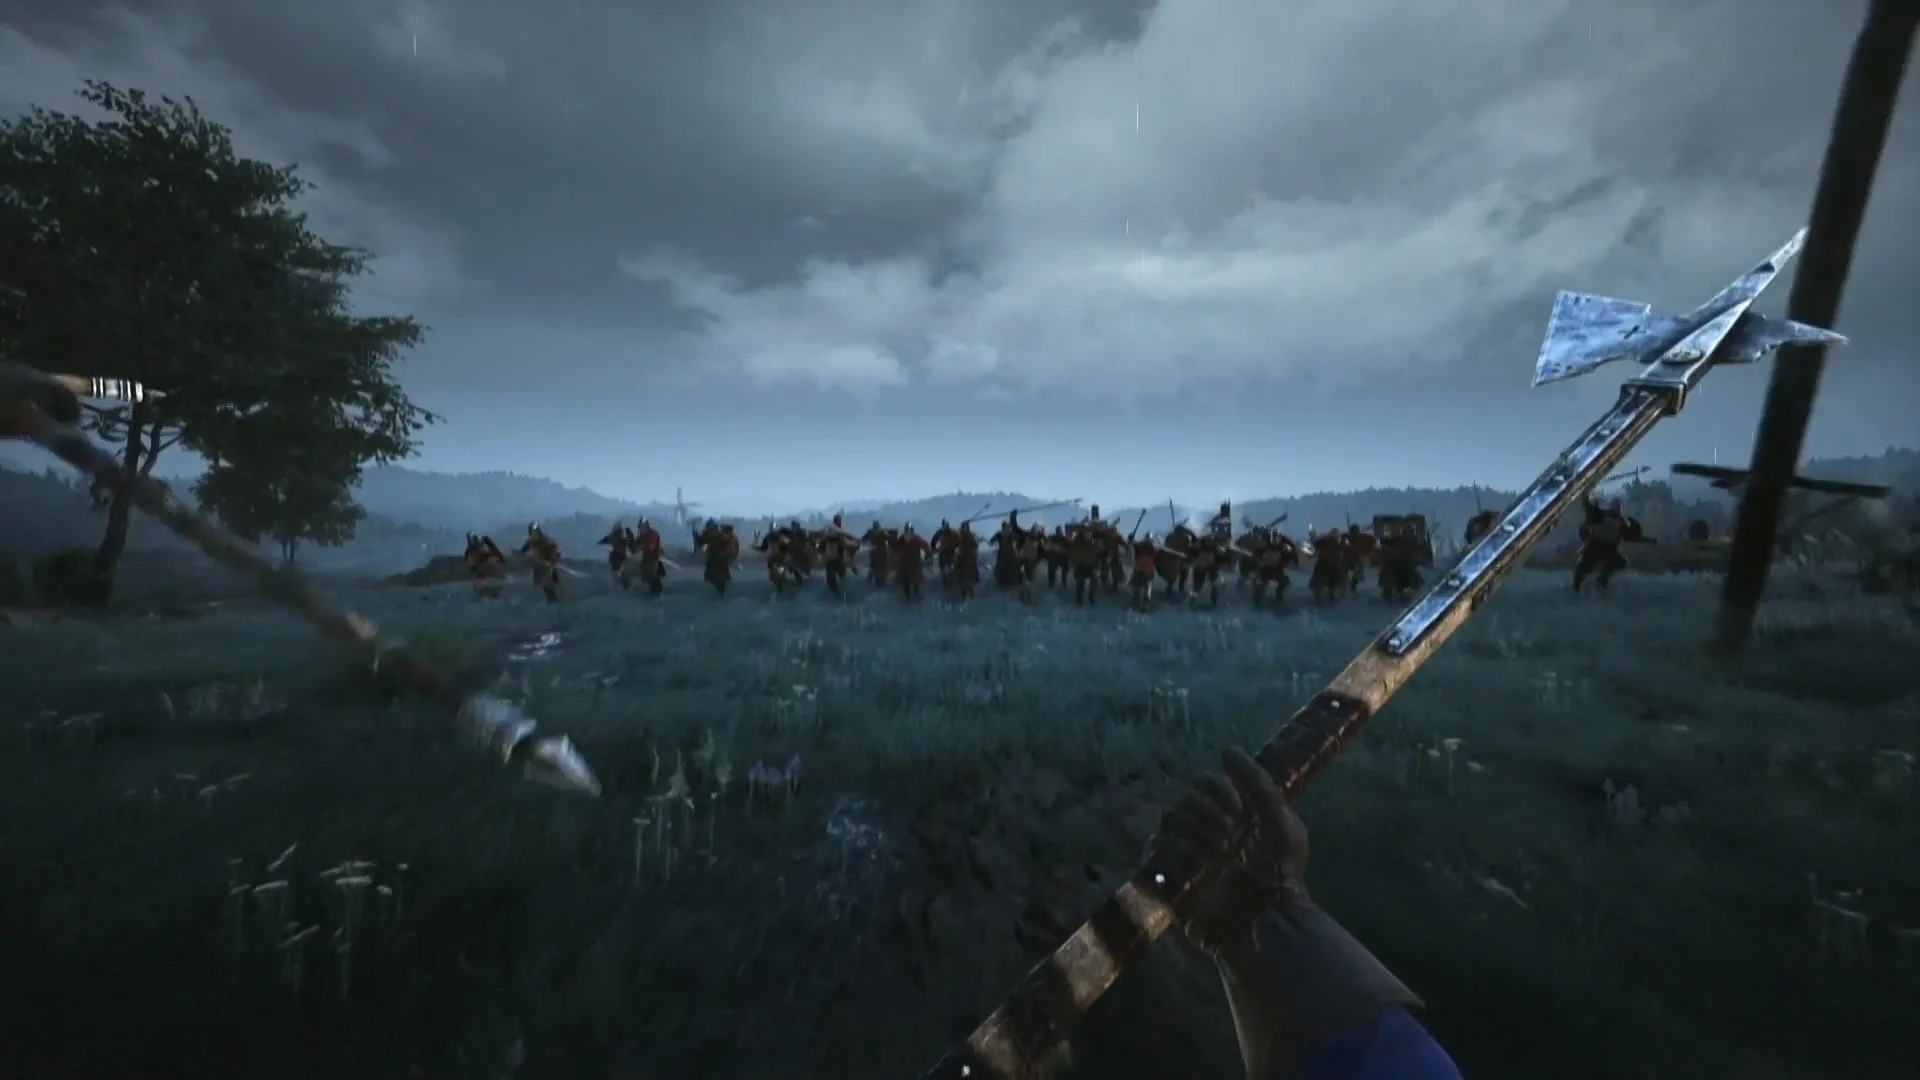
Mastering your chosen class and its unique specializations is paramount to dominating the battlefield in Chivalry 2. Each class offers distinct abilities and weapon proficiencies that, when utilized effectively, can turn the tide of any skirmish or objective push. This guide will break down the core mechanics and provide actionable strategies for maximizing your impact.
Vanguard
The Vanguard is a high-damage, high-mobility class, excelling at flanking maneuvers and disrupting enemy formations. They possess the lowest health pool, making positioning and timing critical.
- Class Ability: Trumpet - The Vanguard's unique ability is the Trumpet. When activated (default key: 'G' on PC, 'Up D-Pad' on console), your character will play a short fanfare, granting a temporary stamina regeneration buff to all nearby allies within a 15-meter radius. This ability has a cooldown of 45 seconds.
- Strategy: Use the Trumpet before engaging in a large team fight or when pushing an objective to ensure your frontline has ample stamina for sustained attacks and blocks. Avoid using it in isolated duels as the animation leaves you vulnerable.
Vanguard Specializations:
- Devastator:
- Weapon Proficiencies: Greatsword, Maul, Battle Axe. These weapons boast high damage and wide arcs, ideal for cleaving through multiple opponents.
- Playstyle: Focus on heavy attacks and cleaving. The Maul, in particular, has a devastating overhead attack that can one-shot lighter classes if landed. Position yourself on the flanks or behind your frontline to unleash unhindered attacks.
- Recommended Loadout: Maul (primary), Short Sword (secondary for quick jabs), Throwing Axes (for ranged harassment or finishing off low-health targets).
- Ambusher:
- Weapon Proficiencies: Dane Axe, Messer, Falchion. These weapons offer a balance of speed and damage, perfect for hit-and-run tactics.
- Playstyle: use your speed to get behind enemy lines, target archers or engineers, and then retreat. The Dane Axe's special attack is a powerful overhead swing that can quickly dispatch unsuspecting foes.
- Recommended Loadout: Dane Axe (primary), Dagger (secondary for quick stabs and parries), Throwing Knives (for silent takedowns or interrupting enemy actions).
Footman
The Footman is a versatile and durable class, capable of holding the line, providing support, and dealing consistent damage. They have a moderate health pool and access to several weapon types.
- Class Ability: Bandage Kit - The Footman's ability is the Bandage Kit. Activating it (default key: 'G' on PC, 'Up D-Pad' on console) allows you to throw a healing bandage that restores a small amount of health to any ally who picks it up. You have 2 bandages per life, and they regenerate over time.
- Strategy: Throw bandages to injured allies in the thick of combat, especially those on the frontline. Consider throwing them at your feet if you're low on health and need a quick top-up, but be aware of the brief animation.
Footman Specializations:
- Poleman:
- Weapon Proficiencies: Halberd, Spear, Glaive. These long-reaching weapons are excellent for controlling space and poking enemies from a safe distance.
- Playstyle: Maintain distance from opponents, using your superior reach to land hits while staying out of their attack range. The Halberd's special attack is a wide horizontal swing that can hit multiple enemies.
- Recommended Loadout: Halberd (primary), Short Sword (secondary for close-quarters defense), Javelins (for ranged attacks or breaking enemy charges).
- Man-at-Arms:
- Weapon Proficiencies: Longsword, One-Handed Spear, Heavy Mace. This specialization offers a balanced approach to combat, with weapons suitable for both offense and defense.
- Playstyle: Adapt to the situation. Use the Longsword for balanced attacks and parries, or the Heavy Mace for crushing damage against armored foes. Your shield (if equipped) provides excellent protection.
- Recommended Loadout: Longsword (primary), Shield (secondary for defense), Throwing Axes (for versatility).
Knight
The Knight is the tankiest class in Chivalry 2, boasting the highest health pool and heavy armor. They excel at absorbing damage, leading charges, and breaking through enemy defenses.
- Class Ability: Oil Pot - The Knight's unique ability is the Oil Pot. When thrown (default key: 'G' on PC, 'Up D-Pad' on console), it creates a small area of fire that damages enemies standing within it for a short duration. It has a cooldown of 60 seconds.
- Strategy: Use the Oil Pot to deny areas, block chokepoints, or flush out entrenched enemies. It's particularly effective on objectives like siege engines or capture points.
Knight Specializations:
- Officer:
- Weapon Proficiencies: Longsword, War Axe, Mace. These weapons offer a good balance of damage and speed, allowing the Officer to be both a formidable fighter and a supportive leader.
- Playstyle: Lead the charge, absorbing damage and creating openings for your teammates. The War Axe's special attack is a powerful overhead chop that can break through blocks.
- Recommended Loadout: Longsword (primary), Shield (secondary for defense), Throwing Knives (for quick interruptions).
- Guardian:
- Weapon Proficiencies: Heavy Mace, One-Handed Spear, Sword. The Guardian focuses on pure defense and crowd control, making them a vital anchor for any team.
- Playstyle: Protect your allies, especially archers and engineers. Use your shield to block incoming projectiles and attacks, and your weapon to punish overzealous enemies. The Heavy Mace is excellent for staggering opponents.
- Recommended Loadout: Heavy Mace (primary), Large Shield (secondary for maximum defense), Throwing Axes (for ranged utility).
Archer
The Archer is a ranged specialist, providing crucial support from a distance. While they have the lowest health, their ability to pick off targets and harass enemies makes them invaluable.
- Class Ability: Quiver - The Archer's ability is the Quiver. Activating it (default key: 'G' on PC, 'Up D-Pad' on console) allows you to drop a Quiver that resupplies arrows or bolts to any ally who interacts with it. You have 1 Quiver per life, and it regenerates over time.
- Strategy: Place Quivers in safe, accessible locations near your team's defensive positions or objective points. This ensures a steady supply of ammunition for all ranged allies.
Archer Specializations:
- Longbowman:
- Weapon Proficiencies: Longbow, Short Sword, Quiver. The Longbowman excels at long-range engagements, delivering powerful, accurate shots.
- Playstyle: Find elevated positions or safe distances to rain arrows down on the enemy. Aim for headshots to maximize damage. Be aware of your limited melee capabilities and retreat if engaged in close combat.
- Recommended Loadout: Longbow (primary), Short Sword (secondary for last resort defense), Quiver (for resupply).
- Crossbowman:
- Weapon Proficiencies: Crossbow, Heavy Crossbow, Short Sword. The Crossbowman sacrifices fire rate for raw stopping power, capable of penetrating armor.
- Playstyle: Focus on high-value targets like Knights or Vanguards. The Crossbow's slower reload time means each shot must count. use cover while reloading.
- Recommended Loadout: Heavy Crossbow (primary), Short Sword (secondary for close-quarters defense), Quiver (for resupply).
- Skirmisher:
- Weapon Proficiencies: Javelins, Throwing Axes, Short Sword. The Skirmisher specializes in medium-range harassment and quick, impactful throws.
- Playstyle: Engage enemies from a slightly closer range than other archers, constantly throwing projectiles to disrupt their formations and chip away at their health. Your melee weapon is more viable in a pinch.
- Recommended Loadout: Javelins (primary), Short Sword (secondary for melee engagements), Quiver (for resupply).
100% Human-Written. AI Fact-Checked. Community Verified. Learn how AntMag verifies content