Conquer Chivalry 2's Last Team Standing with tactical awareness and precise combat. Master this single-life elimination mode to outlast the enemy.
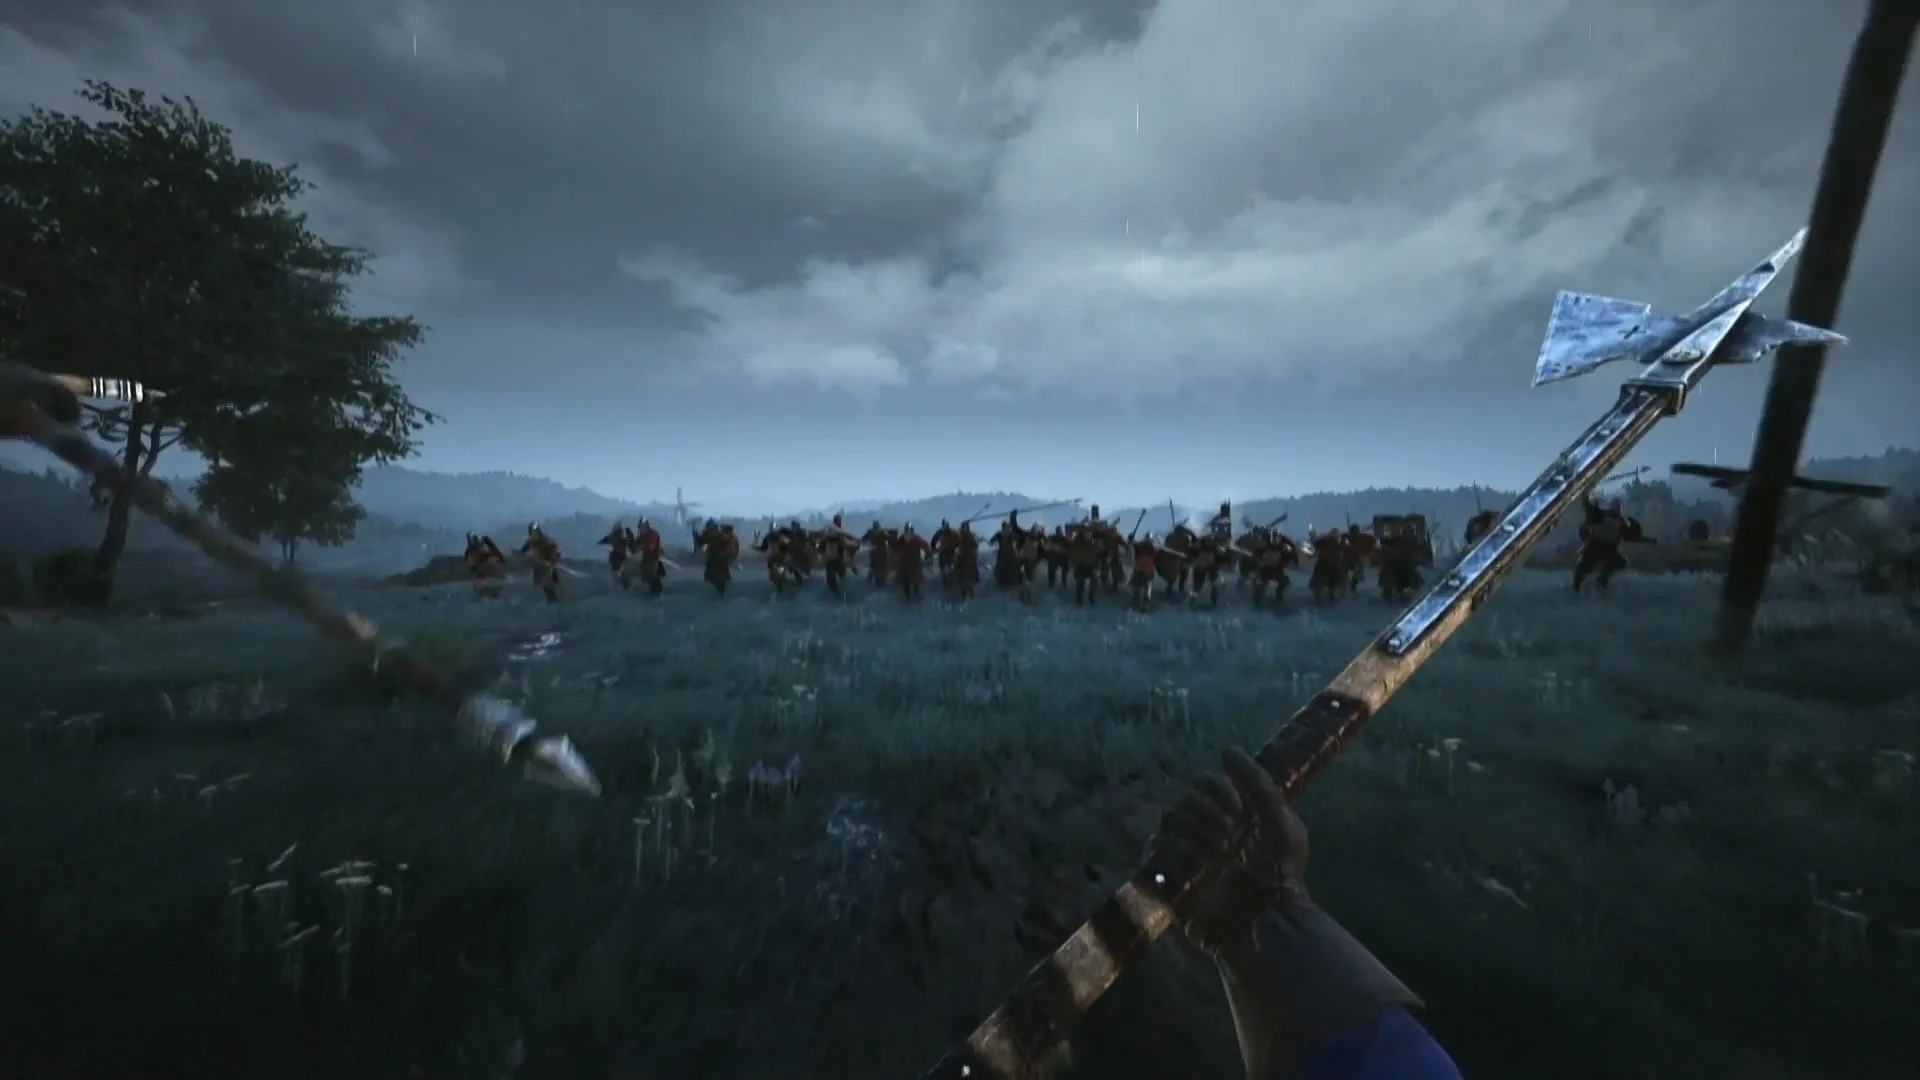
Last Team Standing (LTS) is a brutal, high-stakes game mode in Chivalry 2 where two teams clash in a single-life elimination battle. There are no respawns; once you're down, you're out until the next round. This mode demands tactical awareness, teamwork, and precise combat skills. The last team with a living player wins the round, and the first team to win a set number of rounds (typically 3 or 5) claims victory.
Understanding the Core Mechanics
- Single Life: Every life counts. Dying means you're out for the rest of the round. This drastically changes combat engagement – reckless charges are often punished.
- Round-Based: LTS is played in rounds. The team that eliminates all opposing players wins the round.
- No Respawns: Unlike other modes, there are no respawn waves. Once you're dead, you become a spectator until the next round begins.
- Limited Health & Stamina Regeneration: Health regeneration is minimal or non-existent in active combat, making every hit taken significant. Stamina management is crucial.
- Objective-Free: Unlike Team Objective, there are no specific points to capture or objectives to complete. The sole goal is to eliminate the enemy team.
General Strategies for Success
Team Composition & Class Selection
A balanced team is key. While personal preference plays a role, consider the following:
- Vanguard (Ambusher/Devastator): Excellent for flanking, burst damage, and disrupting enemy formations. Ambushers with their
Daggers orShort Sword can quickly dispatch isolated targets. Devastators with theirGreatsword orMaul can cleave through multiple enemies. - Footman (Man-at-Arms/Poleman): The backbone of any formation. Man-at-Arms with their
One-Handed Spear orSword and shield are excellent for holding lines and poking. Polemen with theirHalberd orLongbow (if you dare to be a ranged Poleman) offer reach and crowd control. - Knight (Officer/Guardian): Tanky and resilient. Officers with their
Longsword orMace can lead charges and absorb damage. Guardians with theirHeavy Shield andWar Axe are formidable defensive units, capable of protecting archers or holding bottlenecks. - Archer (Longbowman/Crossbowman/Skirmisher): While often maligned, a skilled archer can provide crucial support.
Longbowmen offer long-range harassment,Crossbowmen deliver high-impact shots, andSkirmishers with theirJavelins can be surprisingly effective in close quarters. However, be wary of becoming an easy target.
Recommendation: Aim for a mix of 2-3 Knights/Footmen for the frontline, 1-2 Vanguards for flanking, and 1-2 Archers for ranged support. Avoid too many archers unless they are exceptionally skilled and well-protected.
Initial Positioning & Movement
- Stick Together: The golden rule of LTS. A lone player is a dead player. Move as a cohesive unit.
- Utilize Cover: Use environmental features like rocks, walls, and structures to break line of sight from archers and funnel enemy advances.
- High Ground Advantage: If available, taking the high ground provides a tactical advantage, allowing you to rain down attacks and observe enemy movements.
- Flanking Routes: Identify potential flanking routes on each map. Vanguards excel at using these to surprise and disrupt enemy formations.
Engaging the Enemy
- Focus Fire: Identify and prioritize targets. Focusing attacks on a single enemy will eliminate them faster, reducing the enemy's numbers. Call out targets to your team.
- Avoid Overextending: Don't rush ahead of your team. You'll be quickly overwhelmed. Maintain a strong defensive line.
- Counter-Attacks: Look for opportunities to counter-attack after the enemy commits to an attack. A well-timed counter-charge can break their formation.
- Stamina Management: Blocking and dodging consume stamina. Don't spam these actions. Conserve stamina for crucial moments. A disarmed player is a vulnerable player.
- Special Abilities: Use your class's special ability strategically. For example, a Knight's
Horn can provide a crucial health boost, or a Footman'sBandage Kit can save a teammate. - Weapon Throws: Don't underestimate the power of a well-aimed weapon throw, especially against low-health targets or archers.
Managing Disadvantages (When Your Team is Down in Numbers)
- Don't Panic: Even if you're outnumbered, a coordinated effort can still win.
- Retreat & Re-group: If you're losing the engagement, try to disengage and fall back to a more defensible position. Don't feed the enemy easy kills.
- Exploit Chokepoints: Use narrow passages or doorways to funnel the enemy, making it easier to defend against multiple attackers.
- Target Weaknesses: Focus on enemies with low health or those who are isolated.
- Last Stand: If it's down to one or two of you against many, try to take down as many as possible before you fall. Sometimes, a heroic last stand can demoralize the enemy for the next round.
Map-Specific Strategies (Examples)
Tournament Grounds
- Center Arena: The main clash often occurs in the open center. Utilize the surrounding pillars for cover against archers.
- Flanking Tunnels: The tunnels on either side of the arena are excellent for Vanguards to flank the enemy's main push.
- High Platforms: Archers can position themselves on the raised platforms for a clear view, but they are also vulnerable to flanking Vanguards or well-aimed throws.
Fallen Fighters
- Central Bridge: A major chokepoint. Knights and Footmen with shields can hold this effectively.
- Side Paths: The paths around the bridge offer flanking opportunities, but can also lead to being isolated.
- Water Hazards: Be mindful of the water; falling in can be a death sentence if you're under pressure.
Wardenglade
- Open Fields: Offers little cover, making archers more potent. Stick close to your team.
- Central Rock Formations: Can be used for temporary cover or to break line of sight.
- Forest Edges: Vanguards can use the tree lines for stealthy approaches.
Advanced Tactics
- Feinting & Kicking: Master these mechanics to open up opponents for damage. A well-timed kick can break a block and leave them vulnerable.
- Team Kills: Be extremely careful with friendly fire. A single misaimed swing can cripple your own team.
- Voice Chat/Pings: If playing with friends, use voice chat for callouts. Even with strangers, using the in-game ping system (default 'Z') to mark enemies or objectives can be invaluable.
- Baiting: Sometimes, a single player can intentionally draw enemy attention, allowing the rest of the team to flank or attack from another angle. This is risky and requires excellent coordination.
- Weapon Switching: Don't forget your secondary weapon. A
Short Sword orDagger can be a lifesaver when your primary weapon is too slow in a tight spot.
LTS is a test of skill, patience, and teamwork. By understanding these strategies and practicing them, you'll significantly improve your chances of leading your team to victory in the brutal arenas of Chivalry 2.
100% Human-Written. AI Fact-Checked. Community Verified. Learn how AntMag verifies content