Dominate Chivalry 2's Team Deathmatch. Learn map layouts and combat strategies to lead your team to victory in this fast-paced, kill-focused mode.
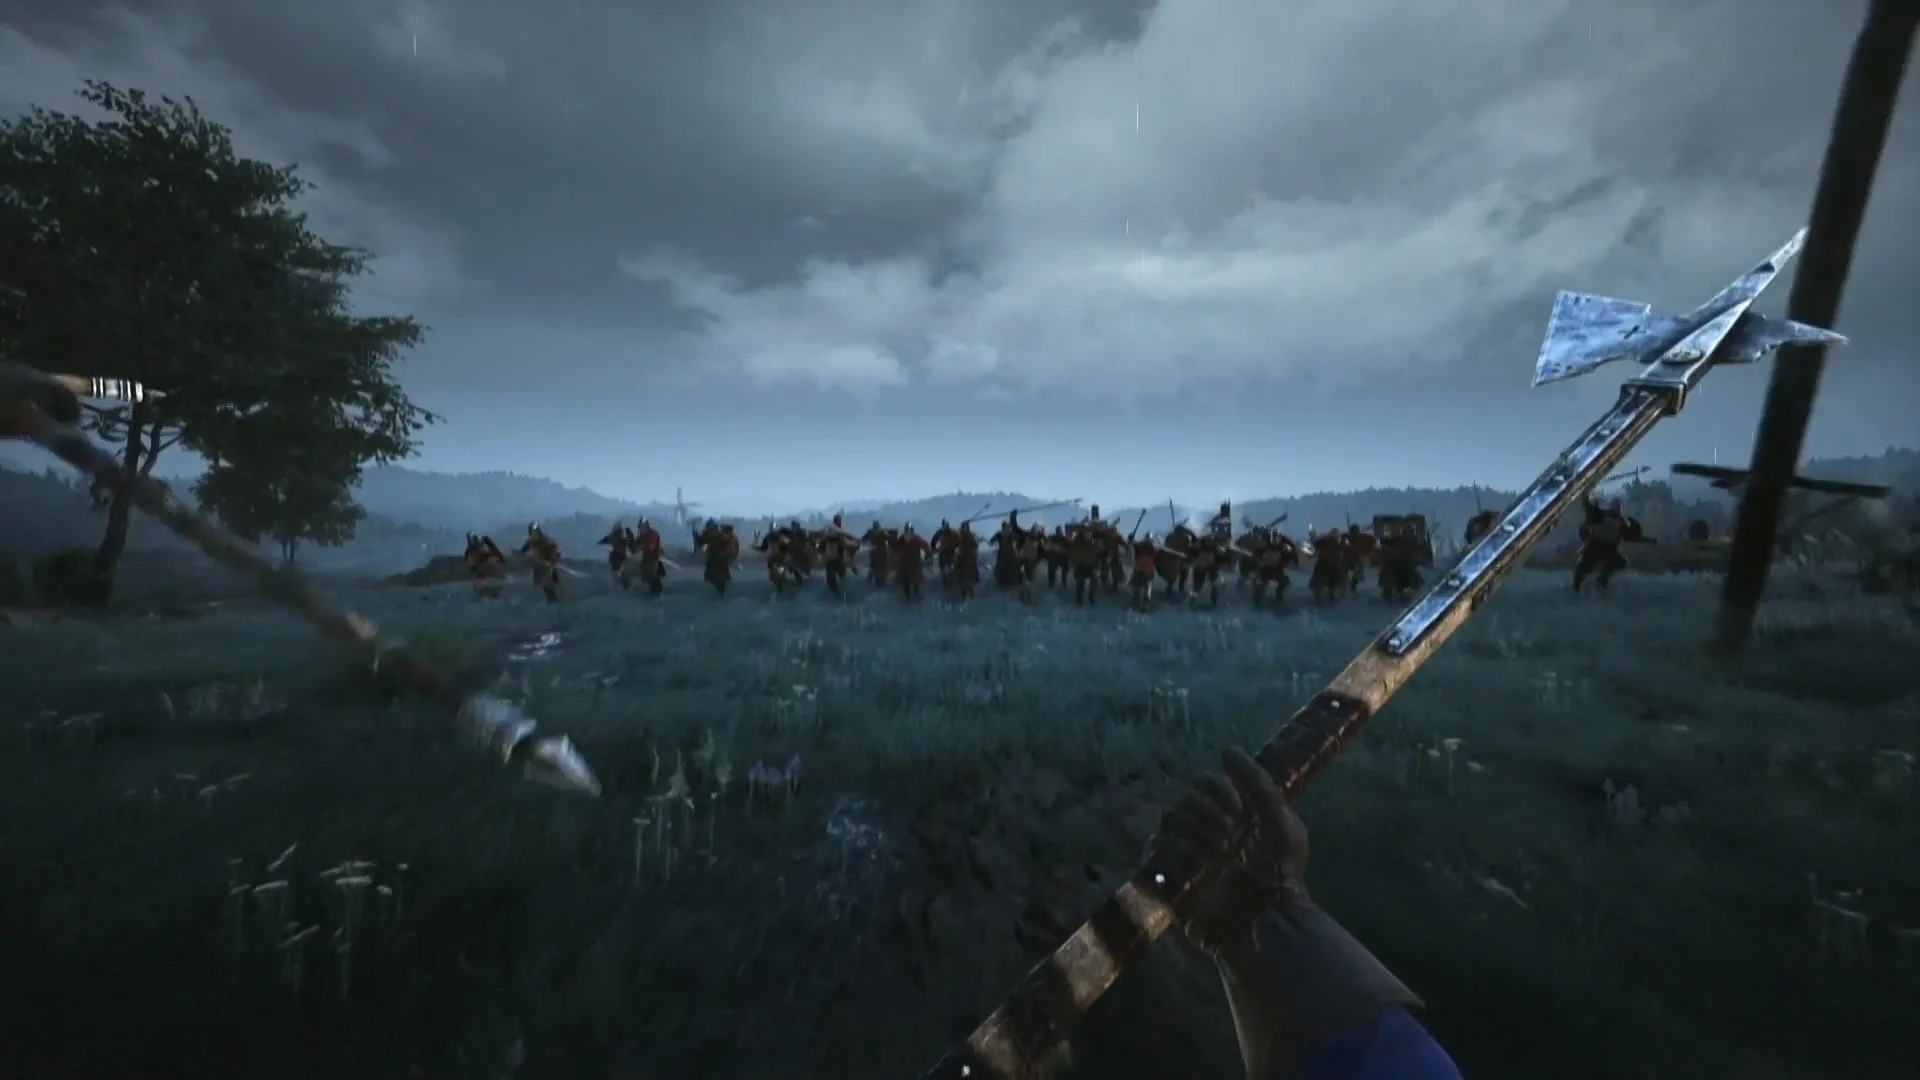
Team Deathmatch in Chivalry 2 is a brutal, fast-paced battle for supremacy where two teams clash until one reaches a predetermined kill count. Unlike Objective modes, TDM is purely about individual and team combat prowess. Understanding the flow, map layouts, and effective combat strategies is key to dominating the battlefield.
General TDM Strategies
- Stick Together (Mostly): While it's tempting to rush in, a lone wolf is often a dead wolf. Try to move in small groups (2-3 players) to support each other, especially against multiple opponents. However, don't clump up too tightly, as this makes you vulnerable to area-of-effect attacks like the Catapult or a well-placed Oil Pot.
- Flank and Ambush: Many TDM maps offer flanking routes. use these to surprise enemies engaged with your teammates. A well-timed charge from the side or rear can turn the tide of a skirmish.
- Target Priority: Don't just swing wildly. Prioritize enemies who are low on health, engaged with your teammates, or are high-threat targets (e.g., a Longbowman raining arrows from a distance, or a Vanguard with a Greatsword cleaving through your lines).
- Manage Your Stamina: Stamina is your lifeblood. Don't spam attacks. Use feints, blocks, and dodges judiciously. Running out of stamina leaves you vulnerable to disarms and easy kills.
- use the Environment: Look for environmental hazards like ledges to push enemies off, or tight corridors to funnel them into for easier cleaves.
- Don't Be Afraid to Retreat: If you're outnumbered or low on health, disengage and find a safer position or a health pack. A living teammate is more valuable than a dead hero.
Map-Specific Tactics & Item Locations
Each TDM map presents unique challenges and opportunities. Understanding these can give your team a significant edge.
Fighting Pit
A classic gladiatorial arena. Expect constant, close-quarters combat.
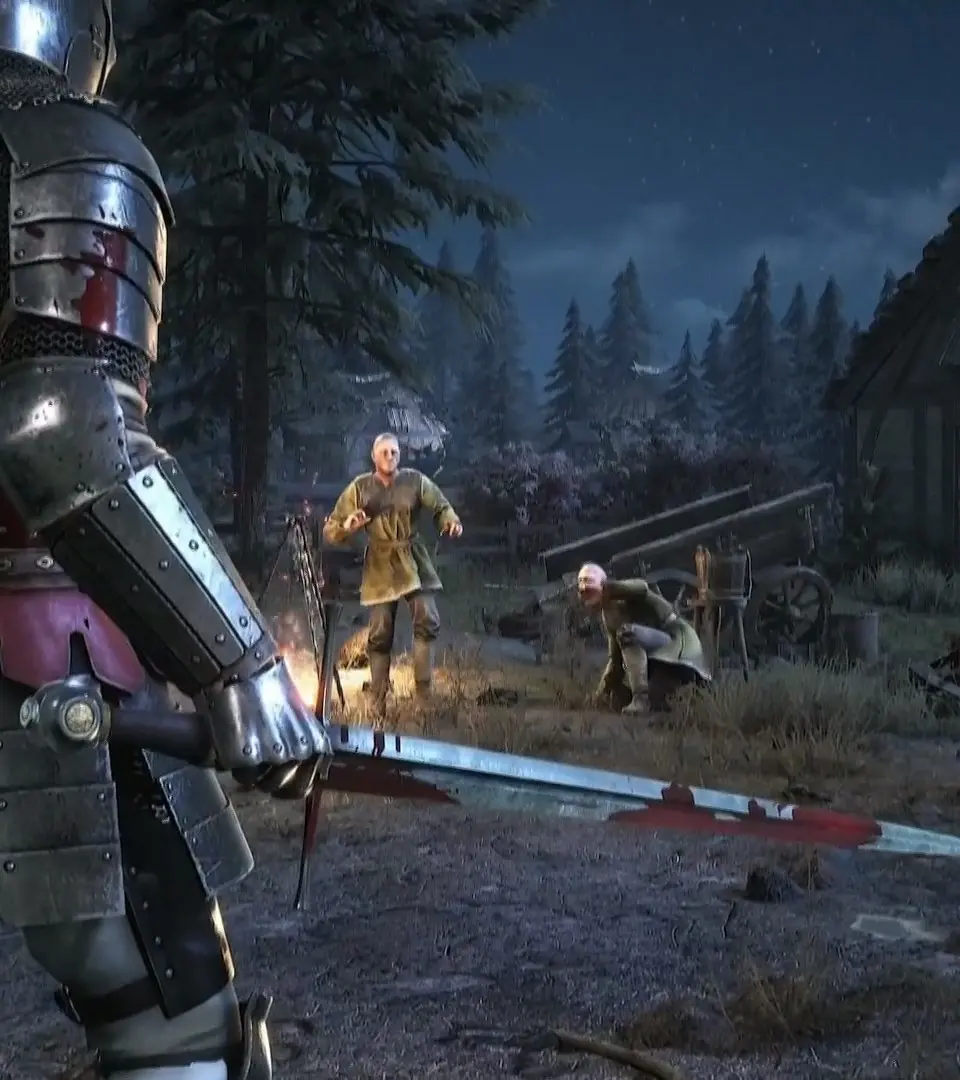
- Central Pit: The main combat zone. Expect chaos. Great for Vanguards and Knights with cleaving weapons.
- Upper Walkways: Offers a slight height advantage for Archers and Footmen with javelins or throwing axes. Be wary of enemies pushing up the stairs.
- Health Packs: Scattered around the outer ring of the pit and on the upper walkways. Look for the glowing green crosses.
- Weapon Racks: Several racks are available, often containing One-Handed Spears and Shields, useful for defensive play or throwing.
Tournament Grounds
A more open map with distinct lanes and a central jousting arena.
- Jousting Lane: A long, open stretch perfect for charging attacks and ranged combat. Archers can dominate this area if protected.
- Side Paths: use the paths around the jousting lane to flank enemies. The tents and structures provide cover.
- Central Pavilion: A contested area, often leading to intense melees. Control of this grants a good overview of the map.
- Health Packs: Found near the spawn points and within the tents surrounding the jousting lane.
- Ballistae: One Ballista is typically located on a raised platform overlooking the jousting lane. A skilled operator can rack up kills, but it's a vulnerable position.
Wardenglade
A large, open field with a central fort and surrounding forests. Offers a mix of open and close-quarters combat.
- Central Fort: A key strategic point. Holding the fort provides cover and elevated positions. Expect heavy resistance when pushing or defending.
- Forests: Excellent for flanking maneuvers and ambushes. Vanguards and Footmen can excel here with their speed and ability to navigate tight spaces.
- Open Fields: Ideal for Archers and Knights with longer-reaching weapons. Be mindful of incoming projectiles.
- Health Packs: Scattered throughout the fort and near the edges of the map in less contested areas.
- Catapults: Often one Catapult is available near one of the team's spawn points, overlooking the central fort. Effective for breaking enemy formations but requires good communication.
Askandir
A desert-themed map featuring ruins, narrow passages, and open courtyards.
- Ruined Structures: Provide cover and opportunities for ambushes. Use the broken walls to your advantage.
- Central Courtyard: A large, open area that often becomes the focal point of combat. Be wary of being surrounded.
- Narrow Passages: Excellent for funneling enemies and using cleaving attacks. Footmen with Halberds or Spears can hold these chokepoints effectively.
- Elevated Positions: Some ruins offer height advantages for ranged classes.
- Health Packs: Found within the ruined structures and along the outer edges of the map.
Class-Specific TDM Tips
While general strategies apply, each class excels in different aspects of TDM.
Vanguard
- Charge! Your special ability is fantastic for initiating combat or escaping. Use it to close gaps or break through enemy lines.
- Flanking: Your speed makes you an excellent flanker. Get behind enemies and disrupt their formations.
- Greatswords & Polearms: use the long reach and cleave of weapons like the Greatsword or Poleaxe in crowded engagements.
Knight
- Frontline Anchor: Your high health and strong armor make you ideal for holding the front line. Absorb damage and create openings for your teammates.
- Shield Wall: If using a shield, use it to protect Archers or to advance safely into enemy fire.
- Heavy Weapons: Weapons like the Longsword or Mace are versatile and powerful.
Footman
- Support & Control: Your special abilities (e.g., Bandage Kit for the Field Engineer, or the Horn for the Poleman) are crucial for team sustain and morale.
- Chokepoint Dominance: With Spears and Halberds, you can control narrow passages and keep enemies at bay.
- Throwables: Don't forget your throwing weapons (Javelins, Throwing Axes) for softening up targets or finishing off fleeing enemies.
Archer
- Positioning is Key: Find elevated or protected positions that offer clear lines of sight to the main battle. Avoid being on the front line.
- Target Priority: Focus on enemies engaged with your teammates, or high-threat targets like enemy Archers or Vanguards.
- Melee Defense: If an enemy closes the distance, switch to your secondary weapon (Short Sword, Dagger) and try to defend yourself or retreat. Don't try to out-melee a Knight.
100% Human-Written. AI Fact-Checked. Community Verified. Learn how AntMag verifies content