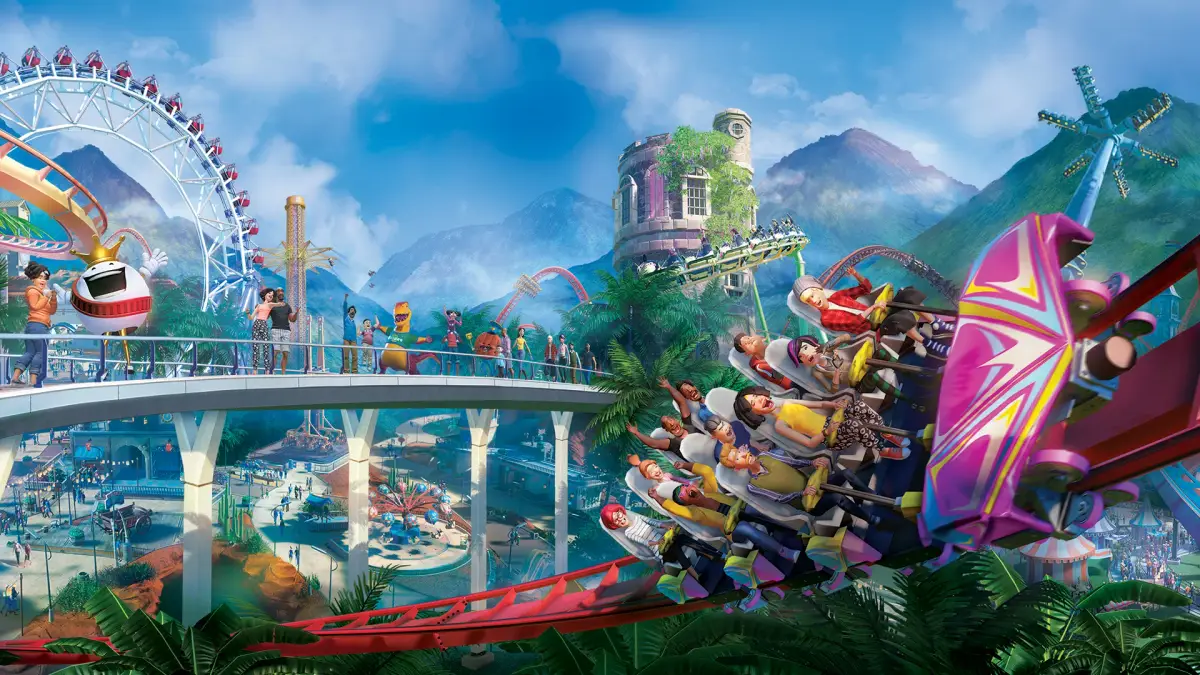
Master Planet Coaster's cinematic camera tools. Learn advanced controls to capture stunning ride POVs and showcase your park creations with breathtaking detail.
Beyond the basic point-and-click camera, Planet Coaster offers a robust suite of advanced camera controls and dedicated cinematic tools. Mastering these will elevate your park presentations, allow for stunning ride POVs, and help you capture the true essence of your creations. This detailed guide will walk you through unlocking and utilizing these powerful features.
Free Camera Mode (F11)
The Free Camera Mode is your primary tool for unfettered exploration and precise framing. Activated by pressing F11, this mode detaches the camera from any fixed point, allowing for complete freedom of movement and rotation.
- Activation: Press F11 to toggle Free Camera Mode on/off.
- Movement: Use W, A, S, D to move the camera forward, left, backward, and right, respectively.
- Vertical Movement: Use Q to move the camera down and E to move the camera up.
- Rotation: Hold down the right mouse button and drag to rotate the camera's view.
- Speed Control: Adjust the camera movement speed using the mouse scroll wheel. Scrolling up increases speed, scrolling down decreases it. For very fine adjustments, hold Shift while scrolling.
- Focus Point: While in Free Camera, you can click on any object to set it as a temporary focus point. The camera will then orbit around this point when rotating, which is excellent for detailed inspections of rides or scenery.
Ride Camera (U)
The Ride Camera, activated by pressing U, allows you to experience your creations from the perspective of a guest on a ride. This is invaluable for testing ride layouts, identifying potential "dead spots," and capturing thrilling POVs.
- Activation: Select a ride, then press U. The camera will automatically snap to a seat on the ride.
- Cycling Seats: While on a ride, press U again to cycle through available seats or viewpoints on that ride. Some rides have multiple camera angles (e.g., front car, back car, different seats).
- Exiting Ride Camera: Press U again after cycling through all available views, or press F11 to switch to Free Camera Mode, or Esc to return to the standard park view.
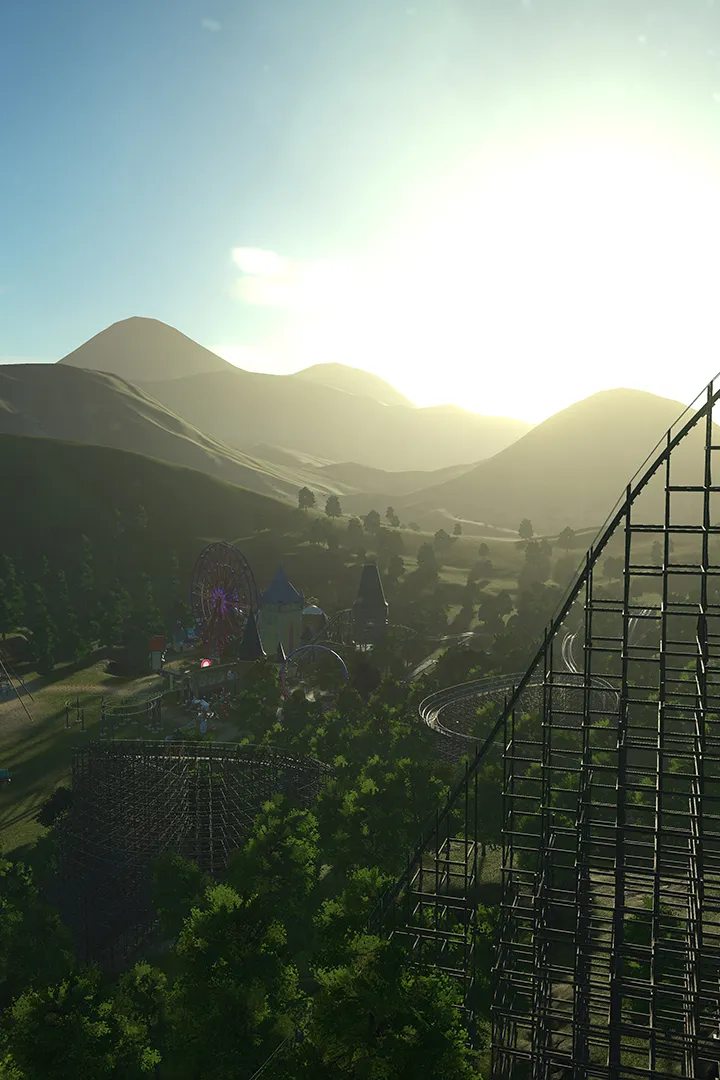
- Cinematic Potential: Combine Ride Camera with recording software for stunning ride POVs. Consider using the in-game time-of-day controls (accessible via the Park Management tab, then Park Settings, then Time of Day) to capture rides at sunset or night for added atmosphere.
Path Camera (T)
The Path Camera, toggled with T, allows you to follow a guest's perspective as they walk along a path. This is fantastic for showcasing guest flow, park layout, and the overall guest experience.
- Activation: Select a path segment, then press T. The camera will attach to a virtual guest walking along that path.
- Cycling Guests: Press T again to cycle through different guests walking on the selected path segment.
- Speed Control: The camera's speed is tied to the guest's walking speed. You cannot directly control it, but you can observe how guests navigate your park.
- Exiting Path Camera: Press T again after cycling through guests, or press F11 to switch to Free Camera Mode, or Esc to return to the standard park view.
Cinematic Editor (Sequence Editor)
For truly professional-looking videos and presentations, the Cinematic Editor (often referred to as the Sequence Editor by veteran players) is your ultimate tool. This allows you to create custom camera paths, set keyframes, and control camera movement over time.
- Accessing the Editor:
- First, ensure you are in Free Camera Mode (F11).
- Press Ctrl + Shift + G to open the Cinematic Editor panel.
- Creating a New Sequence:
- In the Cinematic Editor panel, click the "New Sequence" button.
- Give your sequence a descriptive name (e.g., "Main Entrance Flyover," "Coaster POV").
- Adding Keyframes:
- Move your Free Camera to the desired starting position and orientation for your shot.
- In the Cinematic Editor, click the "Add Keyframe" button. This records the camera's current position, rotation, and field of view.
- Move your Free Camera to the next desired position and orientation.
- Click "Add Keyframe" again. Repeat this process for all the points you want your camera to pass through.
- Adjusting Keyframe Properties:
- Select a keyframe in the timeline at the bottom of the Cinematic Editor.
- You can adjust the "Time" value for each keyframe to control the duration between keyframes, thus influencing the camera's speed.
- The "Ease In" and "Ease Out" options control the acceleration and deceleration of the camera as it approaches and leaves a keyframe, creating smoother transitions.
- "Field of View (FOV)" can also be adjusted per keyframe, allowing for dynamic zoom effects.
- Previewing Your Sequence:
- Use the playback controls (Play, Pause, Stop) in the Cinematic Editor to preview your camera sequence.
- The "Loop" option is useful for continuous playback during adjustments.
- Saving and Loading Sequences:
- You can save your created sequences using the "Save Sequence" button. This allows you to reuse them or share them.
- Load previously saved sequences using the "Load Sequence" button.
- Advanced Tips for Cinematic Editor:
- Smoothness: Use fewer keyframes for long, sweeping shots and more keyframes for intricate, detailed movements. Experiment with "Ease In" and "Ease Out" to avoid jerky movements.
- Storytelling: Plan your camera movements to tell a story. Start wide, zoom in on details, follow a ride, then pull back for a grand reveal.
- Lighting: Remember to adjust the time of day (Park Management > Park Settings > Time of Day) to achieve desired lighting conditions for your sequence. Golden hour (sunrise/sunset) often provides the most dramatic visuals.
- Hiding UI: Before recording, press Ctrl + G to hide the entire user interface, ensuring a clean, unobstructed view of your park.
By mastering these advanced camera controls and cinematic tools, you'll transform your Planet Coaster experience from simple park building into a true directorial endeavor, capable of producing breathtaking showcases of your creative genius.
100% Human-Written. AI Fact-Checked. Community Verified. Learn how AntMag verifies content