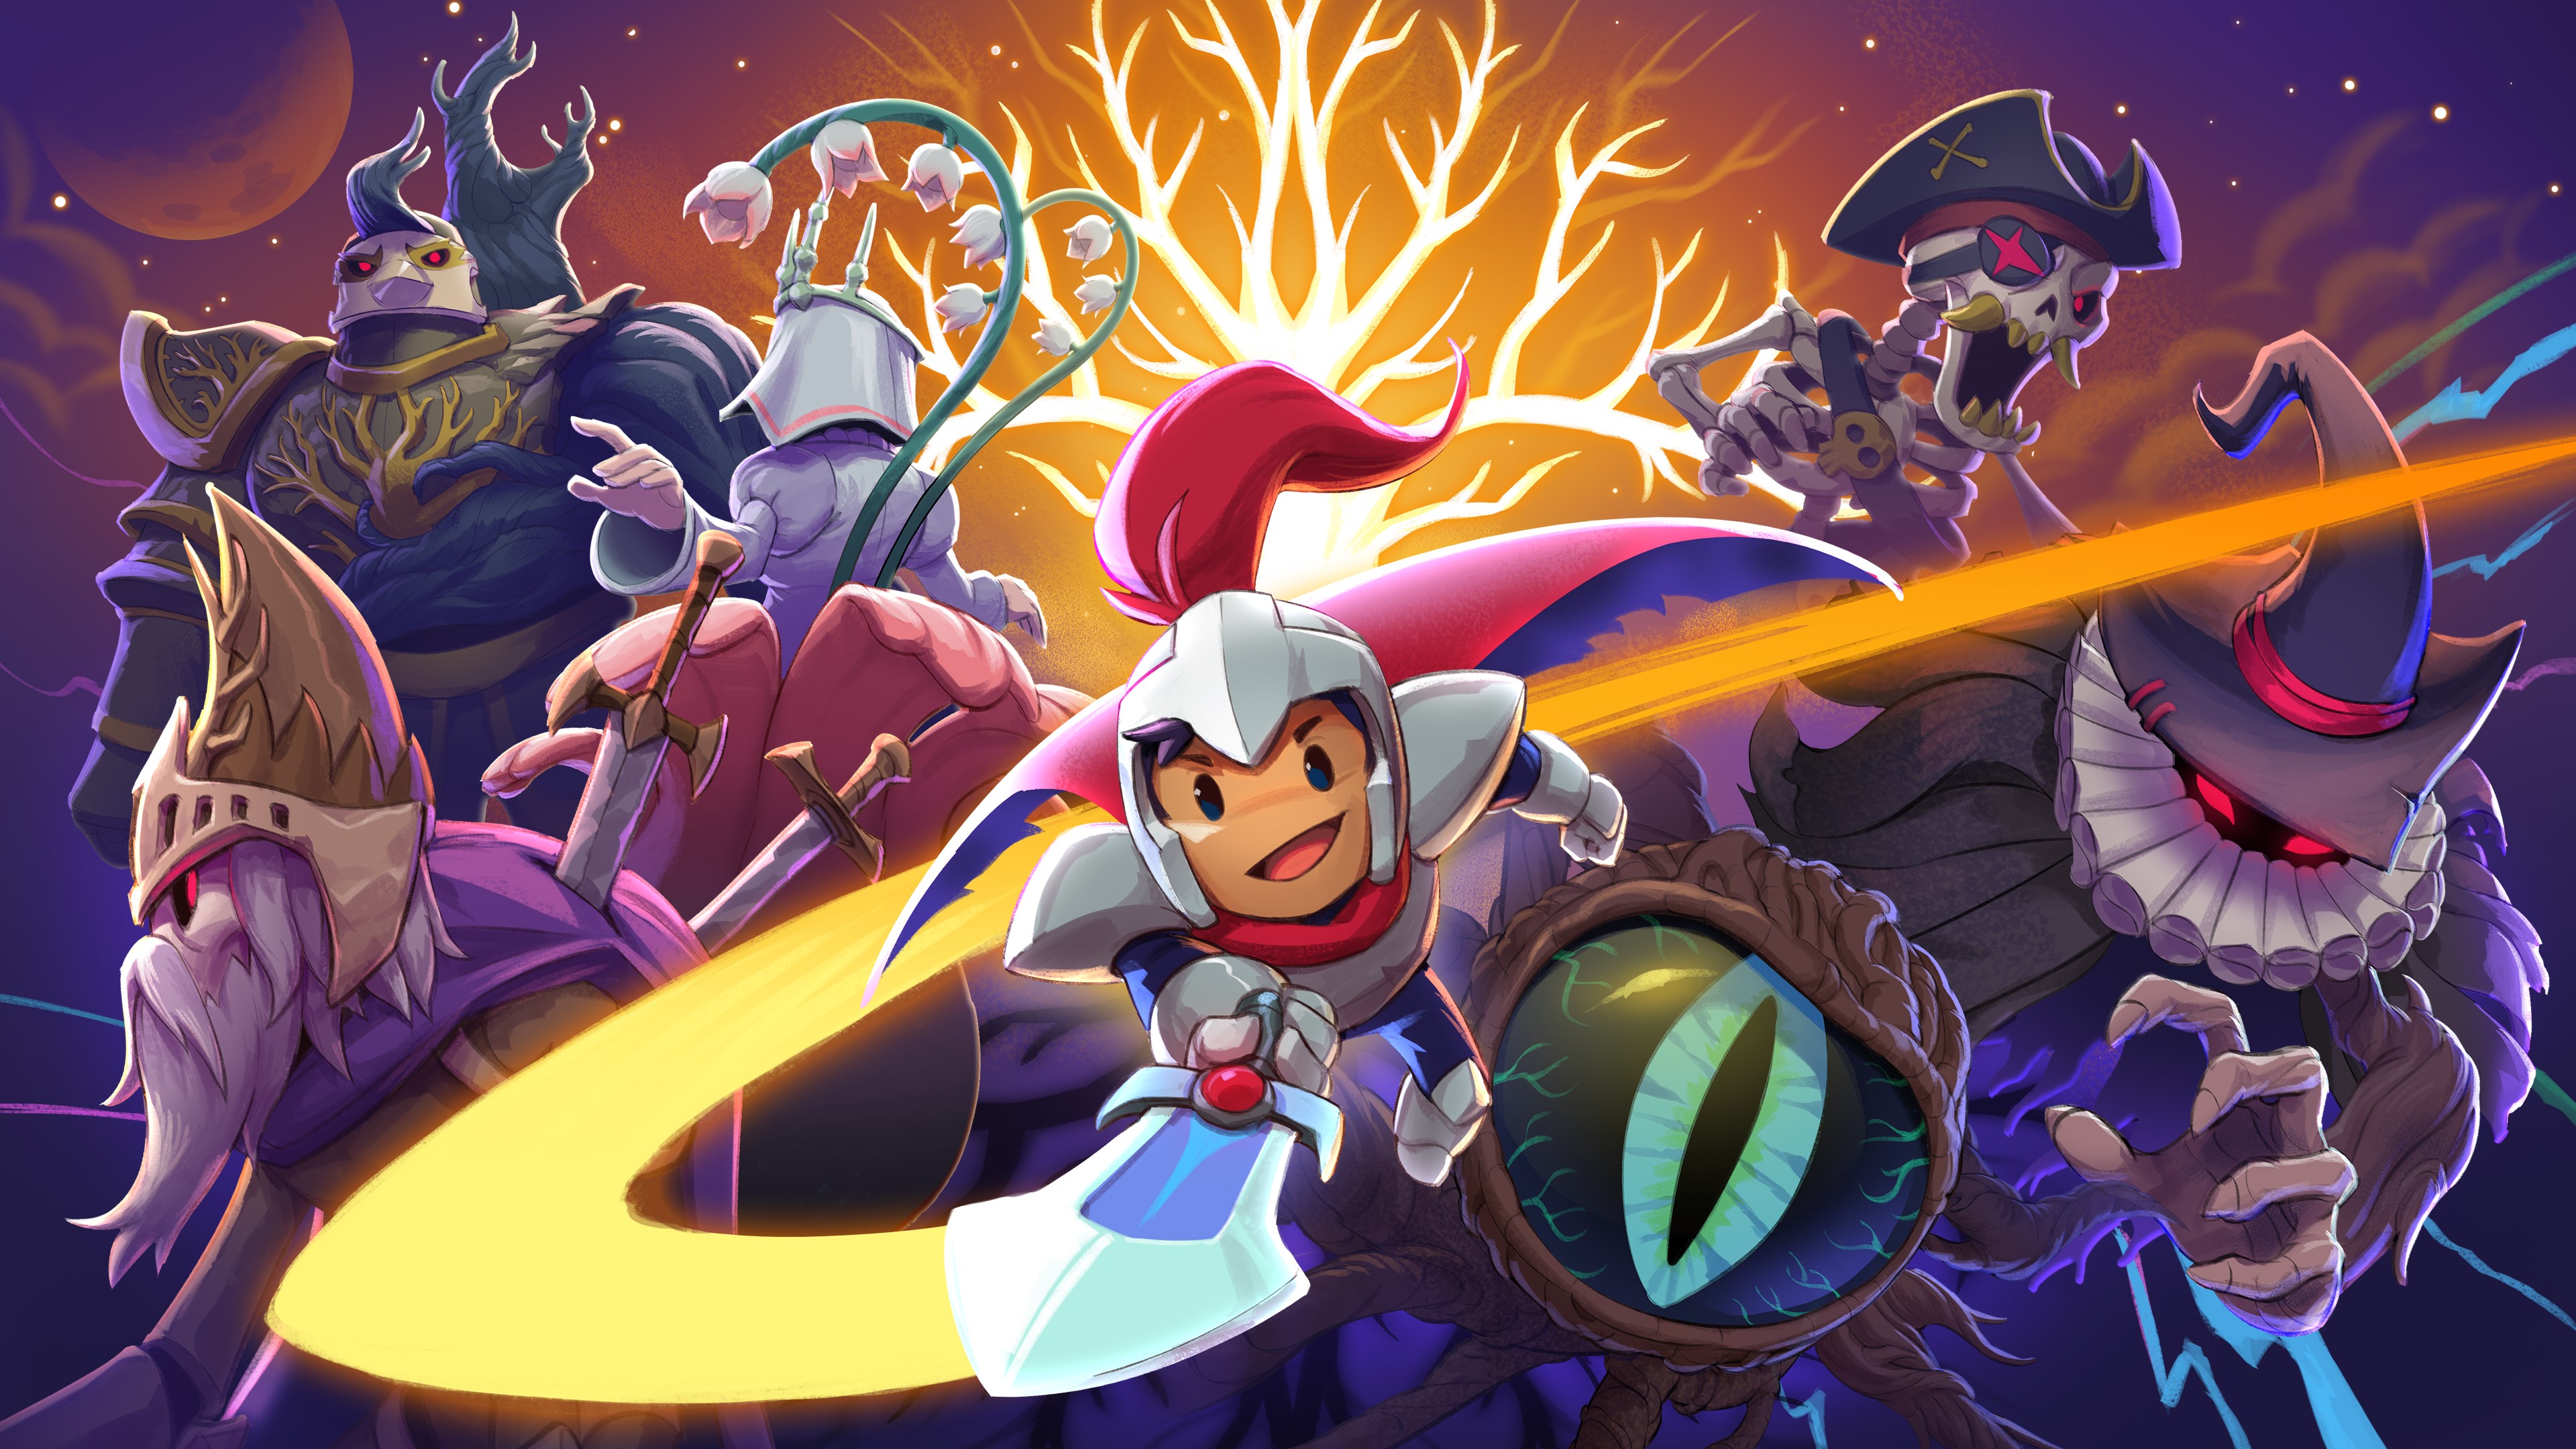
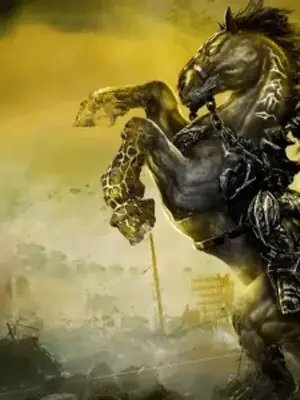
Welcome to Rogue Legacy 2, a genealogical rogue-lite where every descendant you play as is unique, and every death brings you closer to overcoming the challenges of its ever-changing world. You'll explore vast, randomized castles, battle challenging enemies, and upgrade your lineage to tackle increasingly difficult biomes. The grind is optional, but progression is persistent, meaning your efforts are never truly lost.
This guide will help you navigate the treacherous depths of Rogue Legacy 2. We'll cover everything from finding all the hidden collectibles and mastering the intricate boss fights, to understanding the game's multiple endings and achieving those coveted Gold Medals. Whether you're struggling with the notorious Sun Tower or aiming for a perfect run, we've got you covered.
Part 1
Learn how to start Rogue Legacy 2, including the tutorial, first heir Sir Lee, and the Manor upgrades.
- 1Begin the game and pay attention to the introductory tutorial sequence, which sets up the story. You start as an unnamed character in sepia tones.
- 2Navigate the initial castle area, following on-screen prompts. You can interact with objects like statues and chandeliers.
- 3Encounter early enemies that are easy to defeat or ignore.
- 4Proceed through a hallway with statues to a door.
- 5Enter a large chamber and defeat the king sitting inside.
- 6After defeating the king, you begin your legacy. You will start as a new knight in full color, known as Sir Lee, a paladin with no traits, unique stats, or skills, making him a weak starting character.
- 7You can explore the Manor to upgrade skills with collected gold or practice controls in the field.
- 8When ready, enter the castle. You will arrive in the lobby room, which contains a teleporter (usable after discovering another one), the golden door to the inner castle, the map, and the journal.
- 9Proceed past the lobby into the main dungeon area.
- The game incorporates permadeath (permanent death) and randomly generated levels, a combination the developers call a "rogue-lite".
- Instead of starting over completely after death, you choose a new heir, retaining collected gold for equipment and stat upgrades. This makes death a necessary part of progression.
- The castle is composed of 4 main areas plus a fifth smaller one: The Castle, The Forest, The Maya, The Darkness, and sometimes the Inner Castle.
- The randomly generated levels mean the arrangement and order of rooms vary each playthrough, though the rooms themselves are pre-built and may contain different monsters over time.
- The goal is to progress as far as possible and improve with each subsequent heir.
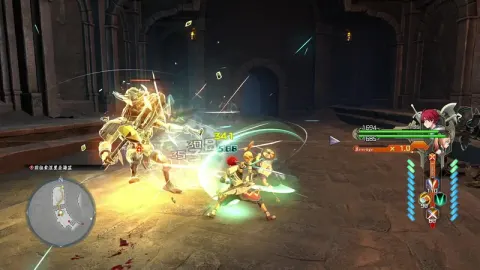
- Use a mixture of maneuvering and swift attacking to succeed in the dungeon.
- Don't worry if you die quickly at first; the game is designed that way. Your second run will be different with upgrades purchased using gold from your previous attempt.
Part 2
So you've beaten the game? Time for New Game Plus (The Threads of Fate)! Learn about Burdens, difficulty modifiers, and what changes in NG+.
Part 3
Rogue Legacy 2 Journal Entries 7-20 detail the adventurer's journey through the castle, forest, tower, and dungeon, facing beasts and hunger.
- 1Journal Entry #7 describes the adventurer's exhilaration and suspicion of the castle's malicious intent.
- 2Journal Entry #8 notes that many adventurers died from lack of provisions, missing clothes, and that the current adventurer is the furthest anyone has made it.
- 3Journal Entry #9 expresses frustration with the silent throne room door, noting icons that may relate to beasts within the castle.
- 4Journal Entry #10 confirms that slaying a beast matching an icon on the throne room door causes a shift, and the adventurer resolves to rest before entering the Forest.
- 5Journal Entry #11 describes the serene yet terrifying Forest, with a chasm threatening to swallow the adventurer.
- 6Journal Entry #12 details finding solutions to hunger in the Forest, including mushrooms with chicken legs, gold coins, and vials of sparkling water from broken tree trunks.
- 7Journal Entry #13 states the beast of the Forest was slain, weakening the throne room, and the adventurer plans to scour the tower next.
- 8Journal Entry #14 describes clearing rooms in the tower, losing track of time and memory, and experiencing vertigo.
- 9Journal Entry #15 reflects on being a famous adventurer, martial prowess, and a father's favoritism towards bookish brothers.
- 10Journal Entry #16 questions how much time has passed, proficiency in clearing monsters, forgetting kin, and the possibility of brothers beating them to a cure or being mistaken for a monster.
- 11Journal Entry #17 recounts stumbling upon a carnival within the castle, complete with a sad clown, and finding chicken legs in a chandelier.
- 12Journal Entry #18 confirms the beast of the tower was bested, weakening the throne room further, and the adventurer feels close to their reward.
- 13Journal Entry #19 describes standing outside the dungeon gate, intimidated by the monsters within and the lack of light.
- 14Journal Entry #20 states that in the dungeon, the darkness has a voice that calls through grates.
- Stay alert for the castle's potential malicious intent.
- Ensure you have enough provisions, as hunger is a significant threat.
- The icons on the throne room door are clues to the guardian beasts.
- The Forest offers sustenance like mushrooms, chicken legs, gold, and sparkling water.
- Each wing of the castle houses a guardian beast.
- Be prepared for disorientation and memory loss in the tower.
- The dungeon is significantly darker and more menacing than previous areas.
Part 4
Uncover the full story of Rogue Legacy 2, from Johannes's quest to the Fountain of Youth and Charon's role.
- 1Journal Entry #21: Describes the oppressive darkness and terrifying beasts within the castle, emphasizing the need for caution.
- 2Journal Entry #22: Expresses Johannes's nervousness before entering the throne room, his desire to save the king, and his ambition to be the rightful successor.
- 3Journal Entry #23: Johannes enters the throne room expecting a powerful foe but finds his father, the King, alive and well, revealing the king's distress call was a ruse. He realizes his father will never die and he will never inherit.
- 4Journal Entry #24: Contains only ellipses, indicating a passage of time or a gap in thought.
- 5Journal Entry #25: Johannes reflects on the Fountain of Youth, which grants eternal life. He acknowledges that children answer for their father's sins, as the King's actions have emptied the royal coffers, leaving his family and the country in ruin. He becomes immortal, waiting for his descendants.
Story Interpretation:
The journals detail the story of Johannes, a swordsman seeking to become his father's heir. When the King claims to be ill, Johannes ventures to Castle Hamson for a cure. Upon entering, he loses all his gold to Charon (a figure who empties the royal coffers) and realizes his family and country are doomed. He defeats the castle's bosses and enters the Inner Castle, finding his father on the Fountain of Youth. Johannes realizes the King's distress call was a deception. In anger, Johannes kills the King, consumes the Fountain's water, and embraces immortality, leaving his past life behind. The player characters, as descendants, continue to visit the castle, unaware of this history, perpetuating a cycle of answering for their father's sins.
Characters:
- Sir Lee: The first heir, described as weak, traitless, and statless.
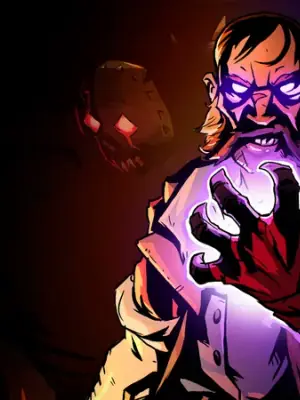
- Charon: A figure responsible for taking all gold, including from the King and Johannes, emptying the royal coffers.
- Booyan: Runs the Circus and offers a price if his goals are met.
- Elf: Offers a chance to triple gold by choosing from three chests, deducting 25% if chosen.
- The Blacksmith: Sells equipment in 15 tiers (Squire to Dark), with the first tier available by default and others needing to be found.
- The Enchantress: Sells runes to enhance abilities, with a maximum of 5 active at a time.
- The Architect: Allows you to lock down the castle for rewards.
- Pay close attention to the journal entries as they unlock sequentially, providing the full narrative context.
- Understand that Charon's role is crucial in the financial ruin of Johannes's family and the kingdom.
- The Fountain of Youth is the source of immortality and a central plot device.
- The game's cycle is explained by Johannes's realization that children answer for their father's sins.
Similar guides you might like

100% Human-Written. AI Fact-Checked. Community Verified. Learn how AntMag verifies content