Master Dawn of War III's advanced tactics and formations, from Hammer and Anvil to Kiting, using unit synergies like Tactical Marines and Devastators.
Mastering Dawn of War III goes beyond simply knowing your units; it requires a deep understanding of how to position them, how to leverage their abilities in concert, and how to adapt to the ever-changing battlefield. This section delves into advanced tactical concepts and formation strategies that will elevate your gameplay from basic skirmishes to decisive victories.
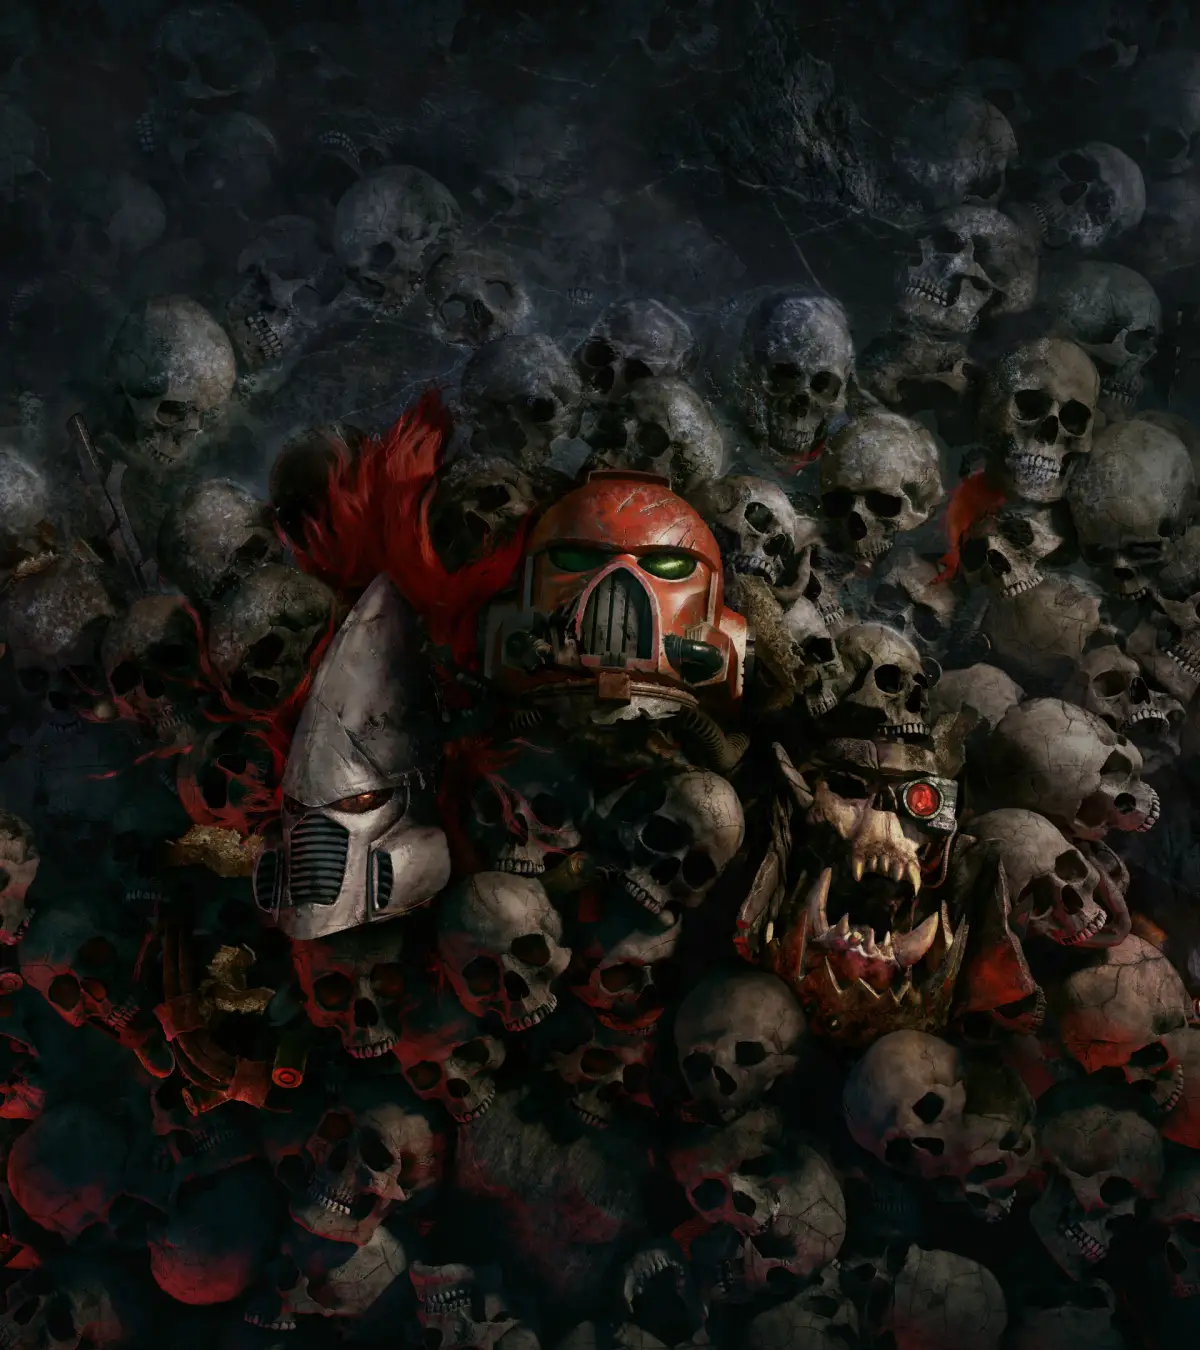
Understanding Unit Roles and Synergies
Before deploying any formation, it's crucial to understand the core roles of your units and how they synergize. Each faction in Dawn of War III (Space Marines, Eldar, Orks) has distinct unit archetypes that excel in specific situations.
Space Marine Core Synergies:
- Tactical Marines & Devastators: Tactical Marines, with their versatile Bolters, are excellent frontline holders. Pair them with Devastators equipped with Heavy Bolters for sustained suppressive fire, or Lascannons to crack heavy armor. Use the Tactical Marine's 'Frag Grenade' to flush out entrenched enemies or interrupt abilities, creating openings for Devastator volleys.
- Assault Marines & Dreadnoughts: Assault Marines are your shock troops, perfect for disrupting enemy backlines or engaging high-priority targets. Use their 'Jump' ability to close distances rapidly. A Dreadnought provides a durable anchor, drawing fire while Assault Marines wreak havoc. The Dreadnought's 'Stomp' can knock down multiple enemies, setting them up for Assault Marine charges.
- Scouts & Snipers: Scouts are invaluable for early-game map control and vision. Their 'Camo Cloak' allows them to scout enemy positions undetected. Upgrade them with Sniper Rifles to pick off high-value targets like enemy Heavy Weapons teams or support units from a distance, softening up the enemy before a main assault.
Eldar Core Synergies:
- Guardians & Dire Avengers: Guardians are your basic infantry, but their 'Plasma Grenade' can be surprisingly effective. Dire Avengers, with their Shuriken Catapults, excel at shredding light infantry. Position Guardians to absorb initial damage while Dire Avengers unleash a devastating hail of shurikens. The Dire Avenger's 'Battle Trance' ability significantly boosts their damage output.
- Warp Spiders & Fire Prisms: Warp Spiders are highly mobile damage dealers, excellent for flanking and hit-and-run tactics with their 'Warp Jump' ability. A Fire Prism provides long-range, high-damage support. Use Warp Spiders to draw enemy attention or eliminate vulnerable units, then focus the Fire Prism's 'Prism Cannon' on the main threat.
- Howling Banshees & Wraithblades: Howling Banshees are melee specialists, ideal for engaging and disrupting enemy ranged units. Their 'War Shout' ability can stun enemies. Wraithblades are durable melee units that can absorb significant punishment. Send in Howling Banshees to initiate the engagement, then follow up with Wraithblades to sustain the melee and protect your more fragile units.
Ork Core Synergies:
- Shoota Boyz & Gretchin: Shoota Boyz are your primary ranged infantry, delivering a decent volume of fire. Gretchin, while weak, are cheap and numerous, excellent for soaking up damage or capturing objectives. Use Gretchin as a screen to protect your Shoota Boyz, allowing them to fire unmolested. The 'Stikkbomb' ability of Shoota Boyz can be used to clear out clustered enemies.
- Slugga Boyz & Deff Dreads: Slugga Boyz are melee-focused and can quickly overwhelm isolated units. Deff Dreads are heavily armored melee walkers that can smash through enemy lines. Send Slugga Boyz in first to engage and tie up enemy units, then bring in the Deff Dread to deal massive damage and break formations. The Deff Dread's 'Klaw Stomp' is a powerful area-of-effect attack.
- Lootas & Killa Kans: Lootas are heavy weapons specialists, providing sustained ranged damage. Killa Kans are smaller, faster walkers that can provide mobile fire support or engage light vehicles. Position Lootas in a defensive line, protected by Killa Kans, to maximize their damage output. The Loota's 'Dakka' ability increases their rate of fire.
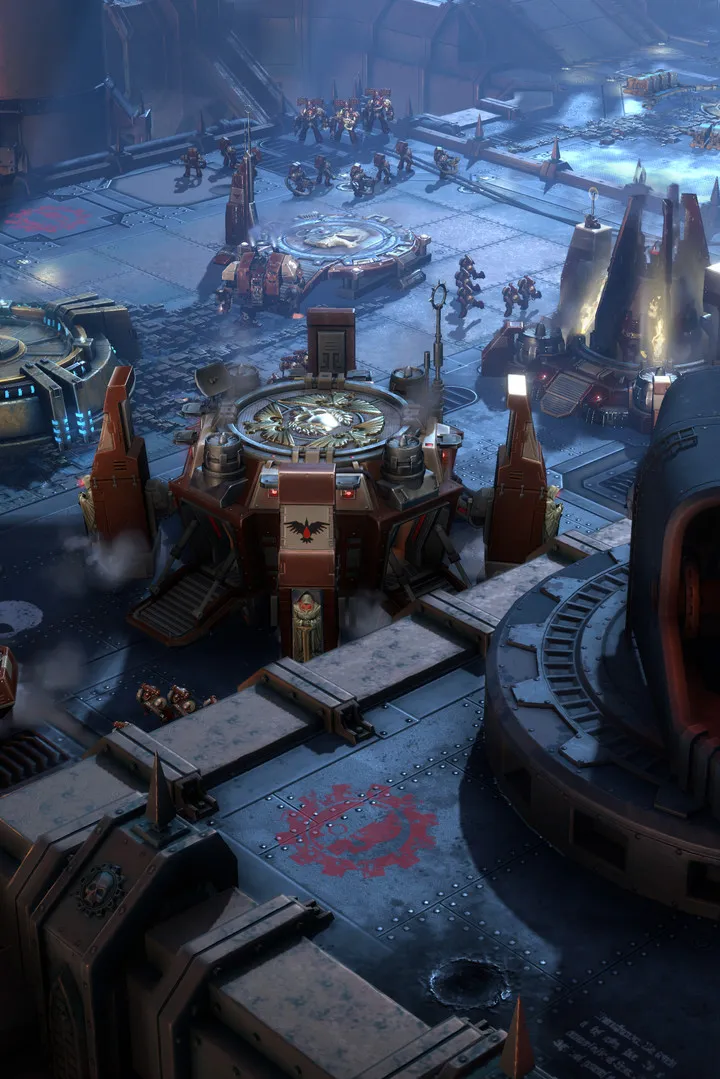
Advanced Formations and Positioning
Effective formations are not static; they are dynamic responses to the battlefield. The goal is to maximize your units' strengths while minimizing their weaknesses.
The "Hammer and Anvil"
This classic strategy involves two distinct components:
- The Anvil: A durable, front-line force designed to engage and hold the enemy. For Space Marines, this could be a Dreadnought supported by Tactical Marines. For Eldar, Wraithblades and Guardians. For Orks, Slugga Boyz and a Deff Dread. The Anvil's role is to absorb damage and prevent the enemy from retreating.
- The Hammer: A fast, high-damage force designed to flank and crush the engaged enemy. Space Marine Assault Marines or a Land Speeder Storm are excellent Hammers. Eldar Warp Spiders or a Fire Prism (flanking for line-of-sight) work well. Ork Killa Kans or a Trukk full of Shoota Boyz can deliver the decisive blow.
Execution: Engage the enemy with your Anvil. Once they are committed, maneuver your Hammer around their flank or rear to attack vulnerable ranged units or support structures. This creates a pincer movement that can quickly break enemy morale and formations.
The "Kiting" Maneuver
Kiting involves using faster, ranged units to continuously harass and damage slower, melee-focused enemies while staying out of their attack range. This is particularly effective against units like Ork Slugga Boyz or Space Marine Assault Marines.
- Eldar Application: Dire Avengers and Warp Spiders excel at kiting. Use the Dire Avenger's speed and 'Battle Trance' to pour fire into advancing melee units, then retreat using their superior movement speed. Warp Spiders can 'Warp Jump' to reposition and continue firing, making them incredibly frustrating to pin down.
- Space Marine Application: While generally slower, well-positioned Devastators can kite if supported by Tactical Marines providing cover fire and using 'Frag Grenades' to slow pursuers. A Land Speeder can also be used to harass and kite heavier units.
- Ork Application: Shoota Boyz, especially with the 'Dakka' upgrade, can kite effectively against slower melee units. Use their 'Stikkbomb' to create distance if enemies get too close.
Key to Success: Constant micro-management is essential. Keep your kiting units moving and firing, always maintaining the optimal distance. Use terrain to your advantage, breaking line of sight or forcing enemies to take longer routes.
Defensive Formations: The "Strongpoint"
When defending an objective or anticipating an enemy push, establishing a strongpoint is crucial. This involves layering units to maximize defensive capabilities and interlocking fields of fire.
- Frontline Screen: Place durable, high-health units at the forefront to absorb initial damage. Space Marine Tactical Marines with 'Heavy Cover' active, Eldar Wraithblades, or Ork Slugga Boyz are ideal.
- Ranged Damage Core: Behind the screen, position your primary damage dealers. Devastators (Heavy Bolters/Lascannons), Dire Avengers, or Lootas should be placed to have clear lines of fire on the approaches.
- Support & Anti-Air: Flanking your ranged core, include units that provide utility or anti-air capabilities. Space Marine Scouts (for vision and anti-infantry), Eldar Dark Reapers (anti-vehicle/heavy infantry), or Ork Flash Gitz (heavy ranged damage) can fill these roles. Ensure you have dedicated anti-air units like Space Marine Anti-Air Turrets or Eldar War Walkers if enemy air units are a threat.
- Elite/Hero Positioning: Your Elites and Heroes should be positioned to respond to the greatest threat. Keep them slightly behind the main line, ready to unleash their powerful abilities when needed. For example, Gabriel Angelos can 'Deep Strike' into a critical area, or Gorgutz 'Klaw of Gork' can devastate a clustered enemy.
Terrain Advantage: Always seek out high ground, chokepoints, or areas with heavy cover to establish your strongpoint. This naturally funnels enemies and provides defensive bonuses.
Advanced Micro-Management Techniques
Beyond formations, individual unit control can swing engagements.
- Focus Fire: Always prioritize high-threat targets. This means focusing all available fire on enemy Heavy Weapons teams, Elites, or vehicles to eliminate them quickly. Use the 'Attack-Move' command (A + Left Click) and then manually target specific units.
- Ability Chaining: Combine unit abilities for maximum impact. For example, a Space Marine Tactical Marine's 'Frag Grenade' to stun, followed by a Devastator's 'Focus Fire' to burst down the target. Or an Eldar Howling Banshee's 'War Shout' to stun, followed by a Wraithblade's 'Ghostaxe' attack.
- Line of Sight (LoS) Management: Use terrain and structures to your advantage. Break LoS to force enemy ranged units to reposition, or to protect your vulnerable units while they reload or cool down abilities. Conversely, ensure your ranged units always have clear LoS to their targets.
- Retreat and Re-engage: Knowing when to disengage is as important as knowing when to fight. If an engagement is going poorly, retreat damaged units to your base or a safe area to heal. Don't sacrifice units unnecessarily. Use abilities like the Space Marine 'Drop Pod' or Eldar 'Webway Gate' to rapidly reinforce or redeploy.
By integrating these advanced tactics and formations into your gameplay, you will find yourself better equipped to dominate the battlefields of Warhammer 40,000: Dawn of War III, turning the tide of even the most desperate engagements.
100% Human-Written. AI Fact-Checked. Community Verified. Learn how AntMag verifies content