Contend with waves of Tyranids in Warhammer 40,000: Space Marine II, Mission 9: The Crimson Tide. Master cover and heavy weaponry in this intense defense.
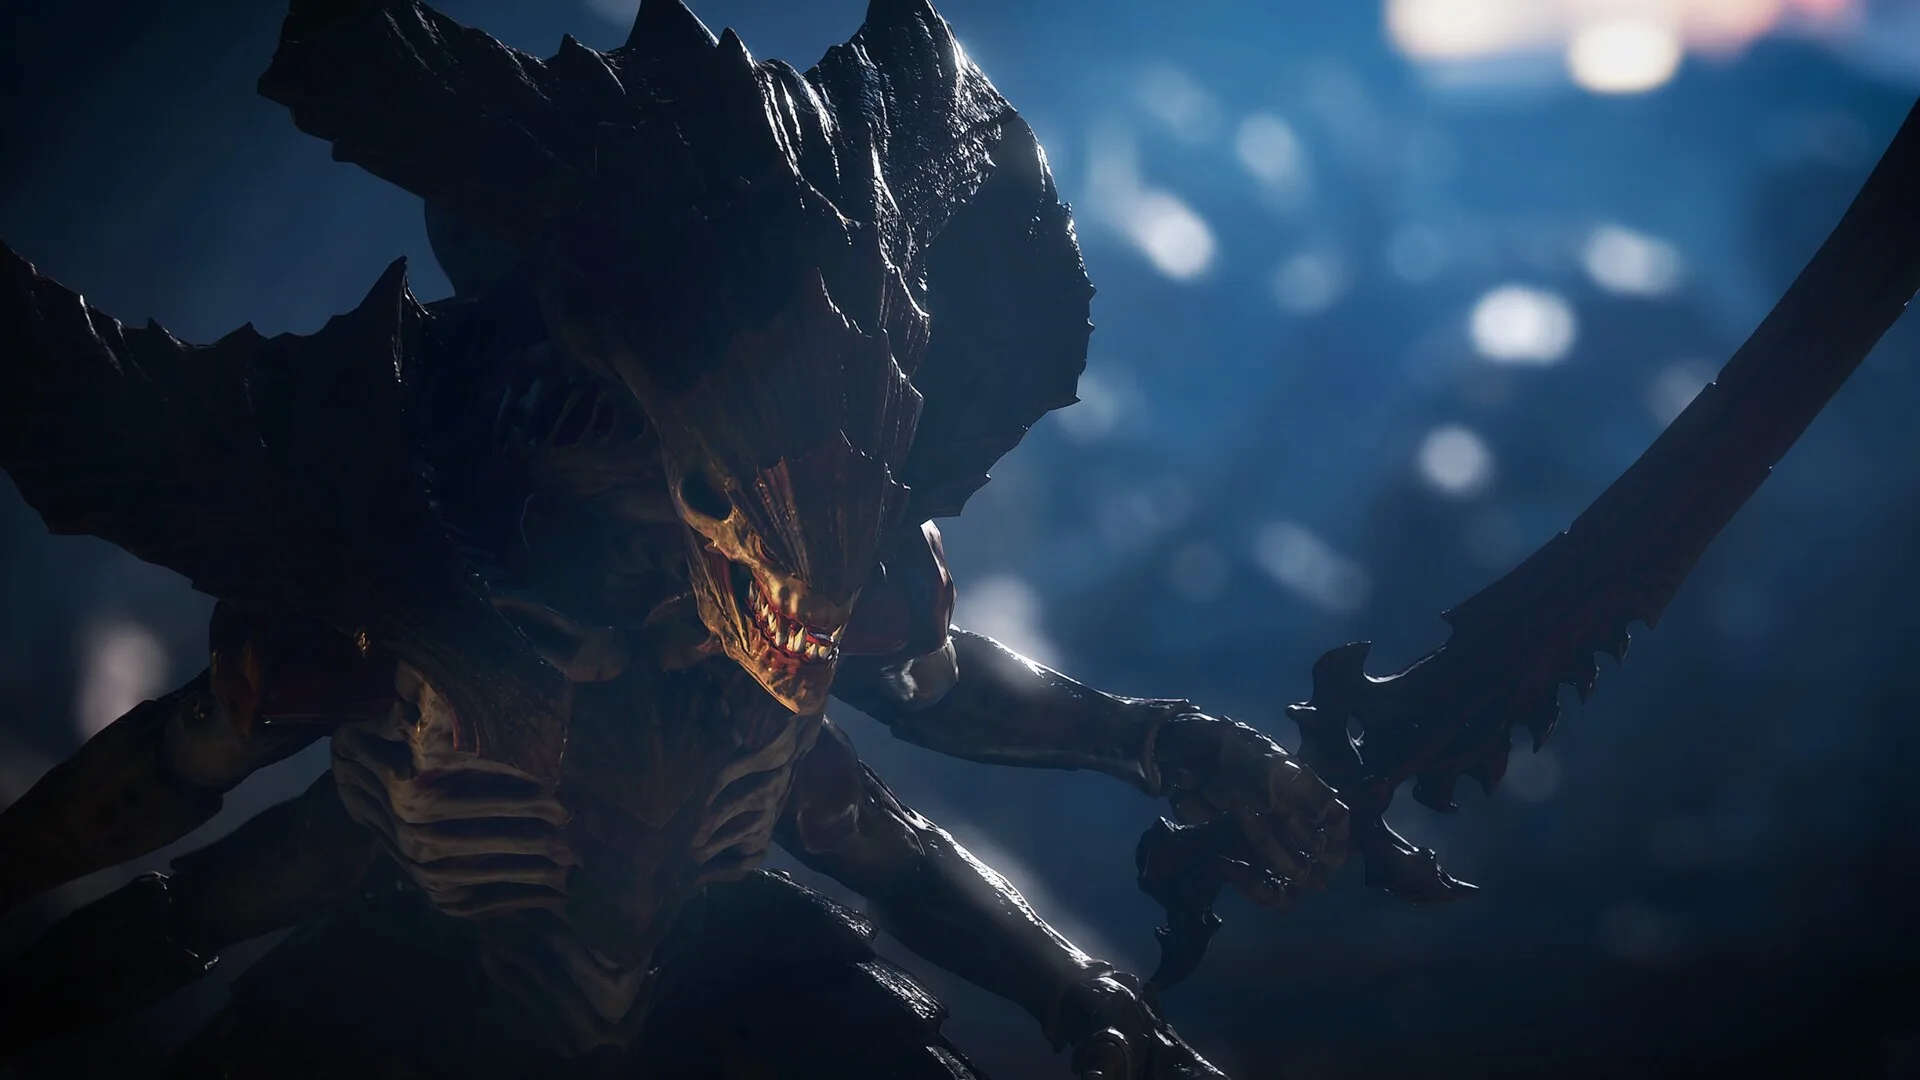
Mission 9, The Crimson Tide, thrusts Captain Titus and his Ultramarines into a desperate defense against an overwhelming Tyranid assault on a vital Imperial world. This mission is a brutal test of endurance and tactical acumen, demanding strategic use of cover, heavy weaponry, and the unwavering resolve of a Space Marine. Prepare for relentless waves of xenos as you fight to secure critical objectives and prevent the complete annihilation of the Imperial garrison.
The Crimson Tide is characterized by its sheer scale and the relentless pressure exerted by the Tyranid swarm. You'll be fighting in claustrophobic corridors and open, devastated landscapes, each presenting unique challenges. Your squadmates will be crucial here, providing covering fire and tactical support. Prioritize eliminating high-threat targets and managing your ammunition effectively, as resupply points may be scarce amidst the chaos.
Mission Objectives & Walkthrough
-
Secure the Primary Defense Line: Your initial objective is to reinforce and hold a critical defensive position within the ravaged cityscape. Expect immediate and heavy enemy contact from swarms of Hormagaunts and Genestealers.
- Upon arrival, immediately advance to the designated defensive sector.
- Locate and utilize the available Heavy Bolter Emplacements positioned along the barricades. These are marked with a distinct icon on your HUD.
- These emplacements offer sustained, high-volume firepower ideal for suppressing and decimating large groups of smaller xenos.
- Also, be on the lookout for a Flamer Emplacement in a secondary defensive position, excellent for clearing tightly packed groups of Tyranids.
-
Eliminate the Broodlords: As you repel the initial waves, several Broodlords will emerge from the shadows, acting as formidable mini-bosses.
- These creatures are fast, agile, and capable of leaping great distances to close the gap.
- Their synaptic presence also bolsters nearby lesser Tyranids.
- Focus concentrated fire from your squad and any remaining heavy weapons on them.
- When a Broodlord is staggered or stunned, close the distance and unleash your most devastating melee attacks with your Chainsword. The Executioner's Cleave ability is particularly effective here.
-
Activate the Orbital Defense Lasers: To push back the tide and create a strategic advantage, you must reach and activate three separate control consoles to power up the orbital defense lasers.
- The first console is located in a heavily fortified plaza, defended by a mix of Gaunts and a few Lictors.
- The second console is found within the ruins of a hab-block, requiring you to fight through narrow, debris-strewn corridors.
- The third and final console is situated on an elevated platform overlooking the battlefield, often under heavy fire from ranged Tyranid units like Warriors.
- Push through enemy-infested areas, utilizing cover and your squad's support to reach each console.
-
Defend the Activation Points: Once each console is activated, the orbital lasers will require a short charging period before they can fire. During this crucial time, you will be swarmed by Tyranids attempting to disrupt the process.
- This is where your most potent abilities and heavy weapons will be essential for survival.
- Recommended Abilities:
- Orbital Bombardment: Call down devastating artillery strikes to obliterate large concentrations of enemies. Use this when a massive wave is approaching.
- Fury of Macragge: A powerful melee-focused buff that significantly increases your damage output and speed, allowing you to carve through swarms.
- Iron Halo: A defensive shield that can absorb significant damage, providing a brief window to reposition or revive fallen allies.
- Use your grenades (Frag and Krak) to clear clusters of smaller xenos and your bolter, plasma, or melta weapons to deal with larger threats like Warriors and Carnifexes that may appear.
-
Reach the Evacuation Zone: With the orbital lasers fully operational and having repelled the Tyranid assault, a path to the evacuation zone will open.
- This final push will still be fraught with danger, as the Tyranids will make a desperate final stand to prevent your escape.
- Keep moving forward, utilizing your melee prowess to break through enemy lines and your ranged weapons to suppress advancing hordes.
- Ensure your squad stays with you, providing vital covering fire and support.
- The evacuation zone is marked clearly on your HUD; reach it to complete the mission.
Key Strategies for 'The Crimson Tide'
-
Ammunition Management: This mission is an extreme ammo drain due to the sheer number of enemies.
- Conserve your heavy weapon ammo (Plasma, Melta, Heavy Bolter) for critical moments, Broodlords, and large enemy formations.
- Prioritize picking up ammo packs whenever possible. Look for them near defensive positions and fallen enemies.
- If you find yourself critically low on ammo, consider switching to your bolter and utilizing its melee attack to conserve rounds for when they are truly needed.
-
Squad Cohesion and Support: Keeping your squadmates alive is paramount.
- Their presence provides essential covering fire, drawing enemy attention away from you and allowing for tactical repositioning.
- Revive fallen brothers whenever it is safe to do so. A full squad is significantly more effective than a depleted one.
- Utilize squad commands to focus fire on high-priority targets.
-
Environmental Hazards: The devastated battlefields are littered with opportunities for tactical advantage.
- Be aware of explosive barrels and fuel tanks. Shooting these can create devastating chain reactions, clearing large groups of Tyranids.
- Use choke points and narrow corridors to your advantage, funneling enemies into kill zones where your heavy weapons and grenades can be most effective.
-
Melee Dominance: When overwhelmed by smaller xenos, your Chainsword and the bolter's melee capabilities can be incredibly effective.
- The Chainsword's Whirlwind of Death ability can clear entire swarms of Hormagaunts and Termagants in seconds.
- Mastering the dodge and parry mechanics in melee will allow you to survive engagements against tougher foes like Genestealers.
-
Prioritize High-Threat Targets: Identifying and eliminating enemies that pose the greatest immediate threat is key to survival.
- Broodlords: As mentioned, these are priority targets due to their speed and leadership capabilities.
- Lictors: These stealthy predators can ambush your squad. Listen for their distinct growls and use your tactical sense to locate them.
- Tyranid Warriors: These are the backbone of the Tyranid assault, possessing a mix of melee and ranged attacks. Focus fire on them to break enemy formations.
- Carnifexes: If they appear, treat them as mini-bosses. Use your most powerful weapons and abilities to bring them down quickly before they can inflict catastrophic damage.
Recommended Loadout
For The Crimson Tide, a balanced loadout focusing on crowd control and heavy damage is recommended.
- Primary Weapon: Bolter (for general use and melee) or a Plasma Gun (for effective anti-elite and crowd control).
- Secondary Weapon: Melta Gun (for high-priority targets like Broodlords and Carnifexes) or a Heavy Bolter (if found as an emplacement).
- Melee Weapon: Chainsword (essential for close-quarters swarm clearing).
- Grenades: A mix of Frag Grenades (for swarms) and Krak Grenades (for armored targets).
Common Pitfalls & Missables
- Over-reliance on Ranged Weapons: In tight corridors, melee can be more efficient and conserve precious ammunition.
- Ignoring Squadmates: Leaving your squad to fight alone will severely reduce your overall effectiveness and survivability.
- Wasting Heavy Ammo: Save your Melta and Plasma rounds for the most dangerous threats.
- Not Utilizing Emplacements: The Heavy Bolters and Flamer emplacements are powerful force multipliers; ensure you use them when available.
Surviving The Crimson Tide requires a combination of raw aggression and tactical awareness. By managing your resources, utilizing your squad effectively, and adapting to the relentless onslaught, you can overcome this monumental challenge and continue your fight against the Great Devourer.
100% Human-Written. AI Fact-Checked. Community Verified. Learn how AntMag verifies content