Strategize for victory by understanding the unique Victory Conditions in Diplomacy is Not an Option. Learn objectives beyond just repelling hordes.
Understanding the various victory conditions in Diplomacy is Not an Option is paramount to crafting effective strategies and ensuring your city's survival. While the core gameplay often revolves around defending against relentless hordes, each mission presents unique objectives that dictate how you ultimately achieve triumph. This section will break down the common victory types and provide actionable advice for securing them.

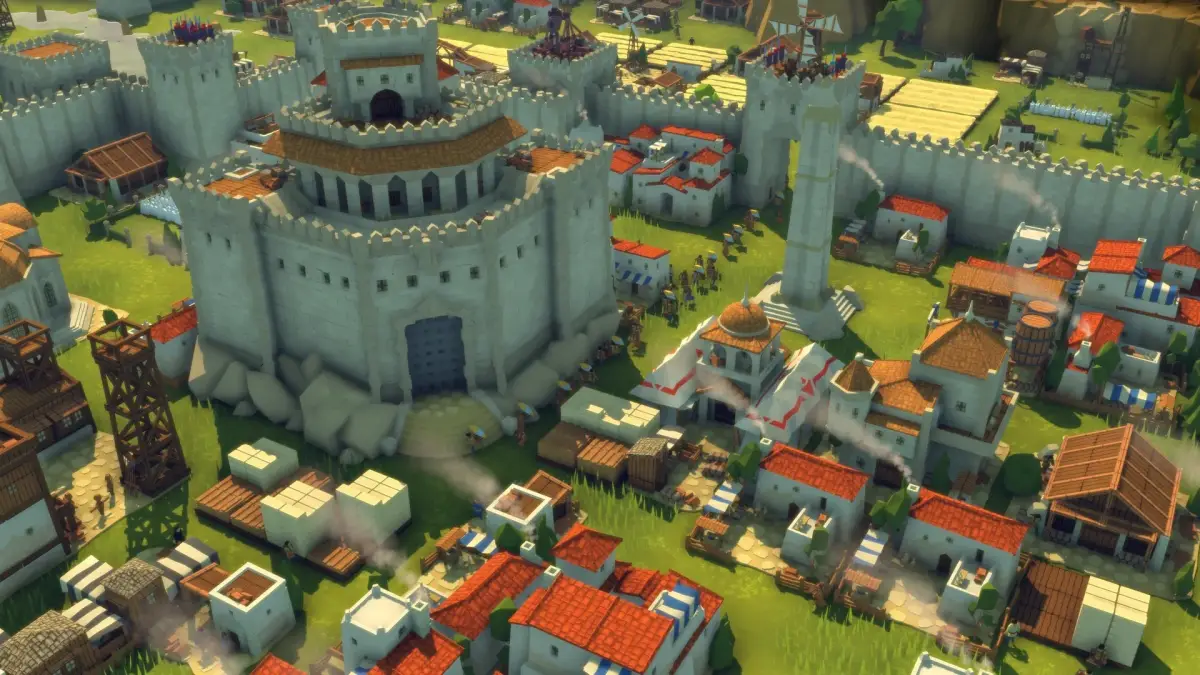
Survival & Defense
The most frequent victory condition, especially in the early Campaign Resistance missions, is simply to survive for a set duration or defend a critical structure. These missions test your ability to establish a robust defense and manage your resources under pressure.
- Actionable Steps:
- Early Game Fortification: Prioritize building a strong perimeter wall using Stone or Iron Walls. Focus on choke points and natural barriers.
- Tower Placement: Deploy a mix of Archer Towers and Ballista Towers strategically. Archer Towers are excellent for clearing smaller, numerous enemies, while Ballista Towers excel against larger, armored threats.
- Resource Management: Ensure a steady supply of Wood and Stone for repairs and new defenses. Establish multiple Lumber Mills and Stone Quarries early on.
- Unit Production: Train a core group of Militia and Archers to supplement your defenses. Position them behind walls or in fortified positions to maximize their effectiveness.
- Hero Abilities: Utilize your hero's abilities, such as the Commander's "Inspiring Rally" or the Engineer's "Emergency Repairs," at critical moments to turn the tide of battle.
- Key Structures: The "Town Center" is almost always the primary structure to defend. Its destruction leads to an immediate game over. Other missions may require defending "Resource Depots" or "Outposts."
- Strategy Tip: On Easiest Difficulty, as noted in GeneralAtrox's walkthrough, early expansion for resources is often safer, allowing you to build a stronger defense before the major waves hit.
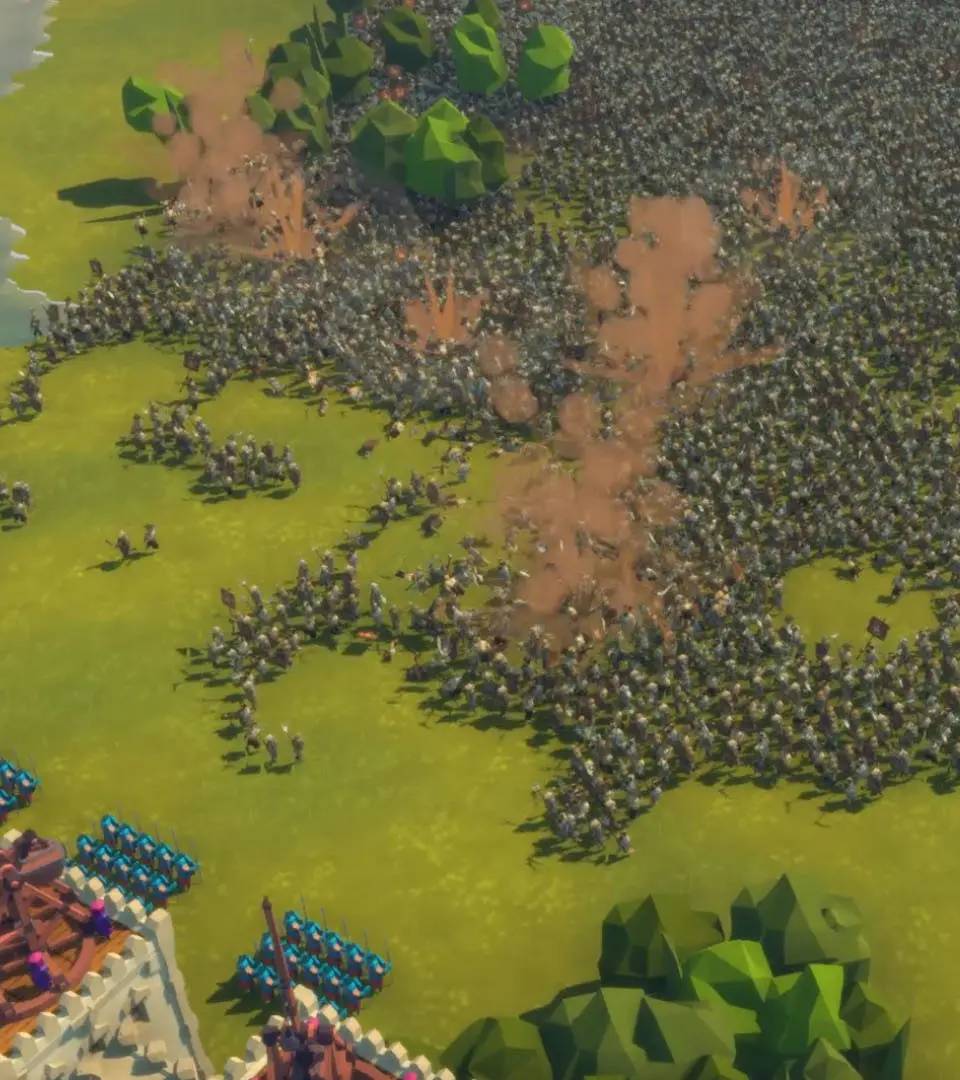
Elimination
Some missions require you to eliminate all enemy forces or specific enemy commanders/structures. These missions often involve a more aggressive approach once your initial defenses are secure.
- Actionable Steps:
- Scouting: Use your starting units or a dedicated scout to uncover the enemy's positions and strength. This helps in planning your attack route.
- Offensive Unit Composition: Once your economy is stable, begin training a diverse army. Swordsmen are excellent for frontline engagement, while Crossbowmen provide ranged support. Siege Engines (Catapults, Trebuchets) are crucial for destroying enemy structures.
- Target Prioritization: Focus on eliminating enemy production buildings (e.g., "Monster Nests," "Dark Portals") first to stem the flow of reinforcements. Then, target high-threat units or commanders.
- Hero Deployment: Your hero can be a powerful asset in offensive operations. Use their abilities to disrupt enemy formations or deal significant damage to key targets.
- Key Targets: Look for "Monster Nests," "Dark Portals," "Enemy Barracks," or specific "Boss Units" indicated on your mini-map.
- Strategy Tip: Build forward operating bases with repair stations and barracks to resupply your attacking forces closer to the front lines.
Resource Gathering & Delivery
A less common but equally important victory condition involves gathering a specific amount of a rare resource or delivering it to a designated location.
- Actionable Steps:
- Resource Identification: Identify the required resource (e.g., "Ancient Relics," "Magical Crystals"). These are often found in specific, often dangerous, areas of the map.
- Secure Extraction Points: Build defenses around the resource nodes to protect your workers and ensure uninterrupted gathering.
- Logistics: Establish efficient transport routes for your workers to deliver the resources back to your main base or a designated drop-off point. Consider building additional "Storage Depots" closer to the extraction sites.
- Defensive Escorts: If the delivery route is dangerous, assign military units to escort your workers or resource carts.
- Key Resources: Specific mission objectives will highlight the required resource.
- Strategy Tip: Prioritize securing these resource locations early, even if it means temporarily weakening other defensive fronts, as they are crucial for victory.
Special Objectives
Some missions may feature unique victory conditions that combine elements of the above or introduce entirely new mechanics. Always read the mission briefing carefully.
- Actionable Steps:
- Read the Briefing: This cannot be stressed enough. The mission briefing will explicitly state any unique objectives or special conditions.
- Adapt Your Strategy: Be prepared to deviate from standard defensive or offensive builds if the objective demands it. For instance, a mission requiring you to activate ancient pylons might necessitate a fast-moving, lightly armored force.
- Experimentation: If stuck, don't be afraid to try different approaches. Sometimes, a seemingly counter-intuitive strategy can be the key to success.
- Example: A mission might require you to "Activate 3 Ancient Pylons" within a time limit, while simultaneously defending your main base.
- Strategy Tip: On Easiest Difficulty, as highlighted by GeneralAtrox, you often have more leeway to experiment with different unit compositions and build orders without immediate catastrophic failure.
100% Human-Written. AI Fact-Checked. Community Verified. Learn how AntMag verifies content