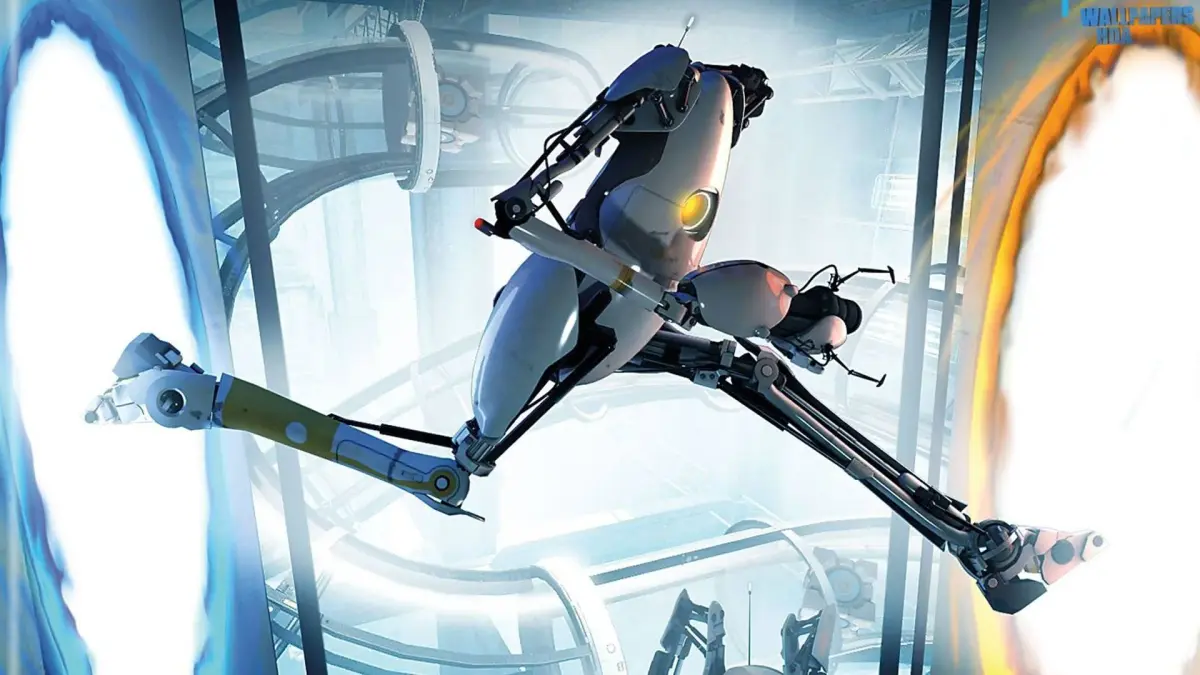
Welcome back to Aperture Science! Portal 2, Valve's 2011 puzzle-platform masterpiece, tasks you with escaping elaborate test chambers using the iconic portal gun. You'll need to master GLaDOS's devious puzzles and navigate the chaotic experiments of Wheatley across PC, PS3, and Xbox 360. It's a game that truly reignites your intellect, whether you're playing solo or teaming up with a friend in co-op mode.
This guide is your key to conquering every challenge. We'll help you navigate through every chapter, from The Courtesy Call to The Fall, and ensure you can grab every collectible and unlock all those tricky Steam Achievements, including the elusive Door Prize.
Chapter 2 The Cold Boot
Need help with Portal 2's Chapter 2, 'The Cold Boot'? Follow our step-by-step guide to navigate the test chambers and solve the puzzles. Get through GLaDOS's tests with ease!
Chapter 2 The Cold Boot
Need help with Portal 2's Chapter 2, 'The Cold Boot'? Follow our step-by-step guide to navigate the test chambers and solve the puzzles. Get through GLaDOS's tests with ease!
Chamber 3
Complete Chamber 3 in portal 2's The Cold Boot chapter. Learn where to place portals to solve the puzzle and open the locks.
- 1Set your first portal to the left of the beam receiver located on the upper-left part of the ceiling.
- 2Place the second portal on the nearest wall so you drop down onto the upper platform where the Displacement Cube is resting.
- 3Place a new portal directly underneath the beam receiver.
- 4Look at where the laser beam on the left-hand wall is pointing. Place your second portal here. This will allow the beam to reach the receiver and open the first of the two locks.
- 5Pick up the Displacement Cube and jump across onto the platform in the center of the room.
- 6Place the Displacement Cube so the laser is deflected right onto the last receiver, opening the final lock and allowing you to proceed.
Chamber 1: Chapter 2 The Cold Boot
Complete Chamber 1 of Chapter 2, The Cold Boot, in portal 2. Learn where to place your portals to power the lift and exit.
- 1Place your first portal on the left-hand panel as indicated in the screenshot.
- 2Make your way onto the blue glass lift at the back of the room.
- 3Turn around and look upwards towards the ceiling.
- 4Identify the section of the ceiling that does not have shaded panels. Fire your exit portal here.
- 5If both portals are placed correctly, the laser beam will pass through them, powering up the lift.
- 6Take the exit behind you.
- Refer to the provided screenshots for precise portal placement.
- The laser beam is key to powering the lift. Ensure it connects both portals.
Chamber 8
Follow this walkthrough for Portal 2's Chamber 8 in Chapter 2. Learn how to solve the puzzles involving the Displacement Cube and laser beams to reach the exit.
Alright, let's tackle Chamber 8! This one's pretty straightforward once you know the trick.
- 1First things first, you'll see a platform that needs to appear before you can really get going. Wait for it to show up, then head towards the back of the room. Look for a spot to the upper right of a button. Place your first portal there.
- 2Now, hit that button! This will release a Displacement Cube.
- 3Quickly, look through the small gap you can see and place your second portal on the wall within that gap.
- 4Head through the portal you just created. You'll pop out right where the Cube landed.
- 5Grab that Cube and bring it back through the portal with you.
- 6Now, you'll need to get that Cube over to the laser beam. Line it up perfectly with the beam receiver and drop it in place.
- 7Once the laser is activated, you can step through the portal again, or just run through the displacement barrier. The exit is now open!
- Don't rush placing the second portal; make sure you can see through the gap clearly before you fire.
- The Cube needs to be *directly* in the beam receiver for it to work.
Similar guides you might like


100% Human-Written. AI Fact-Checked. Community Verified. Learn how AntMag verifies content