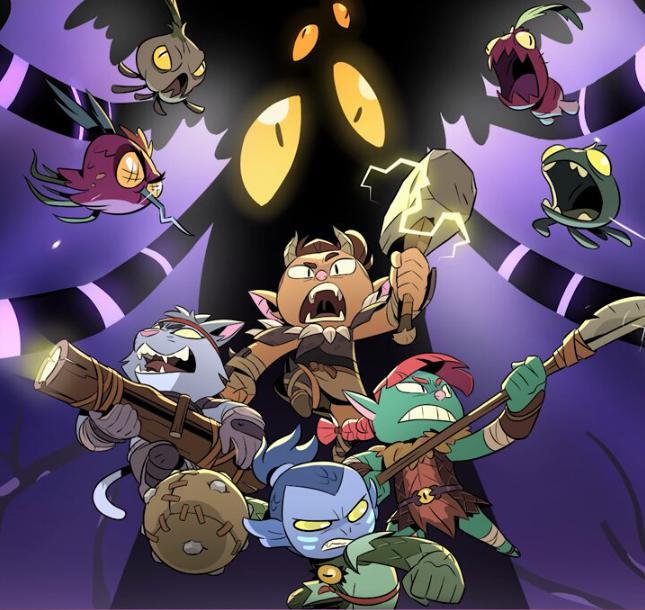
Learn to exploit environmental hazards in Rotwood. Use the Ruined Capital's dangers to your advantage against tough enemies and improve your Hunter's power.
Mastering the environment is crucial for survival and dominance in Rotwood. Beyond direct combat, savvy Hunters can turn the very world against their foes by strategically exploiting environmental hazards. This section details how to identify, utilize, and even create these dangerous elements to gain a significant advantage, particularly in challenging zones like the Ruined Capital.
Identifying and Utilizing Existing Hazards
Many areas in Rotwood are littered with natural or man-made dangers that can be leveraged against enemies. Vigilance and observation are key; always scan your surroundings for visual cues that indicate a potential hazard.
Common Environmental Hazards:
- Explosive Barrels: Often found in clusters, these red barrels are a classic hazard. A single well-aimed shot from any weapon, especially ranged ones like the Crossbow or Musket, will cause them to detonate, dealing significant area-of-effect (AoE) damage. They are particularly effective against tightly packed groups of enemies.
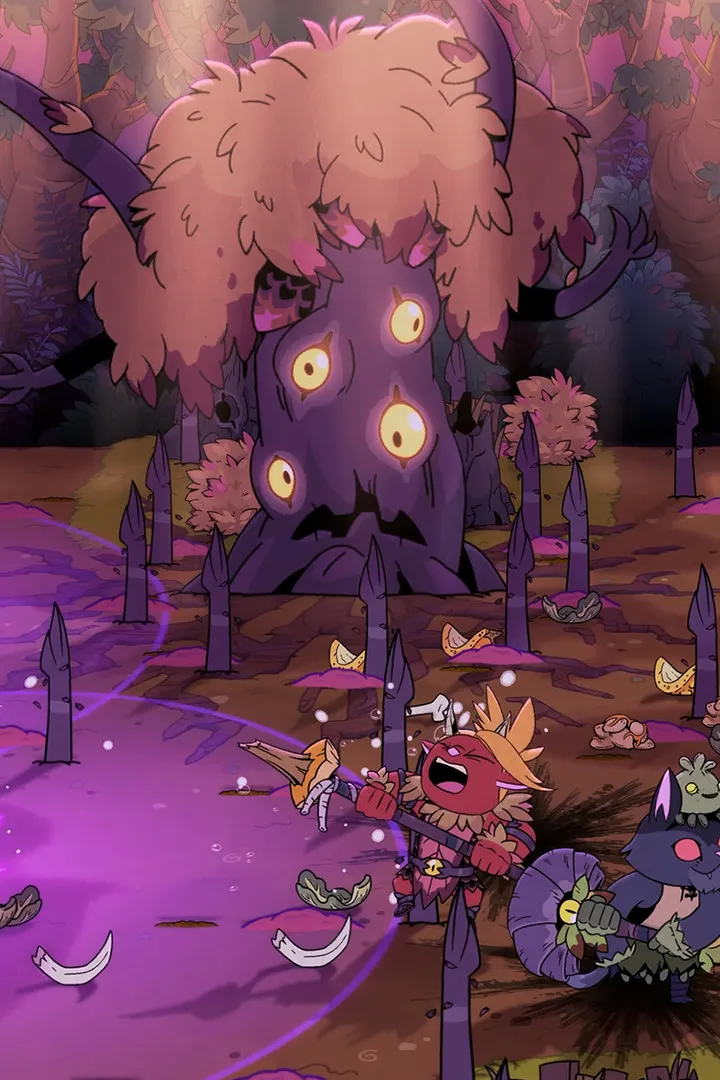
- Unstable Structures/Crumbling Platforms: Look for cracked floors, precarious ledges, or weakened walls. Luring enemies onto these sections and then attacking them (or using a forceful ability) can cause them to collapse, dealing fall damage or even plunging them into lower, more dangerous areas. The Ruined Capital is notorious for its dilapidated architecture, making these hazards common.
- Pools of Hazardous Liquid: Certain areas might contain pools of corrosive goo, burning oil, or electrified water. Enemies wading through these will take continuous damage. Some enemies might even be susceptible to being knocked into these pools.
- Environmental Traps: While less common, some areas might feature pressure plates, tripwires, or swinging blades that can be triggered to harm enemies. These often require precise timing and positioning.
- Environmental Hazards in the Ruined Capital: This zone is characterized by its decaying grandeur. Expect to find:
- Collapsed Archways: These can be triggered to fall, crushing enemies below.
- Shattered Glass Panes: While not directly damaging, they can obscure vision and create opportunities for ambushes. Some enemies might be stunned if they run through them.
- Rusted Gears and Machinery: In certain sections of the Ruined Capital, ancient machinery might still be functional or prone to sudden, dangerous movements.
Strategic Application:
- Scout Ahead: Before engaging a group of enemies, take a moment to identify any nearby hazards. Note their proximity to enemy positions.
- Lure and Bait: Use ranged attacks, thrown items, or even taunts (if available) to draw enemies towards the identified hazards.
- Trigger with Precision: Once enemies are in position, trigger the hazard. For explosive barrels, a quick shot is sufficient. For unstable structures, a heavy attack or a specific ability might be needed.
- Exploit Enemy AI: Some enemies will pathfind directly through hazards if it's the shortest route to the player. Use this to your advantage.
- Conserve Resources: Successfully using environmental hazards can significantly reduce the number of enemies you need to fight directly, saving your health, stamina, and "Power" charges.
Creating and Manipulating Hazards with Equipment
As you progress and acquire new gear, you may find equipment that allows you to actively create or manipulate environmental hazards, adding a new layer of tactical depth. While specific item names are subject to game updates, here are hypothetical examples of such equipment and their effects:
Hypothetical Equipment Examples:
- "Alchemist's Satchel" (Consumable/Accessory):
- Effect: Allows You to throw a volatile concoction that, upon impact, creates a small, temporary pool of burning oil or corrosive acid.
- Usage: Ideal for blocking off pathways, creating damaging zones for enemies to walk through, or finishing off weakened foes.
- Synergy: Works well with weapons that can ignite oil (e.g., fire-infused melee weapons).
- "Resonance Gauntlets" (Armor/Accessory):
- Effect: When equipped, charged melee attacks have a chance to emit a shockwave that can destabilize nearby environmental objects, such as loose rocks or weak walls, causing them to fall.
- Usage: Enhances the effectiveness of melee combat in environments with many precarious structures, like the Ruined Capital.
- Synergy: Best used with fast-attacking melee weapons to maximize the chance of triggering the effect.
- "Static Discharge Orb" (Consumable/Gadget):
- Effect: A deployable orb that, when activated, emits a localized electrical field, stunning enemies within its radius and potentially causing nearby electrified hazards to surge.
- Usage: Excellent for crowd control and setting up devastating combos with electrical environmental hazards.
- Synergy: Pairs exceptionally well with areas containing electrified water or machinery.
- "Kinetic Shovel" (Tool/Weapon Attachment):
- Effect: Allows You to perform a powerful ground slam that can create small tremors, potentially causing weak floors or ledges to collapse.
- Usage: Useful for creating impromptu pitfalls or clearing out enemies positioned on unstable ground.
- Synergy: Effective in multi-level areas where collapsing a platform can drop enemies to a lower, more dangerous level.
Mastering Hazard Creation:
- Experiment with Loadouts: Try different combinations of equipment to see which hazard-creation tools best suit your playstyle and the current environment.
- Understand Cooldowns and Durations: Be aware of how long created hazards last and how frequently you can deploy them.
- Combine with Enemy Weaknesses: If an enemy is particularly vulnerable to fire, use an Alchemist's Satchel to create a burning pool. If they are slow, use a Static Discharge Orb to stun them before they can react.
- Practice in Safe Zones: Before relying on these tactics in high-stakes combat, practice deploying and triggering your created hazards in less dangerous areas to get a feel for their range and effectiveness.
By actively seeking out and strategically employing environmental hazards, You can transform challenging encounters into manageable victories. The Ruined Capital, with its inherent dangers, serves as an excellent testing ground for these tactics. Remember, the environment is your ally – learn to wield it.
100% Human-Written. AI Fact-Checked. Community Verified. Learn how AntMag verifies content