Follow this guide to navigate The Temple (2) in The Rogue Prince of Persia, learn new powers, collect Light Seeds, and defeat the Concubine boss.
Walkthrough
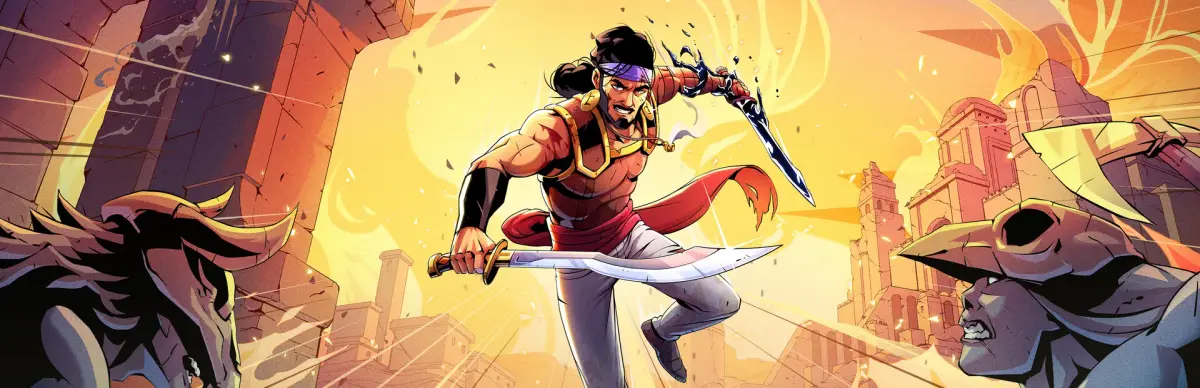
- 1Once back in the Temple, talk to Elika to learn about Ahriman and the Corrupted. You may earn the "Getting To Know You" and "Good Company" Trophies.
- 2Approach the four lit emblems on the ground. You can redeem 60 Light Seeds for one power. Choose the blue power, the Hand of Ormazd.
- 3Step onto the blue emblem and repeatedly hit Triangle to activate it.
- 4You will be transported to a blue spirit world. Wall Run on the right wall to reach the power plate. Hit Triangle.
- 5Wall Run again, use the next plate, and Wall Run a third time to reach a large doorway of light. Enter it to return to the Temple.
- 6After a scene with the Mourning King, you are free to continue. Four new areas are now open in the Royal Palace and City of Light, but we will tackle remaining beginning areas first. Teleport back to The Cauldron.
- 7Back at the Fertile Ground spot in The Cauldron, climb down to the fork area. Take the left path.
- 8Jump to the platform, Wall Run to the vines, and grab a Light Seed (75/170).
- 9Wall Run left, hitting two rings and grabbing another seed.
- 10On the next platform, turn around and Wall Run back to grab another seed (77/170). Double jump to the opposite wall to avoid falling, then cross back over the rings.
- 11Drop to the platform below to find a seed (78/170). Wall Run to and from vines for another seed, then go to the next vines for another (80/170).
- 12Run to the next platform. At the edge, grab the last Light Seed (81/170) and jump down.
- 13Proceed through the dark blue corridor towards The Cavern - Royal Palace.
- 14Leap to the first column to reach a platform, then jump to two more columns.
- 15Cross the next platform to a fourth column, climb it, and jump to the next platform.
- 16Jump to the next column and then to the next platform. Wall Run to reach the platform with a big wall.
- 17Climb up the fissures to arrive in the Royal Palace dominion.
- 18Talk to Elika for information about the Concubine, who guards this dominion.
- 19Jump to the flagpoles and swing to the next platform. Ignore the opening to the left for now.
- 20Jump towards the center of the area, leaping to columns. The first column will vanish.
- 21You'll reach the Fertile Ground. The Concubine traps Elika. Exit the Fertile Ground using the path with the no-ring wall.
- 22Climb the column, jump to the wall, and go right. Jump from a beam to two flagpoles, then Wall Run to the Concubine. Strike her; she will disappear.
- 23Jump back to the center and take the same path as before. At the top of the wall, go left.
- 24Slide down the sliding platforms to reach the Concubine again. Strike her; she disappears.
- 25Drop back to the center and take the path to the right (with the ring on the wall). Climb up and go left.
- 26Slide down a platform, jump to and swing from flagpoles, slide again to reach her. She disappears for the last time.
- 27The Concubine will appear in the center. Release Elika. Prepare for the fight.
Boss Fight - The Concubine (Part I):
- The Concubine primarily attacks with her staff.
- This arena lacks walls, so she cannot be pinned against them. She also won't disappear if pushed off the edge. You must deplete her health directly.
- If she catches you near the edge, a mini-game may start. Hit Square repeatedly to win the deadlock and turn her around. Be ready for a swift counter-attack.
- For her finisher, she grabs the Prince's head. A random button prompt will appear; be ready to press it.
- Attack her directly using your preferred combos. Experiment with different combos to find effective links.
Tips
- Collect Light Seeds (75/170, 77/170, 78/170, 80/170, 81/170) as you navigate the areas.
- Pay attention to the sequence of jumps and Wall Runs required to progress.
- Be prepared for the Concubine's unpredictable attacks and finisher prompts.
100% Human-Written. AI Fact-Checked. Community Verified. Learn how AntMag verifies content