Hone your Total War: Warhammer II skills with Custom Battles. Master army composition, unit matchups, and tactical execution for formidable armies.
Custom Battles & Army Composition
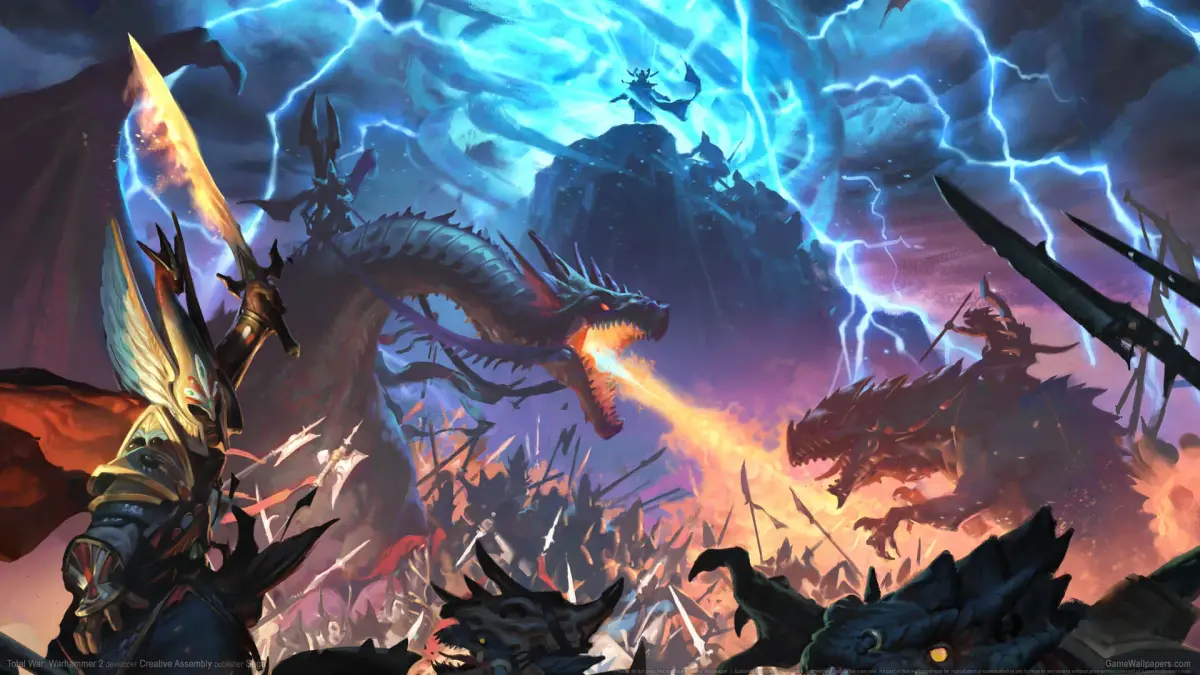
Custom Battles in Total War: Warhammer II are an invaluable tool for mastering army composition, unit matchups, and tactical execution without the pressures of the campaign map. This section will guide you through effective strategies for using Custom Battles to hone your skills and build formidable armies.
Setting Up Your Custom Battle
To begin, navigate to the main menu and select "Custom Battle". Here, you'll be presented with several options to tailor your experience:
- Faction Selection: Choose your desired faction and your opponent's. Experiment with different matchups to understand strengths and weaknesses.
- Lord/Legendary Lord: Select your army's leader. Remember that Legendary Lords often bring unique abilities, powerful magic, and faction-wide buffs that can heavily influence your army's performance.
- Battle Type:
- Land Battle: The standard engagement on a land map.
- Siege Battle: Practice attacking or defending fortified settlements. Essential for understanding siege equipment and choke points.
- Ambush Battle: Simulate surprise attacks, either as the ambusher or the ambushed. Great for practicing flanking maneuvers and defensive formations under pressure.
- Funds: Adjust the starting gold for each army. Start with "Normal" to simulate typical campaign battles, then experiment with "Large" or "Small" to understand unit efficiency at different price points.
- Map Selection: Choose a map that offers varied terrain. Maps with hills, forests, and rivers provide excellent opportunities to practice line-of-sight blocking, flanking, and defensive positioning. Consider maps like The Bloody Pass for choke point defense or The Gauntlet for open field engagements.
Principles of Army Composition
A well-rounded army in Total War: Warhammer II typically adheres to a few core principles, often referred to as the "Hammer and Anvil" strategy. However, faction unique units and playstyles can significantly alter this. Here's a breakdown of essential unit roles:
1. The Anvil (Frontline Infantry)
These units are designed to hold the line, absorb damage, and pin down enemy forces. Their primary role is to create a stable front for your damage dealers to operate.
- Key Stats: High Melee Defence, Armour, Leadership.
- Examples:
- High Elves: Spearmen (Shields), Lothern Sea Guard (Shields)
- Skaven: Clanrats (Shields), Stormvermin (Sword & Shield)
- Empire: Spearmen (Shields), Greatswords
- Strategy: Deploy them in a solid line, often two ranks deep, to prevent easy breakthroughs. Use their defensive capabilities to outlast enemy infantry.
2. The Hammer (Damage Dealers)
These units are responsible for inflicting significant damage, often by flanking or exploiting weaknesses in the enemy line. They can be melee, ranged, or monstrous units.
- Key Stats: High Melee Attack, Weapon Strength, Missile Strength, or Charge Bonus.
- Examples:
- Melee Hammer: Swordmasters of Hoeth (High Elves), Black Orcs (Greenskins), Saurus Warriors (Shields) (Lizardmen)
- Ranged Hammer: Waywatchers (Wood Elves), Thunderers (Dwarfs), Ratling Gun Weapons Teams (Skaven)
- Monstrous Hammer: Star Dragons (High Elves), Dread Saurians (Lizardmen), Hell Pit Abominations (Skaven)
- Strategy: Position melee hammers to hit engaged enemy units from the flanks or rear. Ranged hammers should have clear lines of fire and be protected. Monstrous units can break lines and cause significant terror.
3. Support Units
These units enhance your army's effectiveness through various means, including magic, artillery, and specialized flanking units.
- Magic Users (Lords/Heroes): Essential for buffs, debuffs, direct damage, and area-of-effect spells. Always consider a Lore of Life or Lore of Heavens caster for healing or powerful offensive spells.
- Artillery: Provides long-range damage, breaks up enemy formations, and forces opponents to advance. Examples include Great Cannons (Empire), Plagueclaw Catapults (Skaven), and Grudge Throwers (Dwarfs).
- Flanking Cavalry/Fast Units: Used to disrupt enemy missile lines, hunt down artillery, or cycle charge into engaged units. Examples: Reavers (Dark Elves), Empire Knights (Empire), Cold One Riders (Lizardmen).
- Anti-Large/Anti-Infantry Specialists: Units designed to counter specific threats. Phoenix Guard (High Elves) excel against large units, while Sisters of Avelorn (High Elves) are fantastic anti-infantry archers.
Actionable Walkthrough Steps for Custom Battle Practice
- Identify a Weakness: Think about a specific unit type or faction that gives you trouble in the campaign. For example, if you struggle against heavily armored Dwarf armies.
- Build a Counter Army: In Custom Battle, select your preferred faction and the challenging opponent (e.g., Dwarfs). Then, build an army specifically designed to counter their strengths.
- Against Dwarfs: Focus on units with high armour-piercing damage (e.g., Sisters of Avelorn for High Elves, Black Orcs for Greenskins), magic that reduces armour or causes significant damage, and flanking units to target their slow-moving artillery.
- Experiment with Formations:
- Standard Line: Anvil in front, ranged behind, cavalry on flanks.
- Checkerboard: Alternate infantry and ranged units to create firing lanes and protect archers.
- Refused Flank: Concentrate forces on one side, drawing the enemy into a trap or allowing a strong flanking maneuver.
- Focus on Micro-Management:
- Spell Casting: Practice targeting key enemy units with spells, understanding their range and area of effect. For example, a well-placed Chain Lightning (Lore of Heavens) can devastate clustered infantry.
- Cavalry Charges: Learn the timing for effective cycle charges – charging in, pulling out, and charging again to maximize damage and minimize losses.
- Flanking: Use your faster units to get around the enemy's main line and hit their vulnerable rear or missile units.
- Analyze Post-Battle Results: After each battle, review the "Battle Results" screen. Pay attention to:
- Damage Dealt/Received: Which units performed well, and which underperformed?
- Casualties: Were your expensive units dying too quickly?
- Unit Matchups: Did your anti-large units effectively counter large threats?
- Iterate and Refine: Don't be afraid to lose! Each loss is a learning opportunity. Adjust your army composition, try a different Lord, or change your deployment strategy based on your observations. Repeat the process until you consistently achieve victory against your chosen opponent.
By consistently using Custom Battles, you'll develop a deeper understanding of unit roles, faction synergies, and tactical execution, making you a far more effective commander on the Grand Campaign map.
100% Human-Written. AI Fact-Checked. Community Verified. Learn how AntMag verifies content