Complete Carrion Bunker walkthrough covering Jungle Outpost, Caverns, and Pier stages, including the Polycheiria upgrade.
Walkthrough
- 1From the starting area, destroy the ceiling grid and proceed east. Rip the electric panel for energy and move to the next room. Use the armor to protect the creature and bring the bomb near the metal obstacle. After removing it, pull the switch to deactivate the sensor; the Bunker entrance is ahead.
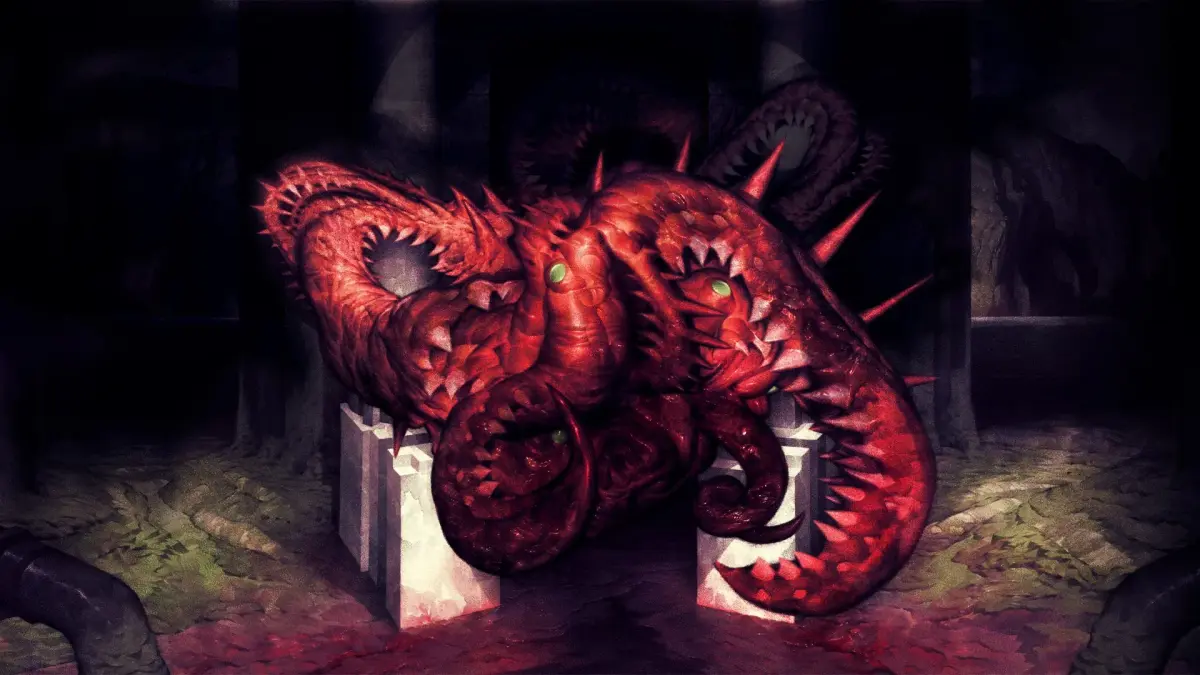
- 2Once in the new location, go downwards to a large area with blocked passages. Go southeast to find a red pool. Deposit biomass to get the monster in its first form. If the monster lacks energy, find an electric panel on the left and enter the middle door.
- 3Get past the lasers while invisible. At the elevator, send a parasitism tentacle through grated walls to defeat the armored guard below. Proceed downwards. Do the same for the next enemy, making it pull the switch to send the elevator upwards.
- 4Descend through the elevator shaft. You'll see a lock on the left and a contraption needing a core on the right. Go east and descend the second path.
- 5Proceed through the only possible way to a room with an armored guard and grated walls. Use parasitism on the guard and shoot the glass to proceed. Jump down and pull the switch to open the lock.
- 6Advance west with the guard and shoot the glass panels. You can use the guard to pull the switch to send the elevator upwards, or seize control, return with the monster, and shoot a cobweb to pull the switch.
- 7Enter the tube and descend to the hive to save. Proceed east into the room with a Relith symbol. Deal with enemies, pull the switch to expose the core, absorb it, and return to the containment unit room.
- 8Containment unit 9: Enter this room and grab the biomass sample to get Polycheiria, an upgrade that grants the monster an additional tentacle for grabbing.
- 9Return to the generator by going upwards through the elevator shaft. Insert the core to open the passage on the left and other paths in the initial area. Use the tube in the water to head back outside.
- 10There are four paths described in anticlockwise movement.
- 11Bunker - Jungle Outpost (stage 2): The northwest path leads to a room blocked by a rivet. Charge to push it and enter the tube. In this room, assume control of one of the four armored guards to defeat the others. Defeat the soldier on the lower level by pulling the grid when they walk over it. Proceed upwards.
- 12In the large open area, enter the door and avoid triggering the drone kart on the left. On the right, a Dreadnought is on the upper part and armed humans are below. You can engage them. If you take damage, it's easier to tackle the Dreadnought in the monster's first form. Shoot cobwebs at the Dreadnought until its shield is destroyed, then use parasitism on it and make it tackle the Dronekart.
- 13After defeating all enemies, the locks will open. Take the upper path to find a hive; activate it for biomass. Pull the rivet and head downwards. Pull the switch on the left and the rivet on the right. Enter the tube and return to the initial open area.
- 14Bunker - Caverns (stage 3): Upon entering, you'll see sensors deploying bombs. Take the tube leading downwards.
- 15You will reach a room with two humans, one armed. Defeat them and enter the door. Be cautious of an armored guard ahead, only a grid prevents them from seeing you. Take the opportunity when they turn around to defeat them and proceed.
- 16This area has four armored guards and a drone. Use parasitism on one soldier to defeat the others. Once the drone is defeated, the path upwards opens. Go there to find a hive; activate it and save.
- 17Go right to a flooded area. Swim through the grated wall, destroy the grid, and enter the tube on the left. Pull the lever to flood the area, then enter the tube below.
- 18To get back, the monster needs energy. Swim through grated walls to reach an electric panel on the left. Pull the switch to open the lock and head back outside.
- 19Bunker - Pier (stage 1): The pier entrance is on the southeast part of the large open area. Enter, destroy the grid, and crawl through the vent to the east. Use parasitism on the armored guard and defeat others, then proceed downwards.
- 20Enter the tube on the left and see humans. Do not kill them yet. Pull the switches; they will activate bombs. Use parasitism on one human or use echolocation to lure out armored guards, who will get bombs stuck to them. After defeating enemies, proceed through the tube on the left and activate the hive.
- 21It is advised to deposit biomass on the red pool to get the monster in its first form before advancing.
- 22In the next room, make your way upwards and enter through the vent. Go to the left corner and throw a cobweb.
Tips
- Use the monster's different forms strategically to overcome obstacles and enemies.
- Parasitism is key for controlling enemies and solving environmental puzzles.
- Energy is required for certain actions; utilize electric panels when needed.
- The Polycheiria upgrade in Containment Unit 9 significantly enhances the monster's utility.
100% Human-Written. AI Fact-Checked. Community Verified. Learn how AntMag verifies content