Detailed walkthrough for Relith Science HQ in Carrion. Learn how to defeat enemies, solve puzzles, and acquire new abilities like Parasitism.
The Relith Science HQ area is a complex facility with multiple paths and new challenges. This guide will help you navigate through it, defeat enemies, and acquire the Parasitism ability.
Walkthrough
- 1Start by heading right. In the next room, drop Biomass into a pool and descend. Shoot a web cob at the switch below to raise water levels, allowing passage through a grated wall.
- 2In the large room ahead, defeat the armed humans, avoiding the Dreadnoughts for now. Proceed through the door to the right.
- 3Take the downward path. In the next area, defeat the armed human on the right and pull the switch to unlock paths in the Dreadnought room. Return to that room.
- 4You can now choose between the left and right paths.
- 5Left Path: Defeat the two humans, one armed. Break the wooden wall and activate the hive to spread Biomass. Follow the pipe downwards, which leads back to the water level switch area. Head upwards.
- 6Enter the room and open the path through the vent. Proceed, and after defeating two drones, the path will unlock.
- 7Head upwards, consume humans for Biomass, and charge through a wooden wall to the room above.
- 8To shrink, proceed right, push a switch to open a door, enter the pool, and deposit Biomass. Return to the grated wall area, shoot the cobweb to push the switch, unlocking the path below. Retrieve Biomass from the pool and advance.
- 9In the next area, use the grids to defeat enemies in the upper section. Descend, use a vent to ambush enemies below, then proceed further down.
- 10Pull a switch to unlock the left path. Activate the hive, spread Biomass, and head down to return to the Dreadnought room.
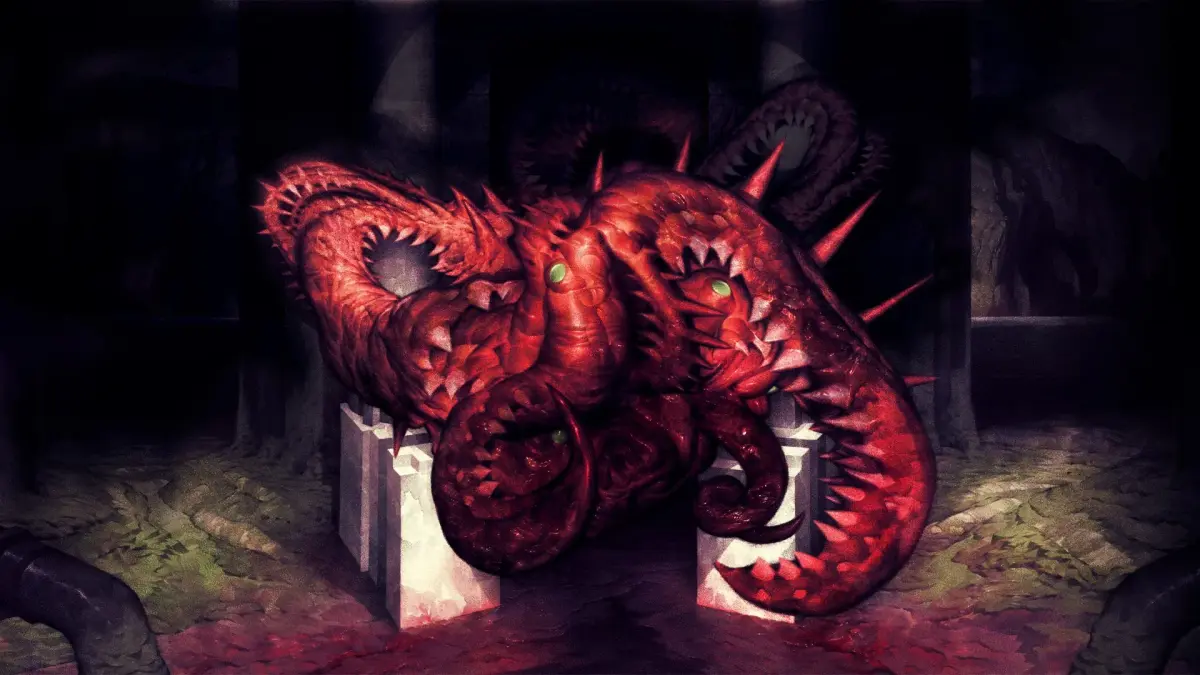
- 11Defeat the armed human and pull the switches to unlock the path. Be cautious of the Dreadnought; defeat it and proceed right.
- 12Right Path: Defeat the armored guard and humans. Activate the hive, spread Biomass, and advance upwards.
- 13In the next room, defeat the first armored guard using a vent. Engage the second, enter a pipe upwards, and charge through a grid to defeat the third. Defeat two more armored guards, consuming humans for Biomass if needed. Charge through a wooden wall and proceed upwards.
- 14Activate the hive to spread Biomass and open the path. Go down, then right, and enter the tube in the ceiling.
- 15You will return to the pool room on the east side. Deposit Biomass, recharge, save, and go down.
- 16Head down and shoot a cobweb at a lever behind grated walls to activate lasers and open a metal door. Use photokinesis to pass the lasers safely. Defeat the armored enemy and head down.
- 17Enter the left door, pull the switch to open the path below. Save and head down.
- 18You will return to the Dreadnought room. Defeat the armed human and switches, then the Dreadnought. Proceed down and pull the switch to open the gate.
- 19Proceed left to find a containment unit. Squeeze in to retrieve the **Parasitism** sample. Use the tendril to possess an armed human through grated walls, pull the switch, and end parasitism.
- 20Return to the Dreadnought room and proceed east. Use parasitism on the armored guard, avoiding the turret and other guard. Defeat the guard ahead, pull the switch to open the path and deactivate the turret. Head down.
- 21Crawl through a vent and use parasitism on a guard to defeat the others. Squeeze through to the next area.
Tips
- Use Biomass strategically to heal and upgrade.
- Take advantage of vents and environmental hazards to ambush enemies.
- Photokinesis is crucial for navigating laser grids.
- Parasitism allows for powerful crowd control and puzzle-solving.
100% Human-Written. AI Fact-Checked. Community Verified. Learn how AntMag verifies content