Navigate Doom II's Map 8, 'Tricks and Traps,' with our comprehensive guide. Discover secrets, defeat tough enemies like the Cyberdemon and Pain Elemental, and find powerful weapons like the BFG-9000.
Well... you know what to expect out of this level at least!
If you played the last level well, you should have maximum shells and 200% Health/Armor, which all help here.
We start in a room with a TON of doors. There's a Yellow and Red door here as well. The other doors are ones we can enter. Take the southwest door (left of the Red Door) to find a hallway with a single Cacodemon. Take him out. The wall at the far end can be opened to reveal a Hell Knight. He will likely teleport behind you here, which you should be careful of. Still, east to kill, plus the area he came out of is [SECRET 1/7], which has a Chainsaw, Armor and various ammo.
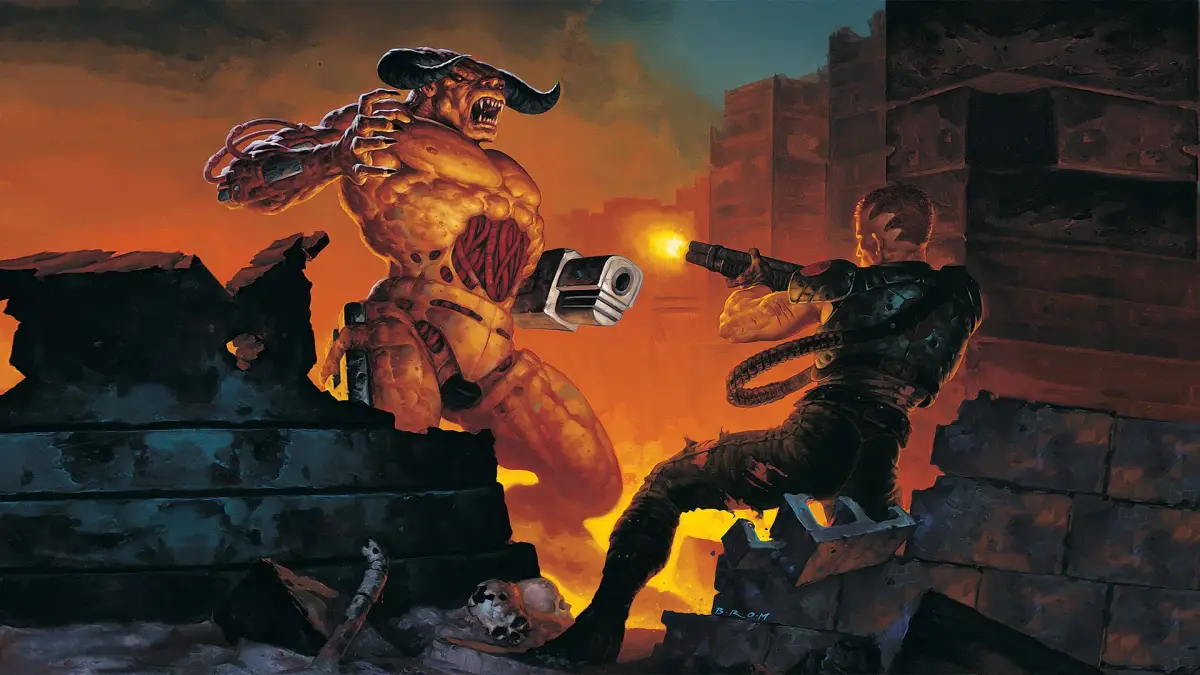
Head back and enter the southern door now. This room is awesome. There's a Cyberdemon in here, with a ton of Baron's of Hell facing him. You're going to watch and let them fight it out. The Cyberdemon will kill most of the Barons, but they will very likely kill him in the end. While they fight, you'll notice there's a Supercharge item (you could save this for later, which isn't a bad idea) and an Invulnerability Orb in here. Once the Cyberdemon dies, grab the Invulnerability and kill the rest of them. Note that due to a teleporter, there may be on past the door you came from (which was locked when the Cyberdemon was alive). When everything is dead, you can get the Yellow Skull Key here and hit the switch by it to return to the starting room.
Now, let's take the next door to the left (the southeast door). This is the "Imp Room". As you round the left corner, there's several Imps to kill. Get any of them that are close with the Super Shotgun and when you just have Imps left in the pit below you, use your Rocket Launcher and spread the shots out to kill them (there's a Shotgun sitting here too). When there's just a few left, feel free to drop down there and finish them off. Grab the ammo down the walkway (important) and hit the Skull Switch here. To get out, you need to walk towards the west wall, which teleports you back to the hub area.
Next up, take the northern door. This room has a single Shotgunner, but when you enter the room a TON of Cacodemons show up. There's quite a few in here. There's also a number of ways you can take them on. You could let them come out to the hub area and fire Super Shotgun shots as they follow you (or even lead them into another room), or you can run past them and use Rockets / Plasma Gun to try and kill multiple enemies at the same time. You can't go wrong, just try not to use too much ammo or take too much damage. This room has a Plasma Gun and ammo behind the far columns. You want to flip the green switch here as well.
Next up, open up the door to the northeast. This is the "Pinky Room". Here, you will enter, but GO SLOWLY until you see some Pinky enemies on the right. A lot of them. Before going into the room, shoot rockets at each group to really thin them out, then finish them off with the super shotgun. The trick here is that if you go too far into the room, stairs will raise letting the Pinky enemies down. You can see how that could be bad!
Once they are all dead, go grab the Rocket Launcher and ammo around. Then, go to where the demons were and hit two red switches in each area. One opens the door out of here, while another opens a secret room beyond where the Rocket Launcher was. This is [SECRET 2/7]:
This room is quite wide (and there's a reason for that). Up ahead is a step with a Supercharge item. However, when you go forward, a wall behind you (to the east) opens up and unleashes a horde of Pinky Demons. There is another secret here though: if you step around them and interact with the Baphomet Symbol where they came from (to the east), you can find a BFG-9000! This is [SECRET 3/7]!
This lets you wipe out the Pinky Demons, although it may take a couple shots and some may still survive. Still, a very fast way to kill them. You could alternatively just back out to the previous room, using your super shotgun. That always works too!
Once they area dead, you can explore past the Supercharge item to find FIVE Backpacks in the hallway to the north, all guarded by four shotgun enemies. If you aren't carrying max ammo, you will be now!
From here, return to the hub room now and let's go through the eastern door. This room has three teleporters in it: one to the left, one to the right, and one in the center. The center one leads to [SECRET 4/7], so that's the one we're going to take.
You can grab the Medkits and Box of Bullets here, then kill the two Cacodemons in this room with your Chaingun or Super Shotgun. Drop down and we have to meet yet a new enemy here: the Pain Elemental. The column in this room has two switches on it. Hit ONE of them and say hello to the Pain Elemental! These things look a bit like a Cacodemon (a different design though) and will endlessly spawn Lost Souls. This makes them one of the _worst_ enemies in the game. Each switch unleashes two of them, so hit a switch and kill both of them off (and any Lost Souls) and then do the same thing with the other switch. Nasty business.
Once that's done, you can get [SECRET 5/7] and [SECRET 6/7] in this room: the two doorways on each side of the room (north and south).We have yet another secret in this area ( [SECRET 7/7]). The northeast wall(the red one) is actually a gigantic door. Note that there's a Specter down on the lava here, so kill him from above, then jump down and open the northeast wall/door and get the Radiation Suit inside. You'll see the secret pop once you pass the door.
This area has a few small pathways. The left one has another Radiation Suit and Partial Invisibility. The middle one has ammo, and the right one has a teleporter you can escape from. Use the teleporter when you're ready and you warp back to the Pain Elemental room. Exit the cubby you're in, and then head back in to teleport back to t
100% Human-Written. AI Fact-Checked. Community Verified. Learn how AntMag verifies content