

Learn how to recruit immigrants in Dragon Quest VII Reimagined with our comprehensive guide. Discover tips, strategies, and locations to build your ultimate party.
This page contains spoilers for Dragon Quest 7 Reimagined! If you wish to continue reading on, you have been warned.
List of All Story Walkthroughs
All Island and Region Walkthroughs
| All Main Story Walkthroughs | |||
| 1 | Prologue | 2 | Ballymolloy |
| 3 | Emberdale | 4 | L'Arca |
| 5 | Regenstein | 6 | Frobisher |
| 7 | Roamer Encampment | 8 | Alltrades Abbey |
| 9 | Al-Balad | 10 | Roamer Encampment (Present) |
| 11 | Hardlypool | 12 | The Tallest Tower |
| 13 | Hubble | 14 | Aeolus Vale |
| 15 | Buccanham | 16 | Pool of Piety |
| 17 | Malign Shrine | 18 | Cathedral of Light |
| 19 | Awakening the Fire Spirit | 20 | Awakening the Earth Spirit |
| 21 | Awakening the Wind Spirit | 22 | Curious Tablet |
| 23 | Cathedral of Blight | ||
| All Optional Side Stories | |||
| 1 | Greenthumb Gardens | 2 | Vogograd |
| 3 | Nottagen | ||
| All Post-Game Content | |||
| 1 | Another World | 2 | Yet Another World |
Dragon Quest 7 Reimagined's main story progresses by collecting fragments in order to unlock and enter a region from the past. Each region has a questline that ends with a boss that you need to defeat to head back to the present time.
Once you head back to the present, you can explore the island and collect more fragments to unlock new regions.
Prologue Walkthrough Guide
| Jump to a Section | ||
| Prologue | Yellow Tablets | Red Tablets |
| Green Tablets | Grey Tablets | Blue Tablets |
| Endgame | ||
| All Prologue Sections | ||
| Pilchard Bay | Estard | Yellow Fragments |
Pilchard Bay
| 1 | Start by creating a new save and inputting your name and preferred settings. Just remember that once you've selected the Hero's name, it cannot be changed. |
| 2 | 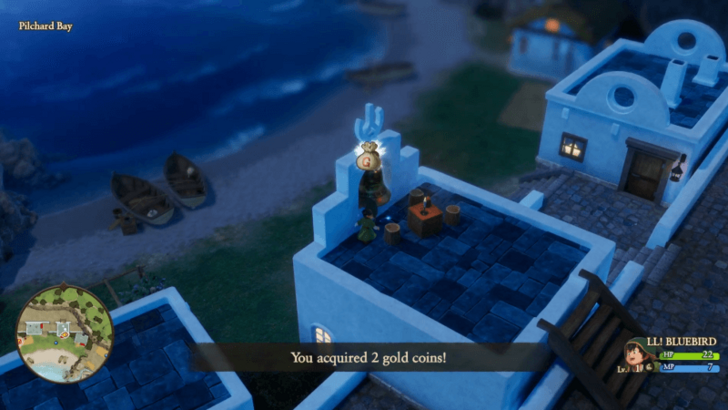 Once you have control of your character, you can explore Pilchard Bay for items you can use or sell later on. As a note, whenever you enter a new area, it's recommended to fully explore the surroundings first for anything useful, like treasure chests and Mini Medals. |
| 3 | 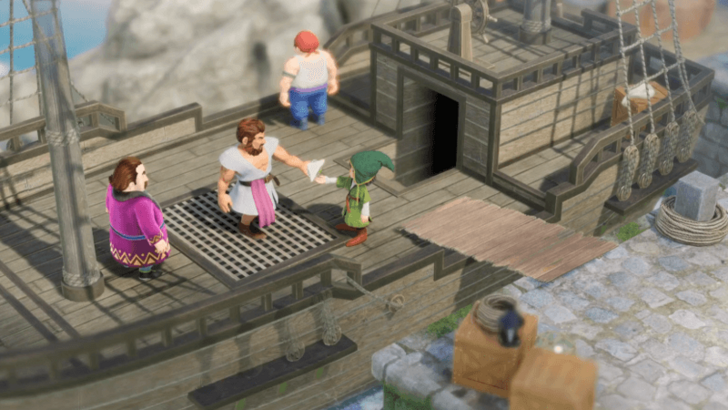 When you're ready, head back to your home and sleep. Once you wake up, head to the east side of the village and board the ship to give the sandwich to your dad. |
| 4 | 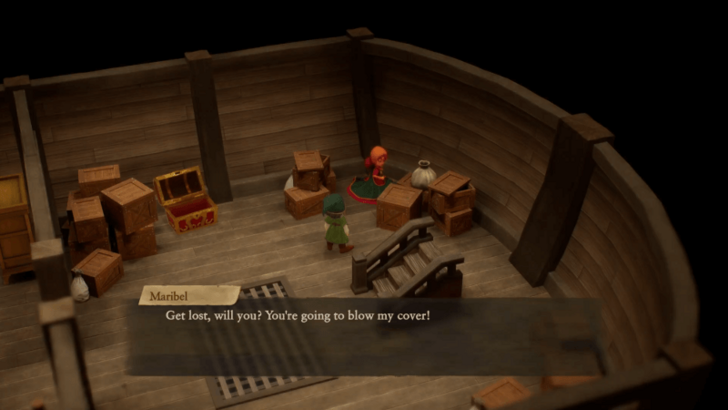 Head inside the ship and talk to Maribel, then go back outside to continue the story. |
Estard
| 1 | 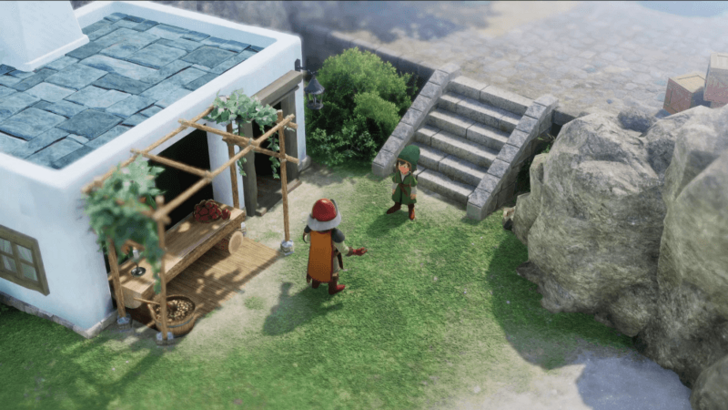 Go back towards the west, and a short cutscene will play where you'll be summoned to Estard Castle. |
| 2 | 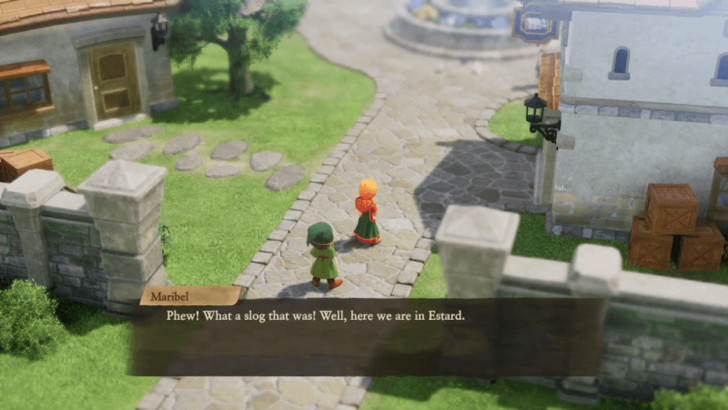 When you're ready, head to Estard and explore the town before continuing to the castle. Once inside, head up to the throne room before you start exploring the castle itself. |
| 3 | 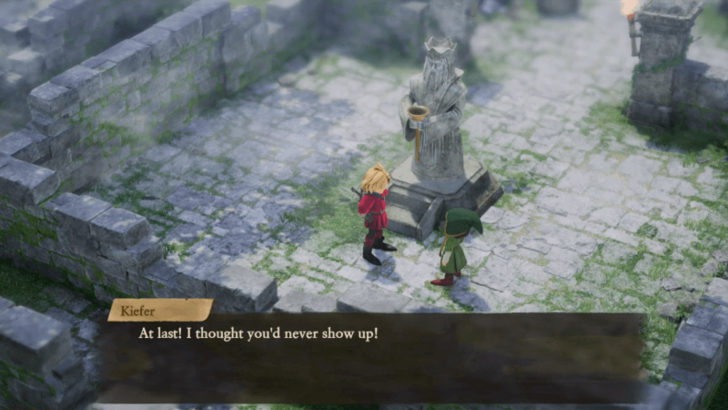 After you're done, head out towards the east side of the island to get to the Shrine of Mysteries. There's not much you can do here yet, so talk to Kiefer and progress the story to recruit your first party member. |
Collecting Yellow Tablet Fragments
| 1 |  |
100% Human-Written. AI Fact-Checked. Community Verified. Learn how AntMag verifies content