Defeat The Enforcer in Intravenous 2: Mercenarism. Learn his attack patterns and exploit his shotgun weakness to overcome this armored mini-boss.
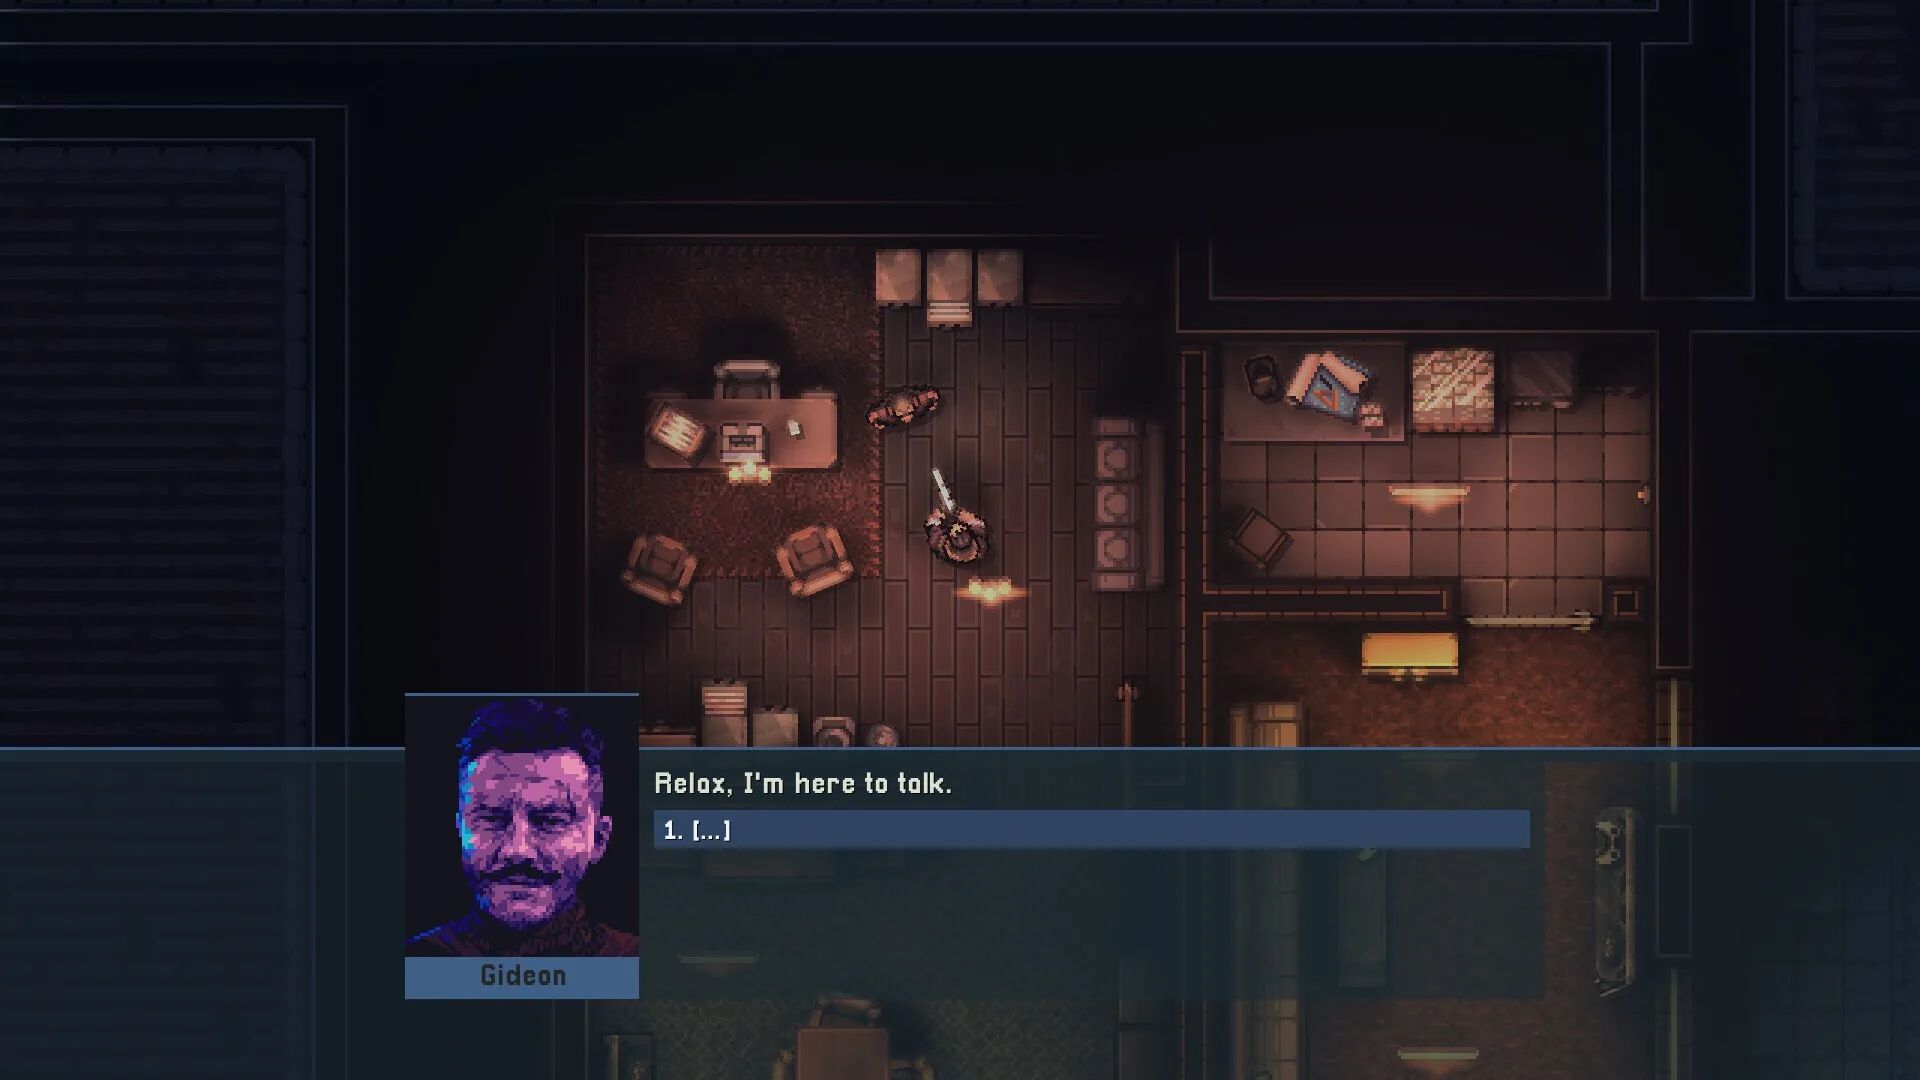
The Enforcer is a formidable mini-boss encountered during the early stages of Intravenous 2: Mercenarism. This heavily armored adversary presents a significant challenge due to his devastating shotgun and aggressive charge attack. Successfully navigating this encounter requires understanding his attack patterns, exploiting his weaknesses, and employing a strategic approach to combat. This guide will provide a comprehensive breakdown of the Enforcer fight, including detailed strategies, recommended loadouts, and the rewards you can expect.
Encounter Location and Context
The Enforcer typically appears in the industrial sector of the map, often guarding a crucial objective or a pathway forward. Players will usually find him patrolling a moderately sized, enclosed area, making cover a vital element of survival. Expect to face him after navigating through a series of less challenging enemy encounters, signaling a shift in difficulty.
Enforcer's Attack Patterns and Phases
The Enforcer's combat style evolves throughout the encounter, transitioning between two distinct phases:
Phase 1: Patrol and Suppression
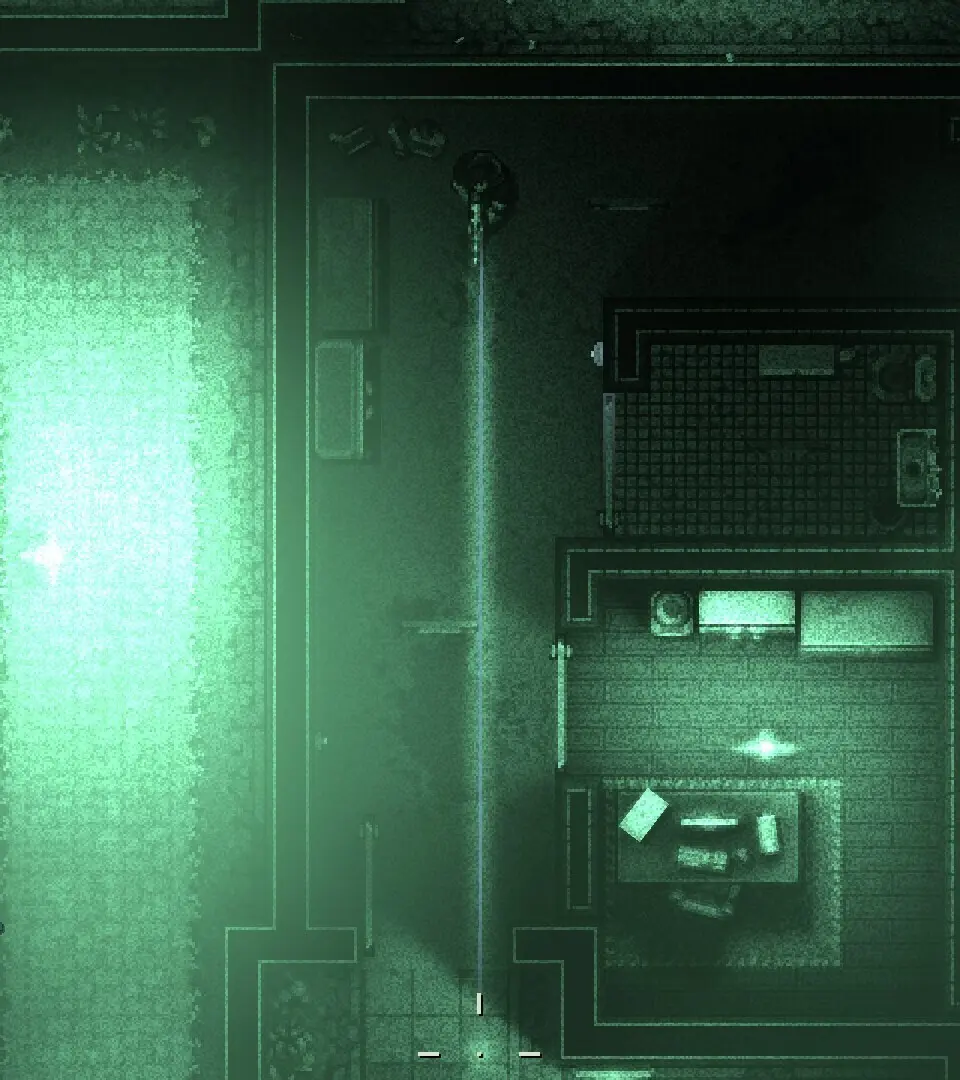
- Movement: In Phase 1, the Enforcer maintains a relatively predictable patrol route within his designated area. He moves deliberately, often pausing to survey his surroundings.
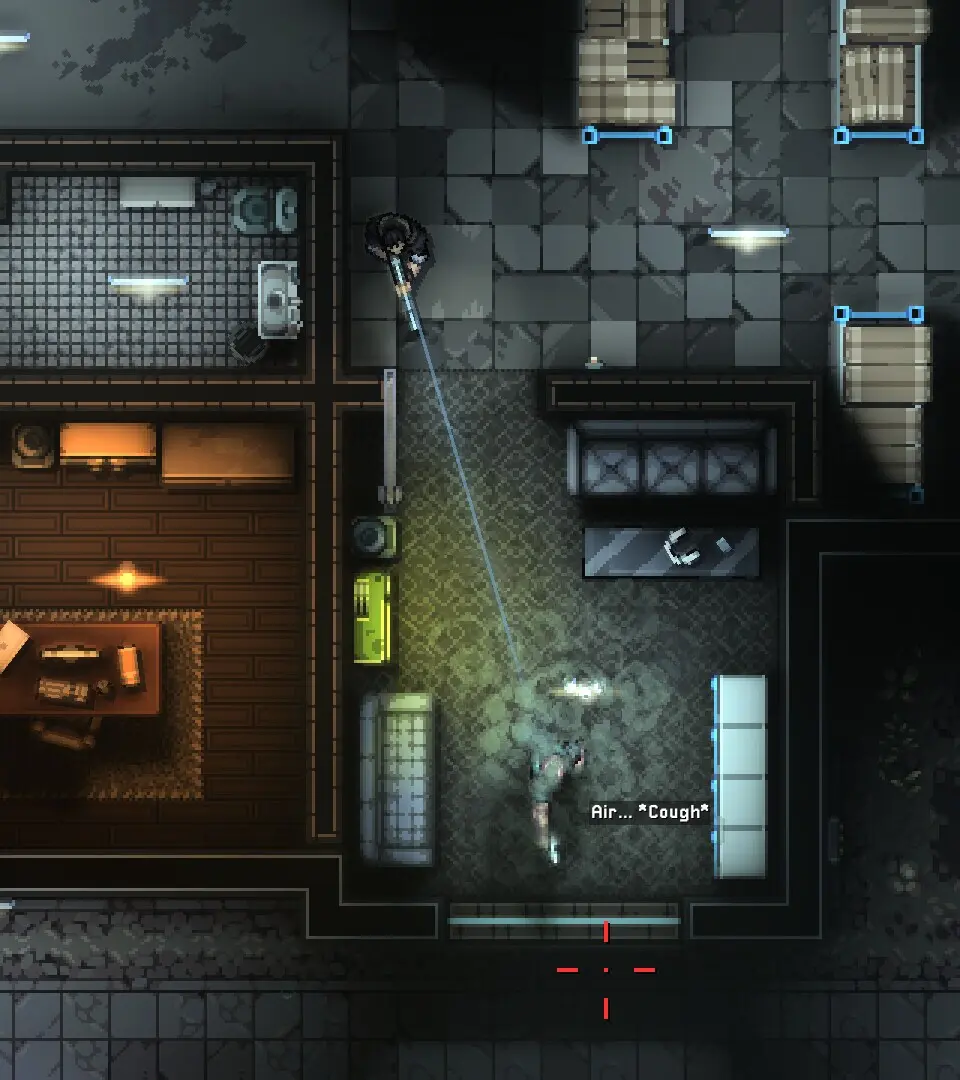
- Primary Attack: His main offensive capability is a powerful shotgun with a wide spread and significant damage output. He will attempt to close the distance to maximize its effectiveness.
- Vulnerability: During this phase, the Enforcer's turning speed is notably slow. This allows agile players to reposition and flank him. He also has a brief pause after firing his shotgun, often coupled with a reload animation, creating windows of opportunity.
Phase 2: Aggression and Charge
- Transition: Upon taking a certain amount of damage or after a set period, the Enforcer will enter Phase 2. This is signaled by a more aggressive posture and a change in his vocalizations.
- New Attack: The most significant addition is his devastating charge attack. He will sprint directly at the player, attempting to ram them. This attack is highly telegraphed but incredibly dangerous if not dodged effectively.
- Increased Aggression: He will be more relentless in his pursuit, firing his shotgun more frequently and attempting to corner the player.
- Vulnerability Shift: While still susceptible to flanking, the charge attack makes sustained close-quarters combat riskier. His back remains a less armored weak point, but reaching it requires precise timing and movement.
Weaknesses and Exploitable Mechanics
The Enforcer, despite his heavy armor, has exploitable weaknesses:
- Slow Turning Speed: Particularly in Phase 1, his inability to quickly change direction is a major advantage for players who can maintain distance and maneuver around him.
- Back Vulnerability: The Enforcer's rear is less protected than his front. Landing shots on his back deals increased damage. This is especially crucial in Phase 2 when he is charging.
- Explosives: Frag grenades and other explosive ordnance are highly effective at staggering the Enforcer and dealing significant damage, especially when he is grouped with other enemies or cornered.
- EMP Grenades (Confirmed Effective): EMP grenades are confirmed to be highly effective against the Enforcer. They will temporarily disable his armor plating, exposing critical weak points and stunning him for a short duration. This is an excellent opportunity to unload damage.
- Armor-Piercing Rounds (Confirmed Effective): Sustained headshots with armor-piercing rounds are also a viable strategy. While not as immediately impactful as EMPs, they will steadily chip away at his defenses and deal consistent damage over time.
Recommended Loadout and Strategy
To maximize your chances of success against the Enforcer, consider the following:
Weapon Recommendations:
- Primary: A reliable assault rifle or SMG with good accuracy for sustained fire. If you have access to armor-piercing rounds, equip them.
- Secondary: A shotgun for close-quarters engagements if you manage to flank him, or a high-powered pistol for precision shots.
- Explosives: A generous supply of Frag Grenades is essential. Prioritize acquiring EMP Grenades for this fight if possible.
Tactical Approach:
- Initial Engagement: Upon spotting the Enforcer, immediately seek cover. Assess the environment for flanking routes and grenade-throwing opportunities.
- Phase 1 Execution:
- Use cover to your advantage, peeking out to fire controlled bursts.
- When the Enforcer pauses or reloads, throw a Frag Grenade towards him.
- If you have EMP Grenades, save one or two for Phase 2, or use one early if you have an abundance to gain an early advantage.
- Maneuver around him to target his back whenever possible.
- Phase 2 Transition:
- Be prepared for the charge attack. Listen for audio cues and watch for his sprint animation.
- Dodge sideways or backward as he charges. Do NOT try to stand your ground.
- After dodging, immediately attempt to flank him and target his back.
- If you have an EMP Grenade remaining, deploy it when he is close or charging to stun him and create a significant damage window.
- Continue to utilize cover and reposition frequently.
- Sustained Damage: Focus fire on his back or head (with AP rounds) when opportunities arise. Don't get greedy; prioritize survival.
Potential Pitfalls and Missables
- Over-reliance on close combat: While flanking is key, getting too close during Phase 2 without a clear escape route can be fatal due to his shotgun and charge.
- Ignoring the charge attack: Underestimating the Enforcer's charge attack is a common mistake that leads to quick deaths. Always be ready to dodge.
- Wasting explosives: Ensure your grenades are used effectively, either to stagger him, deal burst damage, or create an opening.
Rewards
Successfully defeating the Enforcer typically yields valuable rewards, including:
- Unique Shotgun Blueprint: This is the primary reward, allowing you to craft a powerful and unique shotgun for future use.
- Ammunition and Health Packs: Essential resources to replenish your supplies after the challenging fight.
- Progression: The Enforcer's defeat usually unlocks the next area or objective, allowing you to continue your mission.
100% Human-Written. AI Fact-Checked. Community Verified. Learn how AntMag verifies content