Kirby's Adventure Part 13 walkthrough covering Grape Garden, Kirby's Air Grind, and the World 3 Boss.
Walkthrough
- 1From the top left platform, wait for the pink enemy to show its head and perform a sliding kick.
- 2Descend, avoiding cannon fire, to collect health.
- 3Return to the top and enter the door, timing your movement to avoid the cannon.
- 4Jump up platforms, defeating any enemies encountered.
- 5Shoot blocks to reveal a door, but proceed higher without entering it yet.
- 6Dodge falling Stone enemies and locate another door.
- 7Return to the lower area and enter the last door.
- 8Blow up the first bomb and charge to the other side before the wall rebuilds.
- 9Collect health and proceed through the next door.
- 10Jump on the machine to reveal Kirby's Air Grind.
- 11Exit through the subsequent door.
- 12Enter the dark room and swallow a Ghost to gain light, making navigation and finding a 1-Up easier.
- 13Acquire abilities like Cutter and Sword in this area.
- 14Leave through the door and continue upwards, collecting health, a Maxim Tomato, and a 1-Up while defeating foes.
- 15Exit through the final door.
Tips
- Timing is crucial to avoid the cannon when entering the door.
- The UFO ability is considered the best in the entire game.
- In the dark room, swallowing a Ghost provides light.
Walkthrough
- 1Race against three other Kirbys on a star, grinding poles.
- 2Hold the A button throughout the race.
- 3When approaching a black pole, release the A button to slide across.
- 4To achieve a 'Good' rating, release the A button just before the black pole.
- 5To achieve a 'Great' rating, release the A button perfectly before the black pole.
- 6As you slide across, hold the A button again right before or at the last moment to maintain momentum.
- 7Be aware that black poles change in size, affecting difficulty.
- 8Level 1 Difficulty features fewer black poles, more mistakes from opponents, and a shorter course.
- 9In Level 1 Difficulty, there are 10 black poles in total.
Tips
- Mastering the timing of releasing and re-pressing the A button is key to high scores.
- Opponent Kirbys tend to make more mistakes on easier difficulties.
Walkthrough
- 1From the Warp Star area, you can jump to level 1/2, as you are currently on level 3.
- 2The higher your current level in the game, the more levels you can access via the star at that particular level.
Tips
- The Warp Star provides a fast travel option between levels.
Walkthrough
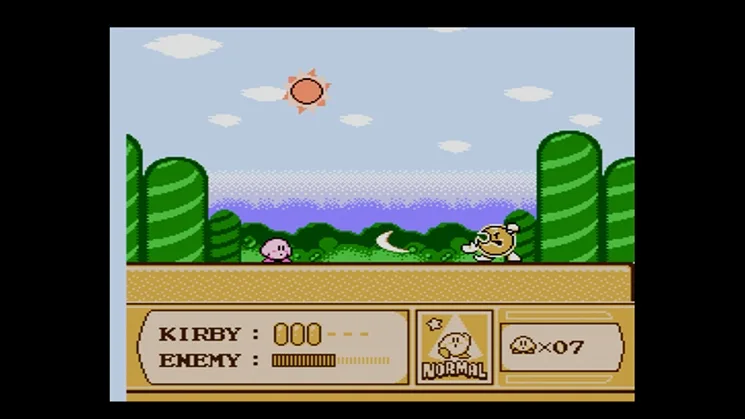
- 1Moon Phase: When the Moon is on the ground, discard any ability you have and spit it out at it.
- 2When the Moon charges, jump over it to get to its other side.
- 3When the Sun sends a beam down, it drops stars. Collect these stars and spit them at the Moon.
- 4Sun Phase: When the Sun starts lighting up, it will charge at you. Stay above it during this attack.
- 5The Moon continuously sends stars down. Collect about three stars at a time and shoot them at the Sun.
- 6Dodge the Sun's blasts by jumping over them.
Tips
- Focus on defense, as it is more critical than offense in this fight.
- Be prepared to dodge blade attacks from the Moon.
- The fight is considered medium-hard.
Walkthrough
- 1From the beginning, move forward and get on the next cloud.
- 2Defeat the Fire enemy and continue.
- 3Jump over the vertically moving spiked enemy when it's at its highest point and defeat the red enemy variation.
- 4Jump down to the next cloud and defeat the Spark enemy.
- 5Defeat the falling normal enemy.
- 6Hop across smaller clouds, dealing with enemies as you encounter them.
- 7Near the door at the other side, acquire the Laser ability by discarding your current ability.
- 8Enter the door.
- 9In the next room, defeat the normal enemy and the Parasol enemy using the Laser ability.
- 10Higher up, defeat two normal enemies, a Beam enemy, and a Sword enemy.
- 11Reach the top and go through the door.
- 12In the next area, discard the Laser ability and acquire the UFO ability from a UFO enemy.
- 13Continue forward through the clouds in Space and defeat another UFO.
- 14Go through the door.
- 15Defeat the Ball enemy immediately upon encountering it.
- 16Make your way through blocks, defeating a Weepinbell-like enemy, birds, two spiked enemies, another Ball enemy, a Sleep enemy, another Spiked enemy, and finally, three beam enemies.
- 17Go through that door.
- 18Defeat two Tornado enemies, a Sword enemy, and a Sleeping enemy.
- 19At the bottom, destroy another Sleep, Cutter, and Tornado enemy.
- 20Go through the last door.
Tips
- The UFO ability is the best ability in the entire game.
- Discard your current ability to acquire the Laser ability when needed.
Walkthrough
- 1You will not retain the UFO ability from the previous level.
- 2From the beginning, walk onto a platform with a large tree/cane.
- 3Jump to the next area with elves and locate a door; do not enter it yet.
- 4Go to the top of the house and acquire either the Spark ability or the Fire ability.
- 5Go to the other side of the house and slide kick the bo...
Tips
- Acquiring the Spark or Fire ability is necessary for progression.
100% Human-Written. AI Fact-Checked. Community Verified. Learn how AntMag verifies content