Understand Mordhau's starting zones: safe havens for preparation and respawning. Learn their purpose and features for a better battlefield entry.
Starting Zones: Your First Foothold in the Chaos
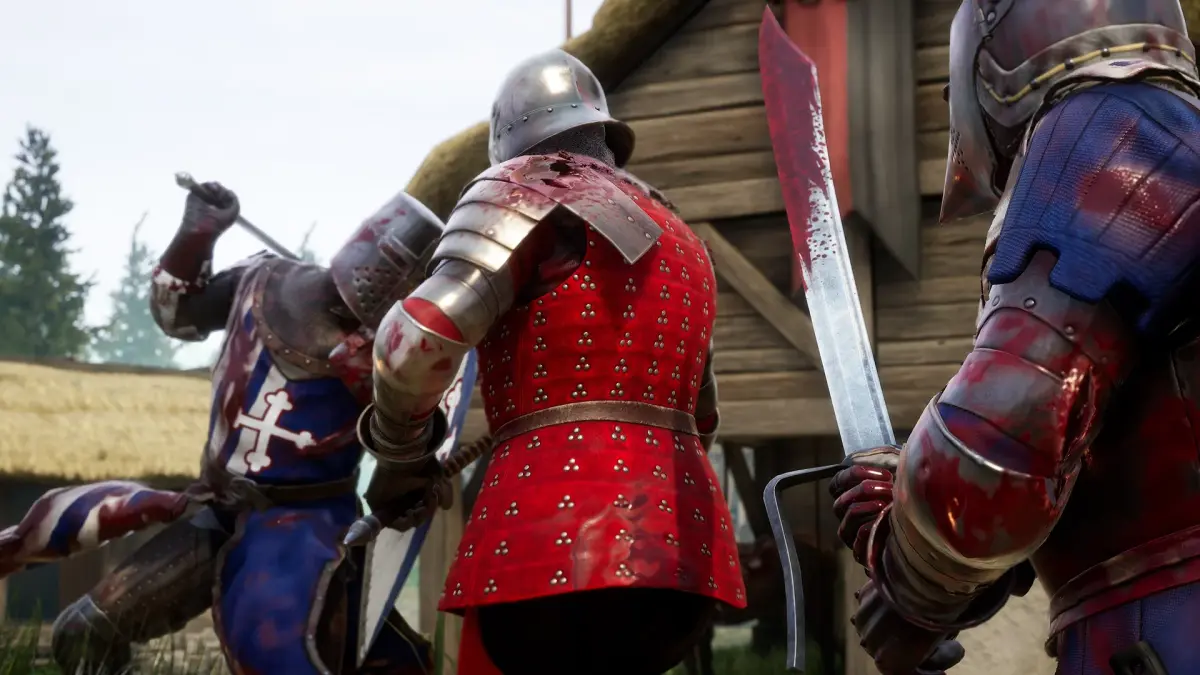
Welcome to the brutal, unforgiving battlefields of Mordhau! Before you charge headlong into the fray, you'll find yourself in a designated Starting Zone. These areas are your initial sanctuary, a place to prepare, fine-tune your loadout, and get your bearings before the true carnage begins. Understanding the nuances of these zones, especially how they differ across game modes, is paramount to a successful and less frustrating entry into any match.
The Purpose and General Design of Starting Zones
Starting zones in Mordhau are strategically placed at the periphery of the map, deliberately distanced from the primary objectives or the most intense combat hotspots. Their design is typically functional, prioritizing player preparation over elaborate aesthetics. You'll commonly find:
- Player Spawn Points: Clearly marked areas where you materialize upon entering a match or after respawning.
- Mount Spawners: Locations where you can acquire horses, essential for rapid map traversal, especially in larger modes.
- Basic Armory & Workbench: Limited access to customize your character's loadout, repair damaged armor, or craft basic items. These are usually a step down from the full armories found at forward bases.
- Objective Markers (Sometimes): In certain modes, the starting zone might offer a visual cue or a very early, low-stakes objective to encourage movement.
The primary function of a starting zone is to provide a brief window of relative safety. This allows new players to orient themselves, experienced players to make crucial last-minute loadout adjustments, and teams to potentially regroup before pushing towards the front lines. However, the term "safe haven" is often relative, and vigilance is always advised.
Starting Zones Across Different Game Modes
The des and function of starting zones can vary significantly depending on the game mode, directly impacting early-game strategy and the pace of engagement.
Frontline & Invasion: Expansive and Vulnerable
In large-scale objective-based modes like Frontline and Invasion, starting zones are typically vast encampments or villages situated at the map's extreme edges. These areas are designed to facilitate the respawn of a large number of players and often include multiple horse spawners and basic armories.
- Example: Grad (Frontline) - The starting zone for the attacking team on Grad is a small, fortified village with a few buildings, a central courtyard with horse spawners, and a basic armory. The defending team spawns in a more established castle area.
- Example: Taiga (Invasion) - Attackers spawn in a desolate clearing with a few tents and horse spawners. Defenders are positioned further up the snowy mountain.
Key Characteristic: These zones are designed for mass deployment. However, they are also the most susceptible to enemy incursions. In these modes, enemy You can sometimes push deep into your starting zone, especially if objectives are lost rapidly or if a team is being steamrolled. It's not uncommon to find yourself fighting enemies mere steps from your spawn point. This means you must be ready to fight or flee immediately upon spawning.
Early Strategy: Immediately mount a horse if available and head towards the nearest objective or friendly forces. Avoid lingering in the open; use any available cover. If enemies are present, assess if you can engage safely or if a tactical retreat is necessary. Prioritize reaching the first contested point to establish a forward presence.
Team Deathmatch & Skirmish: Compact and Symmetrical
In modes focused on pure combat, such as Team Deathmatch and Skirmish, starting zones are generally more compact and often more symmetrical. They are usually positioned closer to the center of the map, facilitating quicker engagements.
- Example: Contested (Team Deathmatch) - Teams might spawn in opposite corners of a ruined town, with the main combat area being the central plaza. Each spawn area will have a few buildings for initial cover and perhaps a single horse spawner.
- Example: Camp (Skirmish) - Two opposing camps, each with a few tents, a campfire, and a small armory, positioned a short distance apart across an open field.
Key Characteristic: While still designated as starting areas, the proximity to the enemy spawn and the central combat zone means these areas can become contested very quickly. Players might encounter enemies almost immediately after spawning, especially if the enemy team is aggressive. The "safety" here is minimal and fleeting.
Early Strategy: Quickly assess your immediate surroundings for threats. Grab a horse if one is nearby and head towards the most populated combat areas. If enemies are already in your spawn zone, be prepared for an immediate fight. These modes reward aggression and quick reaction times.
Conquest & Domination: Dynamic and Evolving
Modes like Conquest and Domination often feature starting zones that are tied to the initial capture points. You might spawn near your team's starting stronghold or a designated safe area adjacent to the first objective.
- Example: Steppefall (Conquest) - The defending team might spawn in a fortified village, while the attacking team spawns in a more open encampment further down the road, with the first capture point situated between them.
Key Characteristic: The starting zone in these modes often serves as a staging ground for the initial push towards the first objective. While generally safe from direct enemy spawn camping, the area immediately outside the zone will quickly become a warzone. The dynamic nature of these modes means your starting zone could potentially become a contested area later in the match if objectives are lost and respawn points shift.
Early Strategy: Coordinate with your team to push the nearest objective. Utilize any available mounts to quickly reach the front lines. Be aware that the "safe" area is temporary; the real fight begins just beyond its borders.
Navigating and Utilizing Your Starting Zone
Regardless of the game mode, mastering your starting zone is the first step to survival and success:
- Spawn and Assess: Upon spawning, take a moment to observe your immediate surroundings. Are there enemies nearby? Is a horse available?
- Gear Up: If you need to change your loadout, do so quickly at the basic armory. Prioritize weapons and armor that suit your intended role and the expected early-game engagements.
- Mount Up (If Applicable): Horses are invaluable for quickly reaching objectives or escaping danger. If one is available and you plan to move quickly, grab it.
- Identify Exit Routes: Familiarize yourself with the primary paths leading out of your starting zone towards the objectives or common combat areas.
- Maintain Situational Awareness: Even in your starting zone, enemies can and will push. Never assume complete safety. Keep your head on a swivel.
By understanding the unique characteristics and potential vulnerabilities of starting zones across different Mordhau game modes, you can ensure a more strategic and effective entry into every battle, setting yourself up for victory from the very first moment.
100% Human-Written. AI Fact-Checked. Community Verified. Learn how AntMag verifies content