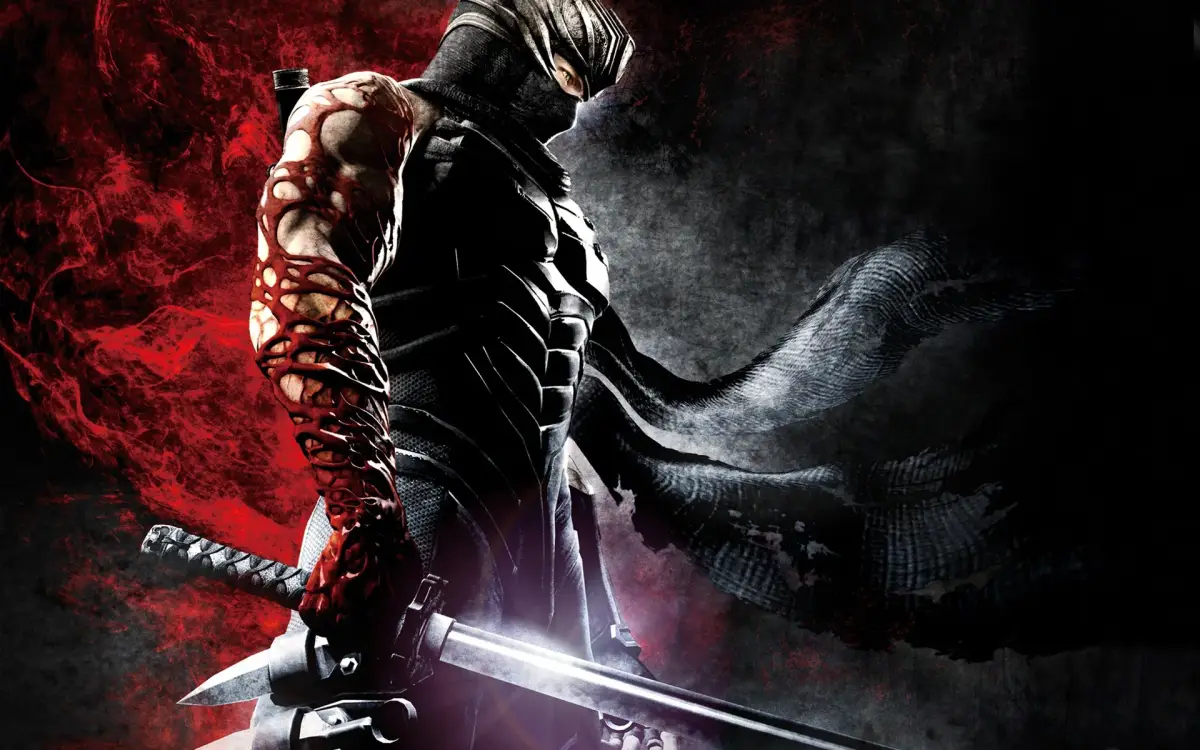
Welcome to Ninja Gaiden 3, the 2012 entry in the long-running ninja action series developed by Team NINJA. As the legendary Dragon Ninja, Ryu Hayabusa, you'll master deadly arts and face down dark challenges. This game throws you into intense, moment-to-moment combat where precise timing and aggressive offense are key to survival.
This guide is here to help you conquer every chapter and master Ryu's advanced combat techniques. We'll cover navigating the game's missions, uncovering the secrets of the Dragon Ninja, and surviving the ultimate trial. Whether you're aiming to complete the walkthrough or just need help with a specific boss, this guide has you covered.
Part 1
Master the opening of Ninja Gaiden 3 with our detailed Part 1 walkthrough. Learn controls, QTEs, and combat strategies for Day 1.
- 1After choosing your difficulty, press X three times as prompted to initiate combat.
- 2Engage in a Quick Time Event (QTE): push the left analog stick forward, press A to jump, push the analog stick right, pull LT, press Y to dodge, and repeatedly press Y to attack the enemy.
- 3Complete another QTE by pushing the left analog stick forward to finish the giant enemy and trigger the title screen.
- 4After cut-scenes, move forward and press A to glide off the building. Press Y when prompted to take out a guard, then finish him with sword slashes.
- 5Use the right analog stick (press down) to see the guide direction.
- 6Proceed to slaughter all guards in the area, including those with rocket launchers. Learn that LT is Block and X is Quick Attack, Y is Strong Attack.
- 7Approach the truck blocking the path. A lone enemy will beg for his life; continue moving forward until you can kill him.
- 8To slide under the truck, push forward on the left analog stick and pull LT.
- 9Immediately after sliding, a giant robot appears. Push the left analog stick forward and pull LT again to QTE slide and avoid a car.
- 10Enemies will attack as the robot fires missiles. Use the right analog stick to find an escape route in an alleyway.
- 11Jump over obstacles and continue running until an explosion blocks the path. Use the right analog stick to identify scaffolding.
- 12Slide under the scaffolding, jump over a gap, and reach a dead end. Use the right analog stick to see the next path up a building.
- 13Jump onto the wall (press A) and hold LT and RT to dig in kunai. Alternate LT and RT to climb.
- 14As the wall crumbles, fall back down. A guard appears; climb again, but press B to throw a dagger and kill him. Move to avoid his falling body and continue climbing to the roof.
- 15Move along the roof. Tilt the left analog stick slightly to walk quietly. Sneak up on a rocket launcher guard and press Y when prompted to kill him.
- Master the QTEs early on, as they are crucial for survival and progression.
- Utilize the right analog stick (down) to constantly check your objective direction.
- Don't be afraid to use quick and strong attacks to dispatch enemies efficiently.
- Blocking (LT) is essential when facing ranged attacks like rockets.
- The climbing sections require precise timing with LT and RT.
Part 2
Complete Ninja Gaiden 3 Part 2 walkthrough covering the Steel Spider boss, shielded enemies, and rocket launcher threats.
- 1Glide off the roof and use the left analog stick and left trigger to avoid rockets, then press Y to take out the guard firing them before hitting the ground.
- 2Defeat all guards in the area, prioritizing closer enemies over the one with the rocket launcher.
- 3Use your Ninpo bar (filled during the fight) by pressing B and Y together to unleash a fire dragon, causing enemies to surrender. You can then kill them or press down on the right analog stick to reveal the next path (waypoint (a marker on your map you've manually placed as a destination)).
- 4As you approach the gate, use the slide technique (QTE) to avoid the incoming truck.
- 5Fight the enemies that emerge from the truck, being wary of one with a rocket launcher that shoots a volley of missiles.
- 6Deal with new enemies that appear with shields by sliding under them, jumping over them, or using Y attacks to disarm them.
- 7When a bird lands on Ryu's arm, press B to manually save the game.
- 8Rush towards the rockets as the truck blocking the path explodes.
- 9Run past the destroyed enemies and barricade after a helicopter destroys them with rockets.
- 10Defeat the two shielded enemies and the one dual-wielding knives as they hop over the next barricade.
- 11Hop over the barricade into the fog. Wiggle the left analog stick and press X to kill the enemy that grabs Ryu from behind.
- 12Use the right analog stick to point to the closest enemy, then tilt the left analog stick slowly towards them. Press Y to take them out silently when near, indicated by lasers on their guns. Avoid attracting attention to prevent a rocket barrage.
- 13When the Steel Spider robot appears, constantly move by sliding left or right to avoid its attacks.
- 14Focus on attacking its red legs while ignoring the others. Keep sliding and attacking the four red legs until their armor breaks.
- 15Each time an armor breaks, mash the X button during the QTE to finish the leg. Slide away from the falling, self-destructing leg.
- 16After two legs are destroyed, avoid the Steel Spider's electrical discharge attack (indicated by its glowing blue underbelly).
- 17Continue attacking the red legs until all four are gone, causing the robot to fall and expose its engine.
- 18Be wary of the electrical discharge attack again. Let it use the attack once, then jump onto the platform leading to the engine.
- 19Slice at the engine and mash the X button during the QTE to destroy it and defeat the Steel Spider.
- 20Move down the alleyway towards the flaming wreckage.
- 21Fight off the initial group of enemies, then a couple more.
- 22Start a Kunai Climb up the nearby rooftop. Hold both triggers to avoid falling.
- 23Move left and right to avoid rockets from the enemy on the roof, and press B to throw daggers at them.
- 24Avoid the enemy's falling body, then climb to the roof.
- 25Approach the door on the roof and press B. Run down the stairs and through the hallway.
- 26Move through the open door. Wiggle the left analog stick and press X to kill the enemy that jumps on Ryu.
- 27Descend the stairs, noting the blood on the wall. Go through the door at the bottom.
- 28Proceed through the next room with a fireplace and blood on the wall, then exit to the outside area.
- 29Wiggle the left analog stick and press X to kill the enemy that jumps on Ryu's back.
- 30Move towards the next building and kill the group of enemies that run out.
- 31Approach the bird on the railing and press B to replenish health and save the game.
- 32Press B to open the doors, run down the hallway, and press B at the next set of doors.
- 33A cloaked figure will kill the hostage and then fight Ryu.
- Focus on closer enemies first when dealing with groups, especially those with rocket launchers.
- The fire dragon Ninpo is effective for clearing out large groups of enemies quickly.
- Slide attacks are crucial for bypassing shielded enemies and avoiding the Steel Spider's attacks.
- Pay attention to the Steel Spider's glowing underbelly as a warning for its electrical discharge attack.
- Use the Kunai Climb to gain a vantage point and attack enemies from above.
Part 3
Complete Ninja Gaiden 3 Part 3 walkthrough, covering the desert section with the bow and Kunai Climb.
- 1Press LT to block the initial attack, then use a flurry of other attacks.
- 2Press A repeatedly to dodge strikes and complete Quick Time Events (QTEs) when prompted.
- 3Continue attacking until the enemy is knocked through a window.
- 4The battle resumes outside; apply the same strategy.
- 5When prompted, mash the X button.
- 6After the Dragon Sword disappears, grab the cloaked figure's cutlass.
- 7This move is dodged, and the cloaked figure leaves.
- 8Walk through the nearby door and move towards the rubble.
- 9A missile strike will hit the location.
- 10DAY 2: You receive a bow.
- 11Push the right analog stick to focus on the distant tower (objective).
- 12Hold LB to draw your bow and aim at the two closer towers.
- 13Aim at the enemies in the towers (two on the left, one on the right).
- 14Hold LB to aim, use the right analog stick to switch targets, and pull RT to fire arrows.
- 15After killing the tower enemies, move closer to the wall.
- 16Destroy the motorcycles of enemies who ramp over the wall using rapid bow fire.
- 17If enemies get too close, use A to jump and gain a better vantage point.
- 18You receive a sword from a lady with pink hair.
- 19Move through the hole in the wall and follow the paths.
- 20An enemy will emerge from the sand; use the slide move during a QTE to avoid the attack.
- 21Fight the enemies that arrive in the ambush.
- 22Learn about the Ultimate Technique: when Ryu's arm glows red, hold Y and release to defeat nearby enemies.
- 23Continue fighting ground enemies, then use the bow to take out enemies at higher elevations with RPGs.
- 24Kill the enemy on scaffolding with a rocket launcher; the scaffolding will be destroyed.
- 25Run to the scaffolding area and press A repeatedly to wall-jump to the area above (Flying Bird Flip).
- 26A bird will perch on a post; approach it and press B to save the game.
- 27Move forward and kill appearing enemies.
- 28Press Ryu against the wall to his left and press A to Wall Run across the gap.
- 29On the other side, jump across the next gap, sneak up on enemies, and kill them.
- 30Wall Run against the next wall to cross the subsequent gap and kill the enemy.
- 31A makeshift bridge will break under Ryu's weight.
- 32Kill the group of enemies that ambush you; use Ninpo if needed.
- 33Press down on the right stick to find an area to use Flying Bird Flip to exit.
- 34Return to the area before the bridge collapsed.
- 35Wall Run across the gaps.
- 36At the dead end, run up the wall.
- 37Hold both triggers to use Kunai Climb and climb the wall.
- 38At the open door, press Y to take out the guard at the top.
- 39Move silently towards the next enemy and press Y to take them out.
- 40Move outside onto the balcony.
- 41Press A to avoid incoming rockets during a QTE.
- 42Press Y as Ryu glides down to take out the ground guard.
- 43Defeat all ground enemies, then use the bow to take out elevated enemies.
- 44Scaffolding will fall, opening a new path.
- 45Run to the rubble and bounce between walls to reach the top.
- 46Jump across gaps, using bars to swing across.
- 47The bridge will break; use Kunai Climb to climb back up.
- 48Save your progress at the bird on the ledge.
- 49Jump up the next wall.
- 50Swing across gaps again and smash through the wooden platform.
- 51Run down the hall and kill enemies.
- 52Press B to go through the doors.
- 53Pull out your bow and aim upwards at the roof to target a magic user.
- 54Fire at the magic user; they will dodge and fire back.
- 55Use LT and the left analog stick to dodge their attack.
- 56Three mages will appear; jump around to avoid their attacks.
- 57Use strong Y button attacks to break their magical barriers.
- 58Once all three mages are killed, run up the nearby wall using Kunai Climb.
- 59Run up the next wall using Kunai Climb.
- 60Slide down the hill to enter the dome.
- 61Walk down the hall until you hear music from a bar.
- 62Enter the bar and move to the jukebox; an ambush will occur.
- Block Ryu's initial attacks with LT.
- Mash buttons during QTEs as prompted.
- Use the bow for ranged enemies and motorcycles.
- Utilize the Ultimate Technique when Ryu's arm glows red.
- The Flying Bird Flip allows you to jump from wall to wall.
- Kunai Climb lets you ascend walls.
- Wall Run allows you to traverse gaps by running along walls.
- Use Ninpo for large groups of enemies.
- Save your game frequently at the perched birds.
Part 4
Complete Ninja Gaiden 3 Part 4 walkthrough covering the monorail, helicopter fights, and skyscraper battles. Learn how to defeat enemies.
- 1Clear enemies on the ground, then use your bow for those above. If enemies glitch behind the bar counter, use your bow to eliminate them.
- 2After the first wave, more enemies will enter the bar. Defeat them all, then proceed through the area they emerged from.
- 3Run up the first set of stairs, then the next. Use your bow to kill the enemy across the gap.
- 4Wall Run across the gap. Go down the next flight of stairs.
- 5A helicopter will fire rockets through the window. Constantly jump back and forth to evade them. While dodging, press LB and pull RT to fire arrows at the helicopter.
- 6When the helicopter departs, turn around and walk forward. Slide under the obstacle. The helicopter will attack again at the next window; repeat the previous process.
- 7After the helicopter leaves again, slide under the nearby gate.
- 8At the monorail station, go through the turnstile gate (a type of entryway).
- 9A flaming enemy will emerge from wreckage and attack Ryu. Wiggle the left analog stick and press X to kick it off.
- 10Continue forward and save at the bird perched on the pole. Move onto the monorail.
- 11The monorail doors will close. As the monorail moves, enemies in jetpacks and a helicopter will attack.
- 12Press your back against the wall and draw your bow. Prioritize eliminating enemies with jetpacks first, firing until they are all defeated. If positioned far enough back, they may not be able to hit you. If any land on the monorail with you, eliminate them quickly.
- 13Once the jetpack enemies are dealt with, attack the helicopter with arrows until it catches fire.
- 14As the monorail track is destroyed, a quick-time event (QTE) will occur. Press A when prompted to glide to safety.
- 15Run forward, jump over the steel, and defeat the attacking enemies. Be aware of enemies above firing rockets.
- 16As you thin out ground enemies, target those above with your bow for one-hit kills. Use Ninpo and Ultimate Techniques whenever possible.
- 17As the fight winds down, Ryu's cursed arm will act up. Continue to pick off remaining enemies by mashing attack buttons. Move to the elevator at the far end of the building.
- 18In the elevator, a helicopter attacks from behind. Quickly press LT and RT together to embed your kunai into the elevator doors. Mash the B button to rip the doors open. Ryu will roll out as the elevator is destroyed.
- 19A bird will land on a metal beam; save your game.
- 20Wall Run across the gaps. Destroy jetpack-using enemies with your bow and continue Wall Running across gaps.
- 21Jump up the wall to reach the top. Then, begin Kunai Climbing up the next wall. The helicopter will fire, knocking you off.
- 22Fire arrows at the helicopter repeatedly while avoiding missiles, similar to before. When the pilot says "That's the last one!", continue jumping and firing at the helicopter until it explodes.
- 23With the helicopter destroyed, Kunai Climb the wall again to the top of the unfinished skyscraper. A giant helicopter will attack.
- 24It will swoop to knock you off and fire missiles. When it swoops, use the slide move to evade. When it fires missiles, mash A to jump and avoid them.
- 25While dodging, use your bow to shoot the thrusters/missile launchers on the helicopter's wings.
- 26When a thruster is damaged enough, a flurry of missiles will fly towards Ryu. Press A when prompted to avoid them, then press Y as instructed.
- 27Mash Y to destroy part of the cockpit. Then, focus on the mounted gun on the wing. Block bullets. When it reloads, move closer. Block bullets again, then move closer again. Attack the gun repeatedly until destroyed.
- 28Press A when prompted to fly through the air, landing safely on a building.
- 29Continue fighting the helicopter using the same strategy, focusing on the boosters under its wings.
- 30When another booster is destroyed, press A to avoid missiles, then you will land on the wing. Slide back and forth to avoid the mounted gun on the next wing.
- 31When the gun's front flap opens, revealing a yellow core, rush forward and attack.
- 32The helicopter will tilt over. Kunai Climb back up the wing, moving left and right to avoid the gun as you climb.
- 33At the top, the aircraft will straighten. Jetpack enemies will appear. Slide back and forth to avoid gun fire until it stops and the yellow core reappears. Use your bow to defeat the jetpack enemies. Wait for the yellow core to appear again and attack the gun.
- 34Press A to jump from the wing, landing on another building. The helicopter returns with jetpack enemies.
- 35Defeat the jetpack enemies first, then focus on the helicopter using the same strategy as before. You will need to fight it longer to damage both launchers.
- Enemies may glitch behind the bar counter; use your bow to deal with them.
- Constantly jump back and forth to avoid helicopter rockets.
- When fighting jetpack enemies on the monorail, position yourself far back against the wall for safety.
- Don't hesitate to use Ninpo and Ultimate Techniques during large enemy encounters.
- Mash the B button to rip open elevator doors when attacked by a helicopter.
- When fighting the giant helicopter, target the boosters/missile launchers on its wings.
- Block bullets from the mounted gun and move in when it reloads to attack it.
- Slide back and forth to avoid the mounted gun fire on the helicopter's wings.
Similar guides you might like


100% Human-Written. AI Fact-Checked. Community Verified. Learn how AntMag verifies content