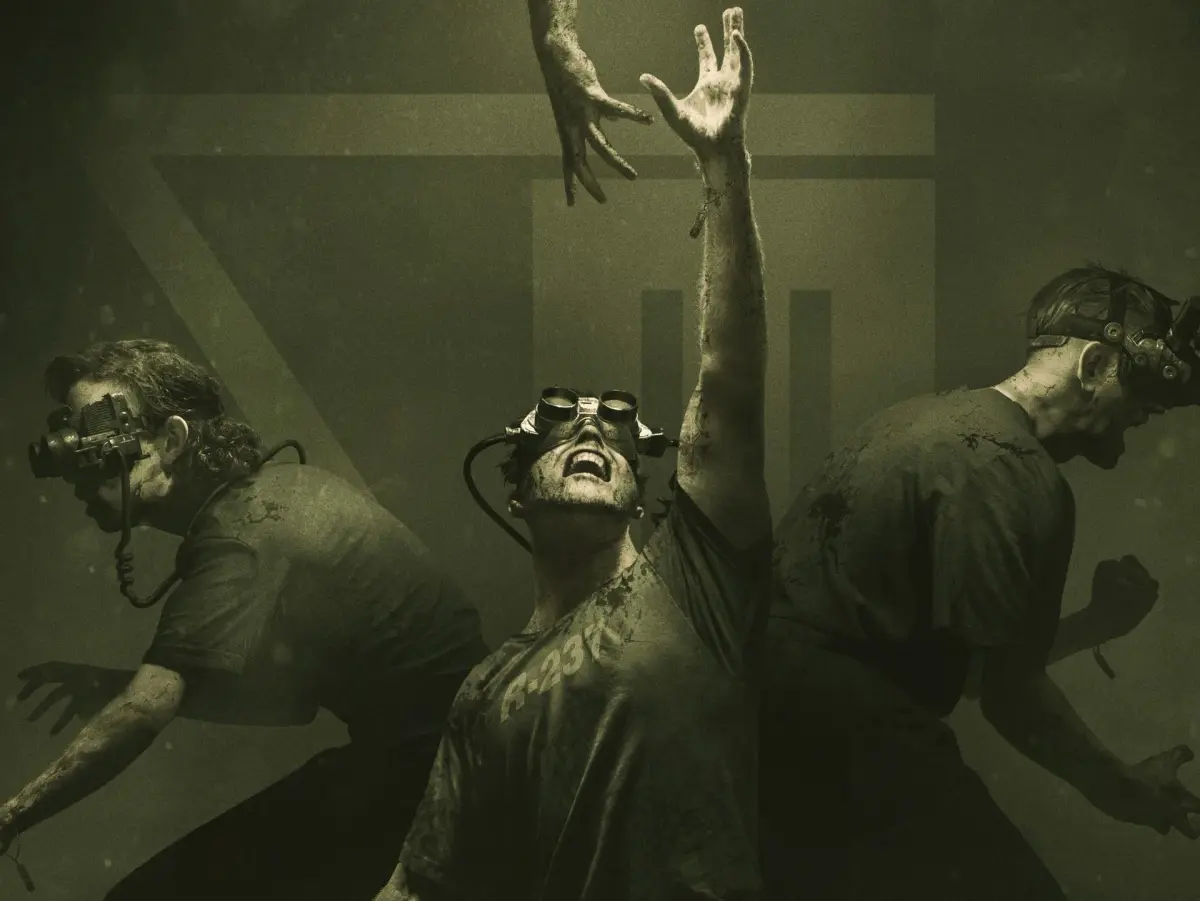
Welcome to The Outlast Trials, Red Barrels' terrifying dive into the survival horror genre. As a test subject in the Murkoff Corporation's twisted experiments, you'll need to sneak, hide, and run your way through harrowing programs like the Police Station, Fun Park, and Orphanage. Success means completing objectives, managing your limited resources, and avoiding the terrifying pursuers lurking in the shadows, all while trying to uncover the dark secrets behind these trials.
This guide is your key to mastering every program and trial. We'll break down essential mechanics like Utility Amps and the X-Ray Rig, help you find crucial items such as Gasoline Canisters and Fuseboxes, and provide strategies for overcoming the most challenging encounters. Whether you're aiming for a Gold Medal or just trying to survive, we've got the walkthroughs and tips you need.
Part 1
Embark on your first terrifying journey in The Outlast Trials! This guide helps you navigate the initial challenges and uncover secrets in Part 1.
Hey there! Bkstunt here, ready to guide you through the nightmare that is Outlast. If you're like me and get a kick out of horror games, you're in for a treat. This guide isn't just about surviving; it's about experiencing everything this game throws at you, including all the hidden documents and notes. Let's dive into the darkness together!
- 1You'll start by waking up in a rather unpleasant situation. Your first objective is to get your bearings and find a way out of this initial holding area. Look around for any immediate clues or paths forward.
- 2You'll need to navigate through the Administration Block. This area is your introduction to the game's mechanics and the general atmosphere. Keep your eyes peeled for anything out of the ordinary – you never know what might be lurking.
- 3The main goal here is to progress through the block, dealing with any immediate threats or obstacles as they appear. Don't rush; take your time to observe your surroundings.
- Always be aware of your surroundings. The game is designed to make you feel vulnerable, so staying alert is key.
- Conserve your battery for the night vision on your camcorder. You'll need it when things get truly dark.
- Listen carefully for audio cues. Sounds can often warn you of approaching danger before you see it.
Part 2
Master The Outlast Trials Part 2 with our comprehensive guide to controls. Learn movement, camera, item usage, and more to survive the trials.
Hey there! So you've made it to Part 2 of our Outlast Trials guide. This section is all about getting you comfortable with the controls, which are super important for staying alive in this game. Let's break down exactly what each button does so you can navigate the horrors ahead like a pro.
Controls:
First off, let's get you moving. The Left Analog Stick is your primary way to move around. Think of it like walking or running through the environments.
To look around and control your camera, you'll be using the Right Analog Stick. This is crucial for spotting enemies, finding objectives, or just taking in the terrifying scenery.
The Directional Buttons have a few handy functions:
- Up/Down: These let you zoom in and out with your camcorder. Essential for scouting ahead or getting a closer look at something without getting too close yourself.
- Left: This brings up your Evidence Menu. Keep an eye on this to track your progress and review what you've found.
- Right: This opens up your Note Menu. Notes can provide valuable lore and hints, so don't ignore them!
Now for the action buttons:
- Square Button: This is your general 'Action' button. You'll use it for interacting with objects, opening doors, picking up items, and other context-sensitive actions.
- Triangle Button: This is specifically for reloading your Batteries. Your camcorder's night vision drains batteries fast, so keeping them topped up is vital.
- X Button: Use this to Jump. Sometimes a well-timed jump can help you avoid hazards or reach new areas.
- O Button: This is your Crouch button. Essential for sneaking past enemies or hiding in tight spots.
When you need to move faster or get away, here's what you'll use:
- L1: Hold this down to Run. You'll need to sprint to escape danger or cover ground quickly.
- L2: Lean Left. This lets you peek around corners or obstacles without exposing yourself completely.
- R1: Use Camcorder. This is your main tool for seeing in the dark and documenting the horrors.
- R2: Lean Right. Similar to L2, but for peeking around obstacles on the right side.
And for your camcorder's special abilities:
- L3 (Clicking the Left Analog Stick): Activate Night-Vision on your camcorder. This is your lifeline in dark areas, but remember it eats batteries!
Finally, the menu and sharing options:
- OPTIONS Button: This brings up the Pause Menu, where you can save your game, adjust settings, or quit.
- SHARE Button: Use this to Record or Share Gameplay. Show off your survival skills (or your hilarious deaths)!
Getting a handle on all these controls will make a huge difference. Practice moving, looking, and using your items efficiently. Good luck out there!
Part 3
Your guide to Part 3 of The Outlast Trials, covering essential tips, camcorder usage, and early game mechanics to help you survive Mount Massive Asylum.
Alright, let's dive into Part 3 of The Outlast Trials. This section is less about a specific mission and more about getting you prepped with some crucial advice that'll make your whole playthrough smoother. Think of it as your buddy giving you the lowdown before you really get into the thick of things.
First off, a heads-up about BATTERIES. The game can be a bit random with where they spawn, so don't get too stressed if you don't find them exactly where a guide points them out. They might just not be there. The important thing is to keep an eye out and manage your camcorder's night vision wisely.
Speaking of the camcorder, you'll want to keep it out as much as possible, especially if you're not strictly following a guide. There are a bunch of NOTES scattered throughout the game that are super easy to miss if you're not actively looking. Recording certain events with your camcorder is how you snag these, and they're vital for understanding the story and potentially for trophies like the "Pulitzer." So, get used to having it raised!
Some areas will lock you in with a psycho, forcing you to explore and find a way out. Your best bet here is to find a safe hiding spot first, then scout from there. Remember, you can usually outrun the enemies. If you're ever in doubt, just run! But don't try to hide while they're actively watching you – that's a quick way to get caught.
The game kicks off with you driving to Mount Massive Asylum. It's all peaceful at first, just you, your car, and the radio. When you get to the guard shack, you'll find your first collectible, the [_WHISTLEBLOWER DOCUMENT_], which sets the stage for why you're there. You'll also grab your camcorder and some batteries.
(-IMPORTANT NOTE-)
Your camcorder is your lifeline. Its night-vision mode is essential for seeing in dark areas, and it's also how you collect NOTES. These notes are tied to recording specific events, making them very missable. If you're aiming for the "Pulitzer" trophy, always be on the lookout for documents marked with "Note." Keeping the camcorder out constantly is a solid strategy. To be safe, always scan ahead and save after each chapter so you have a fallback point if you miss anything.
(-END IMPORTANT NOTE-)
Once you get out of your vehicle, the massive doors behind you will slam shut. Don't worry, you can check out the guard shack and get a feel for your camera's zoom. Remember, night vision drains batteries, so use it only when absolutely necessary to conserve power.
Head towards a gate on the right. Here, you'll learn how to open doors: press Square to open quickly, or hold Square and move forward/backward to open slowly. Practice this a few times so you're ready when it counts.
You'll get another notification, and this one's a NOTE! Raise your camcorder by pressing R1 and get a good shot of Mount Massive. This records the [_MOUNT MASSIVE ASYLUM NOTE_]. The game will confirm the event is recorded and added to your Notebook. Keep that camcorder up whenever you can; you might even spot some silhouettes in the windows!
Now, you have free rein around the asylum's exterior. As you approach the main entrance, you'll get another tutorial: hold down L1 to run. You'll notice a few things around here – gates to the right, some heavy-duty vehicles, and the fact that the main entrance is locked. Your objective is to head to the left corner of the area where you'll find a hole in the gate. This prompts another message: hold down the Circle button to crouch. Looks like you'll be sneaking in!
Part 4
Complete walkthrough for Part 4 of The Outlast Trials. Learn how to navigate the asylum, find key items like batteries and documents, and escape.
- 1Approach the scaffolding and climb the ladder. Head right and jump the gap (press X while moving forward).
- 2Jump up at the end (press X) and climb up (press Up). Drop down (press O) to continue.
- 3Enter the open window and pull yourself in. Activate Night Vision (R3) to find a door.
- 4Exit the room and head into the next room and hallway. Squeeze through a gap by moving towards it.
- 5Enter the room on the left to find a [_BATTERY_].
- 6Head back into the hallway and enter the next door on the left. Search the desk for the [_PROJECT WALRIDER PATIENT STATUS FOR WILLIAM HOPE DOCUMENT_].
- 7Continue down the hallway. Enter the breakroom on the right. Pull yourself into the vent and head left.
- 8Drop down from the vent. Open the door and use Night Vision. Follow the path, record the man and his dialogue for the [_I'M INSIDE NOTE_].
- 9Continue through the next door. Ignore the man in the hallway and the bathroom on the right. Continue down the hall to another gap.
- 10New Objective: Escape the asylum. Access Security Control to unlock the main doors.
- 11In the foyer, check the middle island for the [_WARRANT FOR SEIZURE DOCUMENT_].
- 12Head towards the main doors, then go to the room on the left with a hallway and bathroom. Look in the room across from the bathroom for a [_BATTERY_] by a corpse.
- 13Return to the foyer. From the main doors, look for a door to your left leading into a glassed workspace.
- 14Head through the workspace to a small closet area, take an immediate right, and search the dark corner for the [_PROJECT WALRIDER PATIENT STATUS REPORT FOR CHRIS WALKER DOCUMENT_].
- 15Approach the door to leave the workspace. Use Peek (hold L2 or R2) to look into the hallway.
- 16Continue down the hallway. Several inmates appear to be watching static on a TV. Videotape them and the TV for the [_BROKEN MEN AND DEAD TELEVISION NOTE_].
- 17Open the next door to be back in the hallway. Open the door across from you and grab the [_SECURITY CONTROL KEYCARD_] from the corpse at the far end.
- 18Head back the way you came to the main room.
- Camcorder Zoom: Use Up and Down Directional Buttons.
- Jumping: Press X while moving forward to jump over gaps, press X to jump up.
- Climbing/Dropping: Press Up to climb up, press O to drop.
- Night Vision: Press R3 when your camera is raised.
- Reloading Batteries: Press Triangle when you run out of power. Only reload when necessary to conserve batteries.
- Squeezing Through Gaps: Move toward the gap.
- Peeking: Hold L2 or R2 to peek around corners.
- Collected Documents/Objects: Updated in your Reporter's Notebook (Options).
Similar guides you might like


100% Human-Written. AI Fact-Checked. Community Verified. Learn how AntMag verifies content