
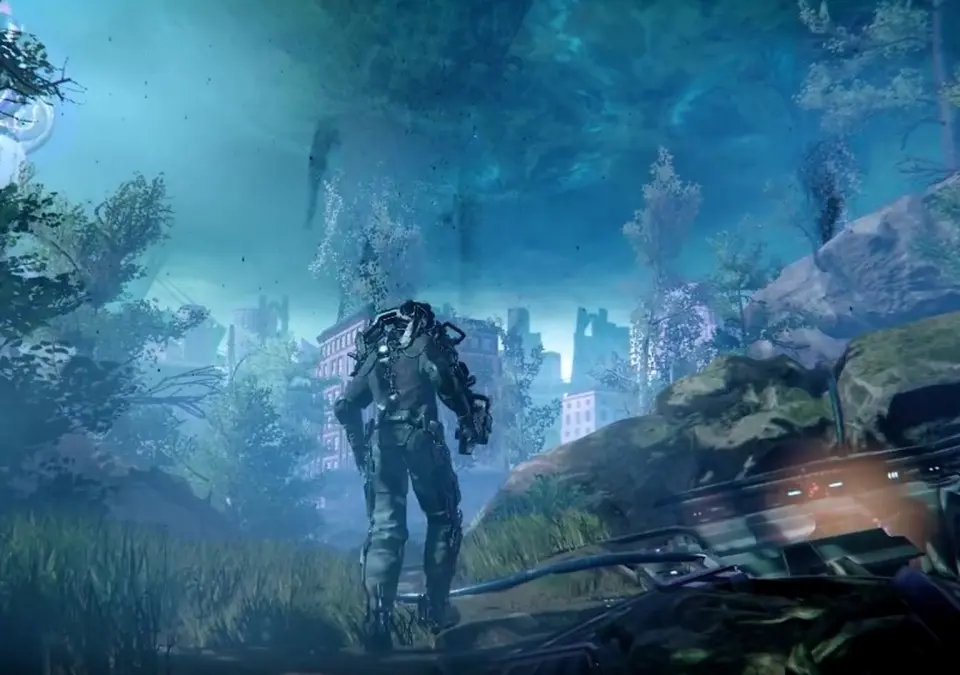
Navigate the Cathedral of the Spark in The Surge 2 with this complete walkthrough. Learn enemy tactics and find key items to advance through Jericho City.
Welcome, Prospector, to the Cathedral of the Spark! This area is a pivotal point in your journey through Jericho City, filled with challenging enemies, valuable loot, and crucial story progression. Prepare for tight corridors, environmental hazards, and some truly formidable foes.
Entering the Cathedral
Upon entering the Cathedral from the Downtown Jericho City area, you'll find yourself in a grand, but decaying, entrance hall. Immediately to your left, you'll spot a Medbay. This is your primary safe zone for healing, upgrading, and banking Tech Scraps. activate it!
- Loot Alert: Near the Medbay, check the overturned pews for a Small Pile of Tech Scraps and a Vital Boost v.1 implant.
The Nave and First Encounter
Proceed through the main doors into the nave. You'll immediately be confronted by several Spark Fanatics. These enemies are agile and often wield electrified staffs. Prioritize dismembering their weapon arm to disable their shock attacks.
- Strategy: Use directional blocks to parry their quick strikes. Their overhead slam attack is easily dodged.
- Loot Alert: Fanatics often drop Spark Coils and Spark Fanatic Gear components.
After clearing the initial group, head towards the altar. Be wary of a Heavy Spark Fanatic patrolling the central aisle. These larger variants are slower but hit much harder and have more health. Aim for their head or weapon arm.
- Loot Alert: The Heavy Spark Fanatic can drop Advanced Spark Coils and occasionally a Heavy Duty Spark Fanatic Weapon.
The Side Chapels and Upper Levels
From the nave, you have two paths: left or right into the side chapels. We'll start with the left chapel.
Left Chapel
This chapel contains a few more Spark Fanatics and some destructible environmental elements. Look for a staircase leading upwards. At the top, you'll find a narrow walkway overlooking the nave.
- Loot Alert: On the upper walkway, you'll find a chest containing a Large Pile of Tech Scraps and a Kinetic Absorber v.2 implant.
- Environmental Hazard: Watch out for electrified puddles on the floor in this area. They deal continuous electrical damage.
Continue along the upper path. You'll eventually reach a small room with a Security Bot. These bots are tough and can fire projectiles. Dodge their attacks and target their weak points (usually the head or arms) for quick dismemberment.
- Loot Alert: Security Bots drop Security Bot Components and sometimes Energy Cells.
Beyond the Security Bot, you'll find a door leading to a shortcut back to the Medbay. Activate it to make future runs easier.
Right Chapel
Head back to the nave and take the right chapel path. This area is similar to the left, with more Spark Fanatics and electrified hazards. Ascend the stairs here.
- Loot Alert: In a corner of the upper level, behind some debris, you can find a Drone Module: EMP-44 'Lightning'. This is an excellent module for stunning enemies.
This path will lead you to another upper walkway, eventually converging with the path from the left chapel. You'll encounter more Spark Fanatics and possibly another Heavy Spark Fanatic.
The Altar and Beyond
Once both side paths are explored and shortcuts opened, return to the altar area in the nave. Behind the altar, you'll find a large, ornate door. Interacting with it will trigger a mini-boss encounter.
Mini-Boss: Spark Priest
The Spark Priest is a formidable foe, capable of powerful electrical attacks and summoning smaller Spark Fanatics. Focus on dodging his wide-arc staff swings and his lightning bolt projectiles. When he charges his staff for a large area-of-effect attack, create distance.
- Strategy: Target his weapon arm to reduce his electrical output. When he summons Fanatics, quickly dispatch them to avoid being overwhelmed, then return your focus to the Priest.
- Reward: Defeating the Spark Priest grants a significant amount of Tech Scraps, the Spark Priest's Staff weapon, and the Spark Priest's Hood.
After defeating the Spark Priest, the large door behind the altar will open, leading you deeper into the Cathedral of the Spark and towards the next major challenge.
100% Human-Written. AI Fact-Checked. Community Verified. Learn how AntMag verifies content