
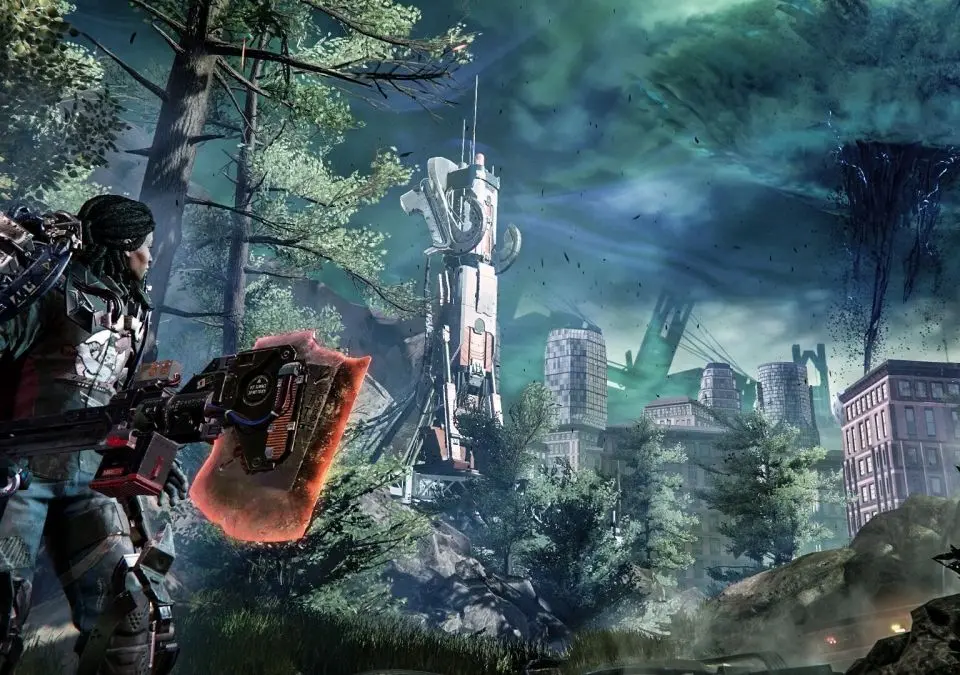
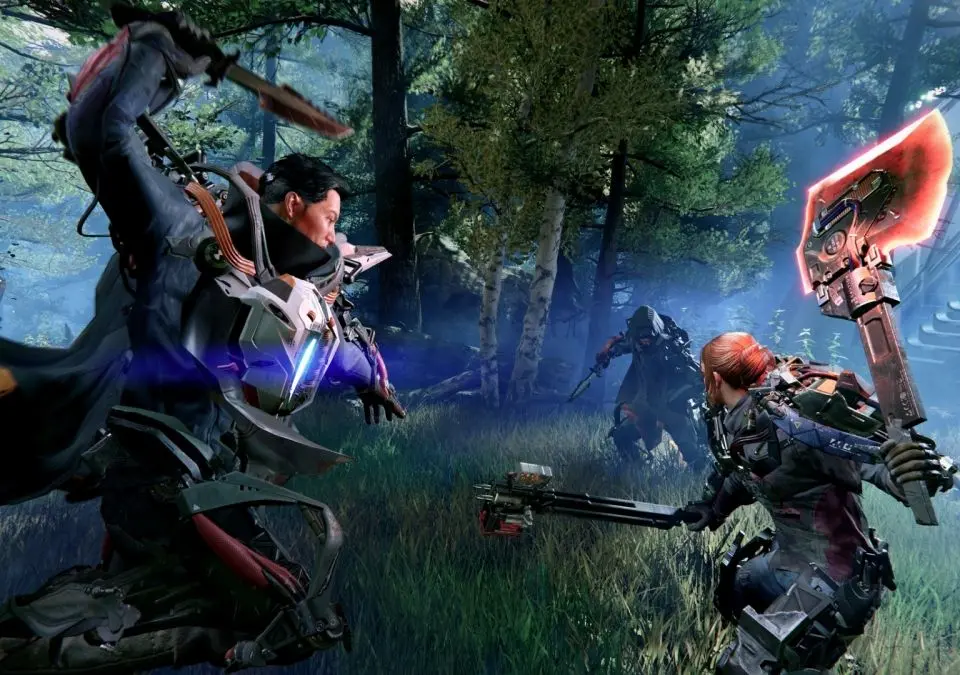
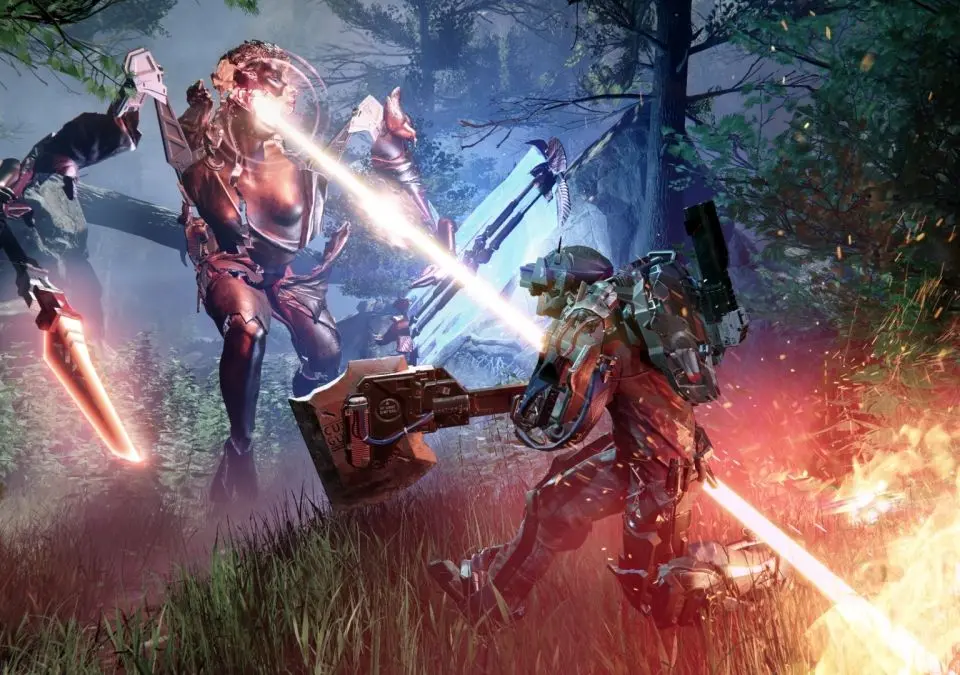
Welcome to Jericho City, survivor. The Surge 2 throws you into a brutal sci-fi world where your only path forward is through challenging, limb-targeting combat. You'll need to master parries, dodges, and strategic attacks to overcome the corrupted enforcers and mutated creatures infesting the quarantined zone. Every victory earns you scrap and valuable tech to upgrade your exoskeleton and weapons, letting you customize your build to tackle the escalating threats.
This guide is your essential companion for navigating the dangers of The Surge 2. We'll help you find every hidden collectible, unravel the intricacies of boss fights, and understand the choices that lead to the game's different endings. Whether you're aiming for a perfect 100% completion or just need a hand overcoming a particularly tough foe, we've got the information you need to survive and thrive.
Getting Started
Survive Jericho City in The Surge 2. Learn core mechanics, master combat, and begin your scavenging and crafting journey as a survivor.
Getting Started
Survive Jericho City in The Surge 2. Learn core mechanics, master combat, and begin your scavenging and crafting journey as a survivor.


Controls & User Interface — The Surge 2 Guide
Learn the essential controls and user interface elements of The Surge 2. Master combat, navigation, and menus to survive Jericho City.
Controls & User Interface — The Surge 2 Guide
Learn the essential controls and user interface elements of The Surge 2. Master combat, navigation, and menus to survive Jericho City.
Controls & Keybindings (PC) — The Surge 2 Guide
Master The Surge 2 PC controls to dominate Jericho City. Learn default keybindings and customize your setup for efficient limb targeting and combat.
Mastering the controls in The Surge 2 on PC is crucial for surviving Jericho City's brutal encounters. While the game provides default keybindings, understanding them and customizing them to your playstyle can significantly improve your combat effectiveness and overall experience. This section details the default PC keybindings and offers advice on optimizing them.
Movement & Exploration
- Forward:
W- Move your character forward. Essential for navigating environments and closing distances in combat. - Backward:
S- Move your character backward. Useful for creating space or dodging attacks. - Strafe Left:
A- Sidestep to the left. Critical for circling enemies and avoiding linear attacks. - Strafe Right:
D- Sidestep to the right. Similar to strafe left, vital for agile combat. - Sprint:
Left Shift(Hold) - Increases movement speed. Consumes stamina. Use for quick repositioning or escaping dangerous situations. - Dodge/Dash:
Spacebar- Performs a quick dodge or dash in the direction of movement. Consumes stamina. Your primary defensive maneuver against incoming attacks. - Jump:
Spacebar(Press) - Allows you to clear small obstacles or reach slightly elevated platforms. Less used in combat, more for traversal. - Interact/Loot:
E- Used to interact with objects, open doors, pick up items, and loot defeated enemies. Ensure you're close to the target. - Target Lock:
Middle Mouse Button(Click) - Locks your camera onto the nearest enemy. Press again to cycle through available targets. Crucial for focused combat. - Target Specific Limb:
Mouse Wheel Up/Down- While locked onto an enemy, scroll the mouse wheel to cycle through different body parts (head, arms, legs, torso). Targeting unarmored or specific limbs is key for harvesting components.
Combat Actions
- Light Attack:
Left Mouse Button- Performs a quick, low-stamina attack. Can be chained into combos. - Heavy Attack:
Right Mouse Button- Performs a slower, higher-damage attack. Often breaks enemy guard or stuns. Can also be charged for even more impact. - Block/Parry:
Q- Holds a defensive stance. Timing a block just before an enemy attack lands can result in a parry, staggering the enemy and opening them up for a counter-attack. This is a high-skill, high-reward mechanic. - Drone Fire:
F- Activates your equipped drone's primary ability or fires its weapon. Drone functionality varies based on the module installed. - Injectable/Consumable:
1, 2, 3, 4- Uses the item assigned to the corresponding quick slot. These typically include healing injectables, stamina boosters, or temporary buffs. - Swap Weapon:
Tab- Cycles between your two equipped weapon sets. Useful for adapting to different enemy types or combat situations. - Finishing Move (Execution):
E(Prompt appears) - When an enemy's targeted limb is sufficiently damaged, a prompt will appear allowing you to perform a brutal finishing move, severing the limb and guaranteeing component drops.
User Interface & Menus
- Open Inventory/Character Screen:
I- Accesses your inventory, equipped gear, and character stats. - Open Map:
M- Displays the local area map, showing objectives and points of interest. - Open Tech Scrap/Medbay Menu:
G- Used at Medbays to level up, craft, upgrade gear, and respec. - Open Options Menu:
Esc- Pauses the game and brings up the system options, including graphics, audio, and keybinding customization. - Cycle UI Elements:
C- Toggles various HUD elements on or off for a cleaner screen.
Recommended Customizations
While the default keybindings are functional, many players find value in remapping certain actions for improved comfort and responsiveness. Consider these adjustments:
- Dodge/Dash to Mouse Button: If your mouse has extra buttons, assigning Dodge/Dash to one can allow for quicker reactions without moving your left hand from movement keys.
- Injectable to Side Mouse Button: For critical healing, having an injectable on an easily accessible mouse button can be a lifesaver in intense combat.
- Block/Parry to a more comfortable key: If
Qfeels awkward, experiment with keys likeAltor another mouse button for more fluid parrying attempts. - Sprint to Toggle: In the game's options, you can often change 'Sprint' from a 'Hold' to a 'Toggle' action, reducing finger fatigue during long exploration segments.
Always test new keybindings in a safe area or against weaker enemies to ensure they feel natural before heading into challenging boss fights.
Character Creation & Initial Choices
New to The Surge 2? Our guide breaks down character creation, from choosing your starting class and perk to picking a codename. Get started right!
Similar guides you might like


100% Human-Written. AI Fact-Checked. Community Verified. Learn how AntMag verifies content