
Guide yourself through Tomb Raider (2013)'s Force of Will chapter. This walkthrough covers intense combat, puzzles, and reaching the monastery.
This section details the perilous journey through the "Force of Will" chapter. Prepare for intense combat, environmental puzzles, and crucial resource gathering.
The Ascent to the Monastery
After the cutscene, you'll find yourself at the base of a treacherous climb. Your primary objective is to reach the monastery at the summit.
- Initial Climb: Begin by scaling the icy wall directly in front of you. Use your Climbing Axe to secure your grip.
- First Ledge: Once you reach the first stable ledge, look to your left. You'll spot a small alcove containing a Salvage Crate. Break it open for valuable resources.
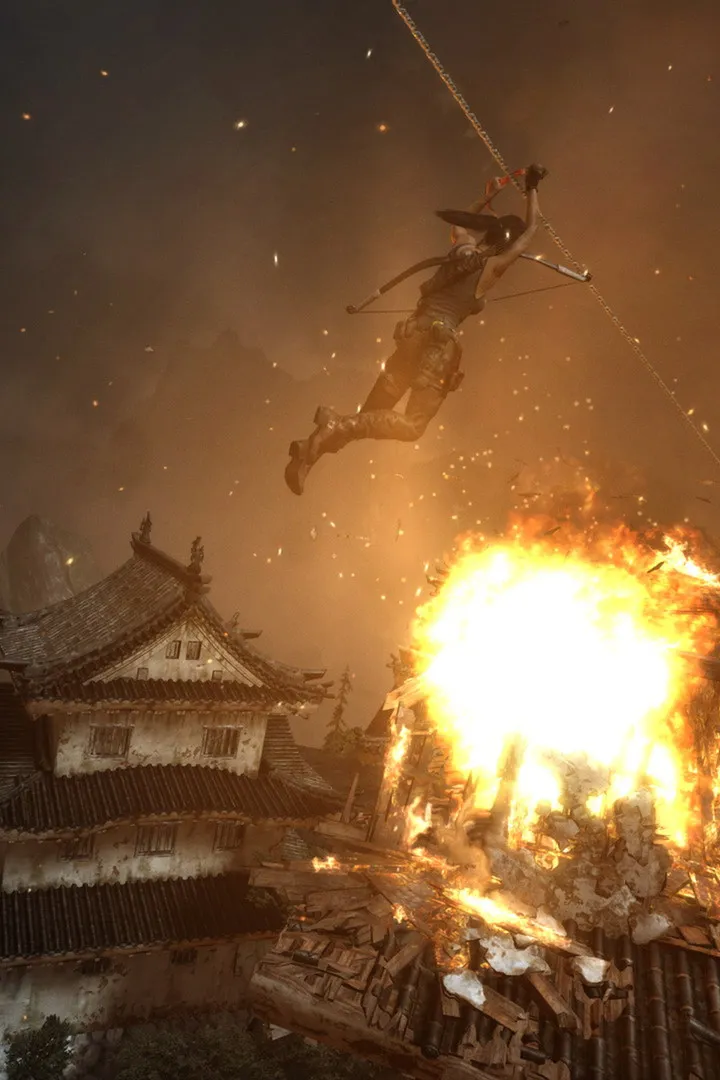
- Rope Arrow Traverse: Ahead, you'll see a gap that's too wide to jump. Equip your Bow and use a Rope Arrow to create a zipline across. Aim for the reinforced wooden beam on the opposite side.
- Enemy Encounter: As you land, be prepared for a surprise attack from two Solarii cultists. One will be armed with a Shotgun, the other with a Pistol. Prioritize the shotgunner due to their close-range damage. use cover effectively.
- Collectibles: After dispatching the enemies, thoroughly search the area. You can often find Ammunition and Salvage on their bodies or in nearby crates. Look for a Relic (e.g., a "Jingasa") hidden behind some crates near the cliff edge.
Navigating the Monastery Courtyard
Upon entering the monastery grounds, you'll be met with a larger, more complex combat scenario.
- Stealth Opportunity: The courtyard is patrolled by several Solarii. Consider a stealth approach to thin their numbers. Use your Bow for silent takedowns. Aim for headshots to conserve arrows.
- Heavy Guard: A heavily armored enemy with a Shield and Machete will be present. Stealth won't work against them. You'll need to break their guard with a charged melee attack or explosive.
- Environmental Hazards: Keep an eye out for explosive barrels or weak structures that can be used to your advantage. A well-placed shot on a red barrel can take out multiple enemies.
- Puzzle Element: To proceed, you'll need to open a large gate. Look for a crank mechanism located on a raised platform to the left of the gate. You'll need to use your Rope Arrow to pull down a counterweight, then quickly interact with the crank before it retracts.
- Optional Tomb: Before advancing through the gate, explore the eastern side of the courtyard. You might discover the entrance to an optional Challenge Tomb. These tombs offer unique puzzles and significant XP and Salvage rewards.
The Inner Sanctum
Inside the monastery, the path becomes more linear but no less dangerous.
- Trapped Corridor: The first corridor is booby-trapped with tripwires. Use your Survival Instincts (press R3/right stick) to highlight them. Disarm them by interacting with the mechanism, or shoot the attached explosives from a safe distance.
- Archery Challenge: You'll encounter a section where you need to shoot targets to open a path. Some targets will be moving, requiring precise timing.
- Final Confrontation: The chapter culminates in a boss-like encounter with a group of elite Solarii, including a Flamethrower enemy. Maintain distance from the flamethrower and target their fuel tank for a quick, explosive defeat. Use the environment for cover and to flank enemies.
- Story Progression: After the fight, a cinematic will trigger, marking the completion of the "Force of Will" chapter. scavenge the area for any remaining Salvage or Documents before moving on.
100% Human-Written. AI Fact-Checked. Community Verified. Learn how AntMag verifies content