
Welcome to X4: Foundations, Egosoft's ambitious sci-fi sandbox where you carve out your own destiny among the stars. This isn't just about flying a ship; it's about building an empire. You'll manage complex economies, command fleets, engage in thrilling ship-to-ship combat, and navigate intricate plotlines. Whether you're a seasoned veteran of the X-series or new to the genre, X4 offers unparalleled freedom in its vast, simulated universe.
This guide is your essential companion to mastering X4: Foundations. We'll walk you through everything from understanding the dense UI and developing your character's skills to executing advanced economic strategies and winning epic space battles. Prepare to conquer challenging plotlines such as 'Family Feuds' and 'A Divided People,' and learn how to overcome formidable alien threats with expert advice on ship upgrades and combat tactics.
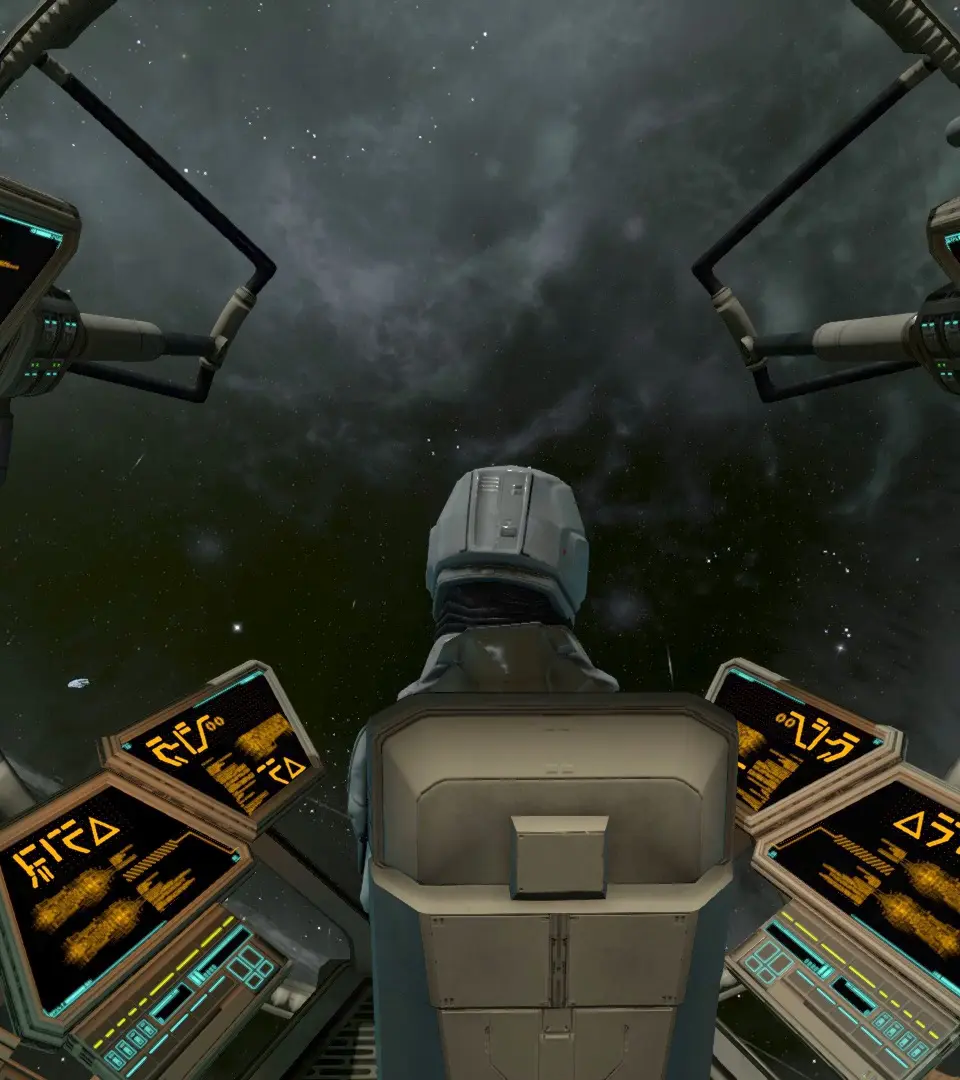
Walkthrough
Complete walkthrough for the X4: Foundations main story missions, offering strategies and tips to progress and build your empire.
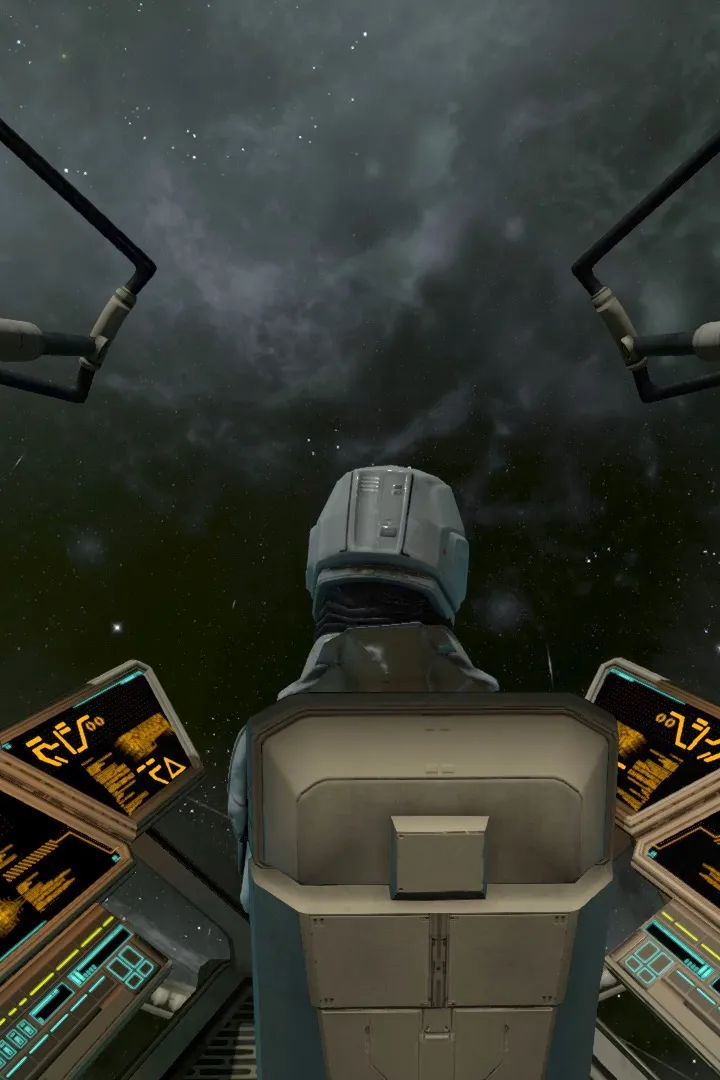
Walkthrough
Complete walkthrough for the X4: Foundations main story missions, offering strategies and tips to progress and build your empire.


Split Plot: Family Feuds
Engage in the X4: Foundations Split plot: navigate family feuds, power struggles, and defend territory with intense combat and daring rescues.
Split Plot: Family Feuds
Engage in the X4: Foundations Split plot: navigate family feuds, power struggles, and defend territory with intense combat and daring rescues.
A Call for Aid
Start the Split plot in X4: Foundations with 'A Call for Aid', responding to a family's request for combat assistance against Xenon or rivals.
The journey into the volatile heart of Split space often begins with a desperate plea: "A Call for Aid." This pivotal mission serves as your formal introduction to the fiercely independent and often warring Split factions, typically triggered by a significant threat to their territories.
You will receive an urgent comms message, often from a representative of either the ZYA (Zyarth Patriarchy) or the FRF (Free Families). These calls are rarely for minor skirmishes; they usually signal a major Xenon incursion pushing deep into Split systems, or a particularly aggressive move by a rival Split family, threatening to destabilize the delicate balance of power. The message will direct you to a specific sector where your assistance is critically needed.

Initial Combat Preparation & Recommended Loadouts
Before jumping into the designated sector, it is absolutely crucial to prepare your vessel. These initial missions are designed to be a baptism by fire, showcasing the brutal combat philosophy of the Split and the relentless aggression of their enemies. Underestimating the threat will lead to swift destruction.
- Ship Class: A well-equipped M-class fighter (e.g., Nemesis, Katana, Pulsar) or a fast, heavily armed S-class (e.g., Perseus, Quasar) is recommended. Avoid relying solely on basic starting ships unless they are heavily upgraded.
- Weapon Upgrades: Prioritize upgrading your primary weapons. For Xenon encounters, high damage-per-second (DPS) weapons like Plasma Cannons or high-velocity Projectile Cannons are excellent choices. For fighting other Split, energy-efficient Beam Emitters or versatile Bolt Repeaters can also be effective. Ensure you have at least 2-3 Mk2 or Mk3 weapons.
- Shield Upgrades: At least Mk2 shields are highly advisable, preferably Mk3. Xenon ships, especially their P and K models, hit hard. Split ships are also known for their devastating alpha strikes.
- Engine Upgrades: Mk2 or Mk3 combat engines will allow you to outmaneuver heavier targets and escape dangerous situations. Speed is life.
- Consumables: Stock up on Shield Cells for emergency recharges and Repair Kits for hull damage.
- Crew: A pilot with at least 2-3 stars in piloting will significantly improve your ship's maneuverability and combat effectiveness.
Walkthrough: Answering the Distress Call
Upon receiving the comms, your map will update with a new mission objective, typically pointing you towards a contested sector on the fringes of Split territory. Common starting points for these calls include:
- Zyarth's Dominion I or II: Often targeted by Xenon incursions from Matrix #451 or Fires of Defeat.
- Family Zhin: A frequent flashpoint for conflicts between the ZYA and FRF, or Xenon from Matrix #799.
- Family Kritt: Another common target for Xenon pushes from Matrix #999.
- Travel to the Designated Sector: Engage your travel drive and head directly to the marked sector. Be prepared for potential interdictions upon arrival, especially if the sector is already under heavy attack.
- Locate the Source of the Call: Once in the sector, your mission objective will guide you to a specific location, often a besieged station, a fleet under attack, or a distress beacon. You'll likely see a chaotic battle already underway.
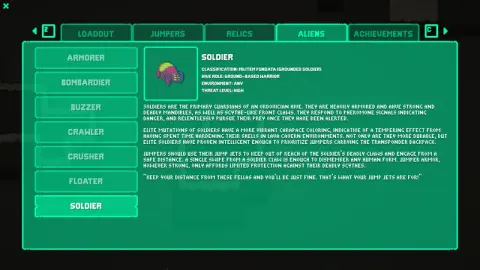
- Engage Hostiles: Your primary objective will be to eliminate the immediate threat. This usually involves destroying a wave of Xenon ships (typically I, K, P, N, M models) or a contingent of rival Split forces.
- Xenon Strategy: Prioritize smaller, faster Xenon N and M fighters that harass your shields. Then focus fire on the larger P-class frigates. If a K-class destroyer or I-class carrier is present, target its turrets first to reduce incoming damage, then focus on its main hull. Utilize strafing and boost-and-turn maneuvers to avoid their heavy weapons.
- Split Strategy: Split ships are fast and hit hard. Focus fire on one target at a time to quickly reduce their numbers. Be wary of their powerful forward-mounted weapons. If facing a capital ship, disable its engines and turrets before going for the kill.
- Protect Allied Assets: In some variations, you might be tasked with defending a specific station or allied capital ship. Stay close to the asset and intercept any incoming threats.
- Report Back: Once the immediate threat is neutralized, you will receive a comms message from the quest giver, acknowledging your success and thanking you for your assistance.
Potential Rewards & Reputation Gains
Successfully completing "A Call for Aid" will not only advance the Split plot but also provide significant benefits:
- Reputation: A substantial increase in reputation with the calling faction (e.g., +5 to +10 with Zyarth Patriarchy or Free Families). This is crucial for unlocking better trade deals, access to advanced blueprints, and permission to dock at more sensitive stations.
- Credits: A respectable sum of credits, typically ranging from 50,000 to 200,000, depending on the scale of the engagement.
- Materials/Loot: Destroyed enemy ships will often drop valuable components like Weapon Components, Shield Components, or even rare Advanced Electronics. deploy a collecter ship or pick them up manually if your ship has cargo space.
- Plot Progression: Unlocks the next mission in the Split storyline, drawing you deeper into their complex politics and conflicts.
Common Pitfalls & Tips
- Underestimating the Enemy: The biggest mistake is going in unprepared. Always check the mission difficulty and enemy types before engaging.
- Ignoring Shield Management: Keep an eye on your shield levels. Retreat to recharge if necessary, using your superior speed.
- Overextending: Don't try to take on an entire fleet by yourself. Focus on your objectives and pick your targets wisely.
- Lack of Awareness: Use your radar effectively. Enemies can come from multiple directions.
- Saving: Always save your game before jumping into a major combat mission.
By following these guidelines, you will not only survive your first encounter with the Split's challenges but also earn their respect, paving the way for further adventures in their treacherous yet rewarding territories.
Proving Your Worth
Prove your worth to the Split in X4: Foundations by destroying pirate bases, engaging in fleet battles, and performing dangerous reconnaissance.
After successfully assisting a Split family, you will inevitably be called upon to undertake a series of trials designed to 'Prove Your Worth'. These missions are crucial for advancing your standing with the Split factions, particularly the ZYA (Zyarth Patriarchy) and FRF (Free Families), and are often prerequisites for unlocking advanced blueprints, unique ships, and lucrative trade opportunities. The Split are a proud and warlike race; demonstrating strength, cunning, and unwavering loyalty is paramount to earning their respect.
These trials are not for the faint of heart. Expect to face challenging combat scenarios, intricate reconnaissance tasks, and high-stakes defensive operations. Before embarking on these missions, thorough preparation is not just recommended, it's essential. Skimping on ship upgrades or crew quality will lead to frustration and potentially costly losses.
Recommended Combat Ship Upgrades & Loadouts
For the 'Proving Your Worth' missions, your combat vessel needs to be optimized for sustained engagements against multiple targets, often including capital ships and swarms of fighters. Here’s a breakdown of essential upgrades:
- Shields: Prioritize the highest capacity and regeneration rate available. For Split ships, this often means Mk3 shields. Consider equipping a mix of shield types if your ship allows, balancing raw capacity with recharge speed. For example, a Paranid Mk3 shield might offer excellent capacity, while a Teladi Mk3 shield could provide faster regeneration.
- Engines: Speed and maneuverability are critical for dodging heavy fire and repositioning. Invest in Mk3 Combat Engines. For ships like the Nemesis or Dragon, this allows you to outmaneuver larger threats and quickly close distances on smaller, faster targets.
- Weapons: Your weapon loadout should be versatile.
- Anti-Fighter: Equip at least two turrets or main guns with high rate-of-fire weapons like Plasma Cannons (for burst damage against medium fighters) or Pulse Lasers (for sustained fire against swarms). Split weapons like the Split Mass Driver are excellent for piercing shields and dealing hull damage.
- Anti-Capital/Station: For larger targets, you'll need weapons with significant alpha strike potential. Large Plasma Cannons or Heavy Missile Launchers (loaded with Torpedoes) are ideal. Ensure you have enough ammunition for missile launchers.
- Utility: Consider a single Beam Emitter for precision targeting of turrets on capital ships or for quickly stripping shields from smaller craft.
- Software:
- Flight Assist Software Mk2: Improves maneuverability.
- Targeting Software Mk2: Essential for quickly acquiring and tracking multiple targets.
- Docking Computer Mk2: While not directly combat-related, it saves time between missions.
- Consumables: Always carry a supply of Repair Drones and Field Repair Units. These can be lifesavers in extended engagements.
Pilot & Crew: A highly skilled pilot (3-star or higher) will significantly improve your ship's combat performance, especially in terms of evasive maneuvers and weapon accuracy. hire a full complement of service crew, as they contribute to shield regeneration and ship repairs.
Mission Walkthrough: The Zyarth Gauntlet
One of the most common 'Proving Your Worth' mission chains involves the Zyarth Patriarchy, often culminating in what players refer to as "The Zyarth Gauntlet." This typically involves a series of escalating combat encounters.
Phase 1: Pirate Purge (Example Mission)
Objective: Destroy a pirate base and its defending forces in Family Zhin.
Location: You will receive coordinates for a specific pirate station (often a 'Scrap Processing Plant' or 'Smuggler's Den') within the Family Zhin system, usually near the sector edge or in an asteroid field.
Enemies: Expect a mix of small and medium pirate fighters (e.g., Kyd, Quasar, Cerberus variants) guarding the station, along with the station's defensive turrets. Occasionally, a larger pirate capital ship (e.g., a Phoenix or Behemoth) might be present.
Strategy:
- Approach Cautiously: Scan the area from a distance to identify the station's defenses and the number of enemy ships.
- Target Turrets First: Focus fire on the station's defensive turrets (Plasma, Beam, or Pulse turrets) to reduce incoming damage. Use your Beam Emitter for precision targeting if available.
- Engage Fighters: Once turrets are down or significantly reduced, switch to your anti-fighter weapons and systematically eliminate the smaller craft. Prioritize ships that are actively targeting you.
- Destroy the Station: Once the escorts are dealt with, focus all fire on the station's main modules. Target vulnerable points like habitat modules or storage bays for faster destruction.
Common Pitfalls: Getting swarmed by fighters while distracted by the station. Ensure your turrets are set to "Attack all enemies" or "Attack my current target" to provide covering fire.
Phase 2: Fleet Engagement (Example Mission)
Objective: Participate in a large-scale fleet battle against Xenon forces in Family Kritt or Tharka's Cascade XV.
Location: You will be directed to a specific jump gate or sector where a major engagement is underway or about to begin. Often, you'll be joining a ZYA or FRF fleet.
Enemies: Expect a significant Xenon presence, including swarms of N and M fighters, P corvettes, and potentially K destroyers or I carriers. The scale can vary greatly.
Strategy:
- Stick with the Fleet: Do not rush ahead. Let the capital ships of your allied fleet draw the initial fire.
- Target Priority:
- Xenon P Corvettes: These are dangerous to your smaller ship and can quickly overwhelm allied fighters. Focus them down with your anti-capital weapons.
- Xenon N & M Fighters: Use your anti-fighter loadout to clear the skies around your allied capital ships. Protecting their turrets is crucial.
- Xenon K/I (if present): If a Xenon Destroyer or Carrier appears, focus on destroying its turrets first, then target its engines to immobilize it. Only engage the hull if your fleet has sufficient firepower to support you.
- Stay Mobile: Keep moving to avoid concentrated fire from Xenon capital ships. Use your boost to quickly disengage if your shields drop too low.
Common Pitfalls: Overextending and getting isolated from your fleet. Running out of missiles or ammunition during prolonged engagements. Ensure you have rearmed before starting this mission.
Phase 3: Reconnaissance & Sabotage (Example Mission)
Objective: Infiltrate a hostile sector (often Xenon or HOP) to gather intelligence or disable a key facility.
Location: Deep within enemy territory, such as Matrix #451 (Xenon) or Holy Vision (HOP).
Enemies: Patrols of enemy fighters and corvettes. The primary challenge is avoiding detection or dealing with overwhelming odds if discovered.
Strategy:
- Stealth is Key: If possible, use a fast, small ship with minimal combat signature. A well-equipped scout ship (e.g., a Perseus or a fast Split fighter) is ideal.
- Avoid Combat: Engage only if absolutely necessary. Boost past patrols, use asteroid fields for cover.
- Scan Carefully: Once at the target location (e.g., a Xenon processing plant or HOP shipyard), use your long-range scanner to identify the specific module to scan or disable.
- Quick In and Out: Perform the objective as quickly as possible and immediately boost out of the sector.
Common Pitfalls: Getting caught by a capital ship patrol. Not having enough speed to escape. Ensure your ship has the fastest engines available and that you know the escape routes.
Completing these 'Proving Your Worth' missions will solidify your reputation with the Split factions, opening up new opportunities and cementing your place as a formidable ally in the X4 universe. Stay vigilant, prepare thoroughly, and you will earn their respect.
Similar guides you might like


100% Human-Written. AI Fact-Checked. Community Verified. Learn how AntMag verifies content