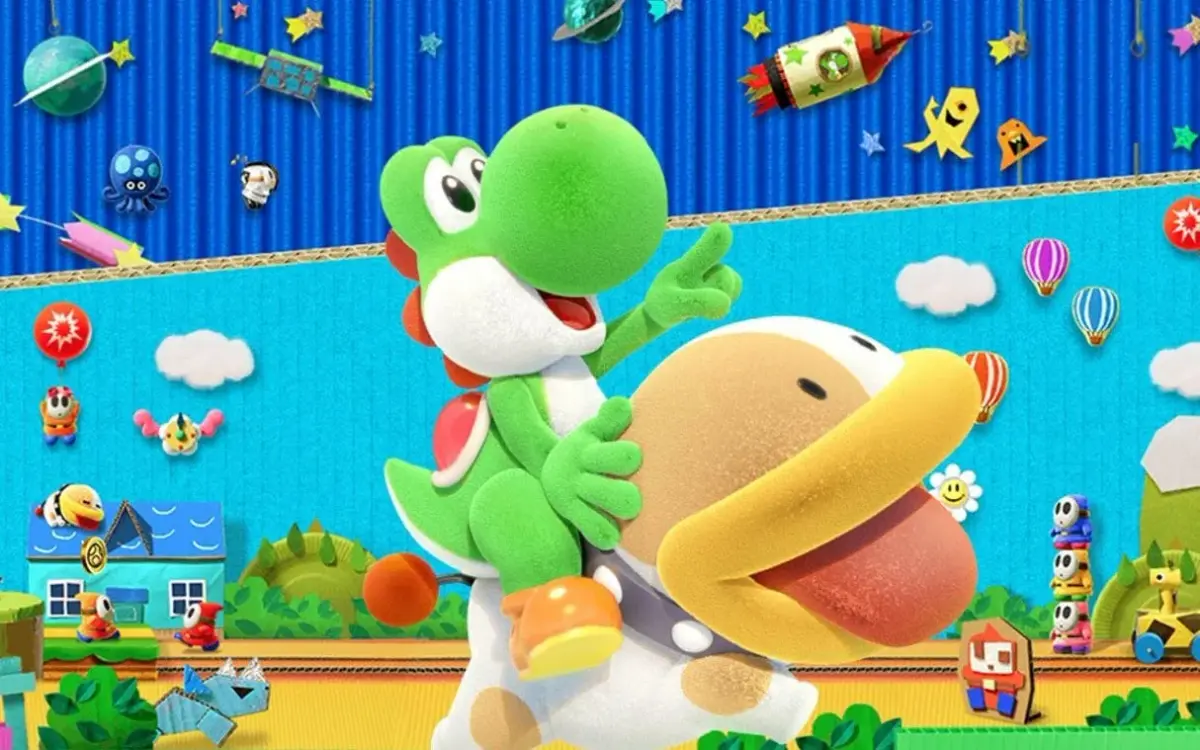
Welcome to Yoshi's Crafted World, a charming platformer where you'll master Yoshi's every jump and flutter across beautifully handcrafted worlds. As Yoshi, you'll embark on a quest to retrieve the scattered pieces of the Sundream Stone after Baby Bowser and Kamek's attempt to steal it. You'll navigate levels by tossing eggs not just left and right, but also towards the foreground and background, with some stages even reversing the world or requiring you to backtrack to find hidden Poochy Pups.
This guide is your go-to resource for uncovering every secret this delightful adventure has to offer. We'll help you track down every last Smiley Flower and Special Coin, ensure you rescue all the Poochy Pups, and provide strategies to overcome challenging bosses like Kamek. Get ready to explore every nook and cranny of Yoshi's Island!
Overview
Embark on a charming adventure in Yoshi's Crafted World! This guide covers all worlds, collectibles like Smiley Flowers, Special Coins, and Poochy Pups, plus Amiibo unlocks.
Overview
Embark on a charming adventure in Yoshi's Crafted World! This guide covers all worlds, collectibles like Smiley Flowers, Special Coins, and Poochy Pups, plus Amiibo unlocks.

Rail-Yard Run
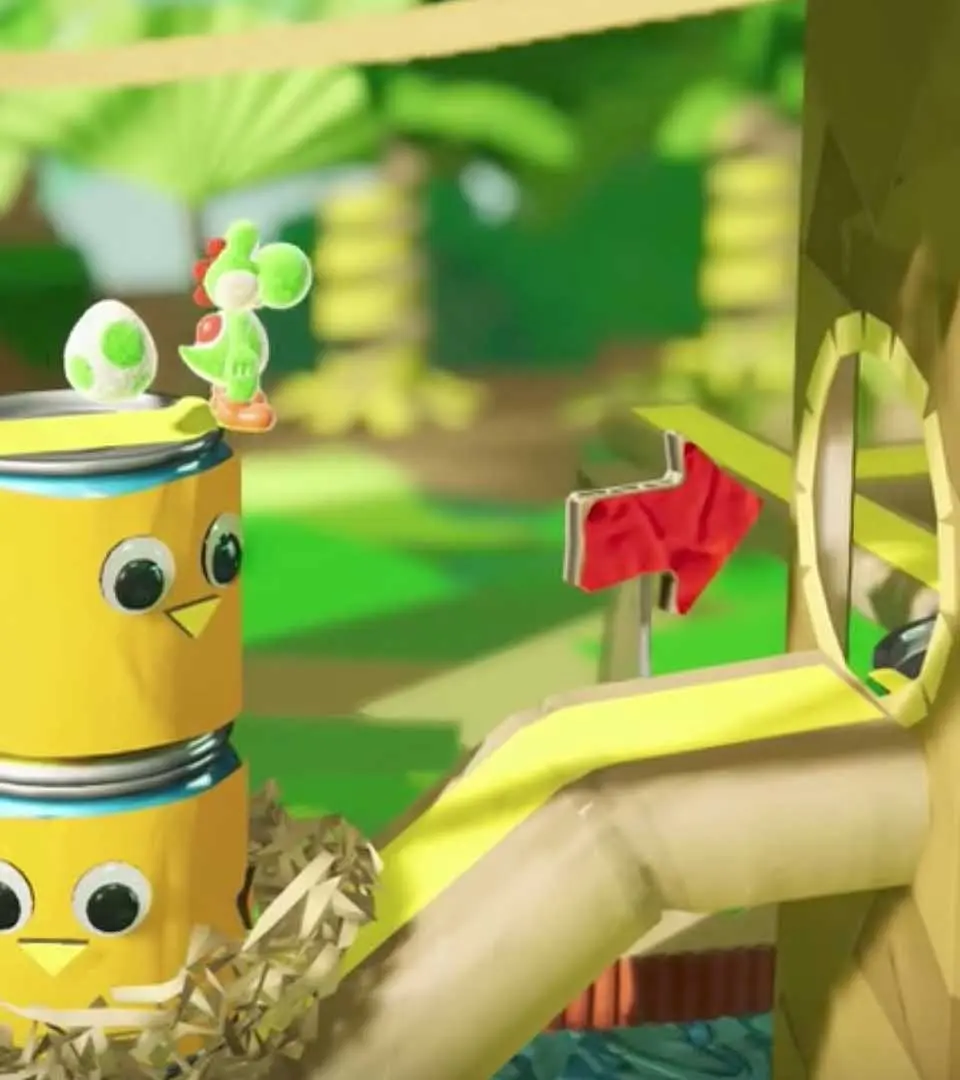
Start your journey in Yoshi's Crafted World's Rail-Yard Run. Master Yoshi's core abilities like flutter jumps and egg throws while finding hidden collectibles.
Welcome to the Rail-Yard Run, the first level of Yoshi's Crafted World! This introductory stage is designed to familiarize you with Yoshi's core abilities: movement, flutter jumping, egg throwing, and exploring the foreground and background. Don't let its simplicity fool you; there are plenty of hidden collectibles to find. Take your time, practice your flutter jumps, and meticulously scan every nook and cranny.
Collectibles Checklist:
- Smiley Flowers: 6
- Red Coins: 20
- Poochy Pups: 3
Walkthrough and Collectible Locations
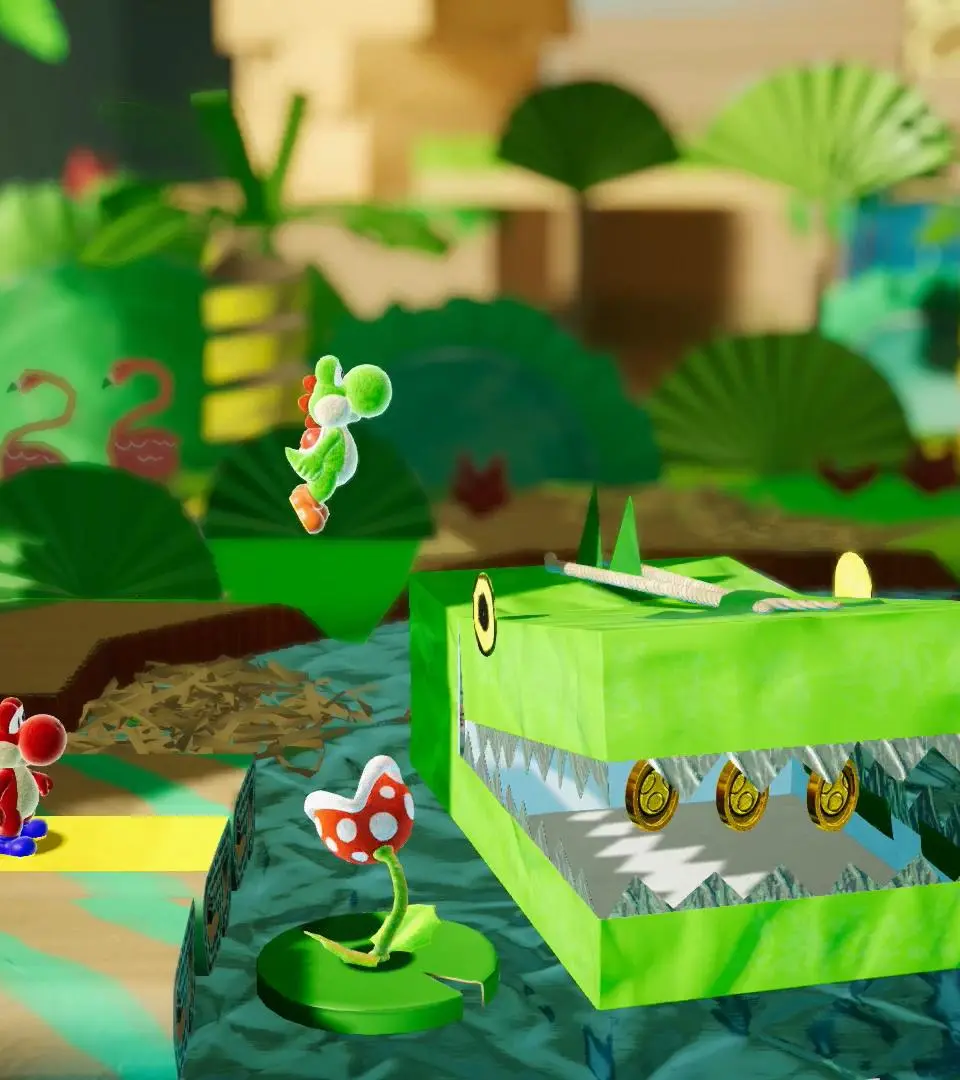
The Rail-Yard Run is a linear level, but many collectibles require careful observation and precise egg throws. Remember to always have a full stock of eggs by eating enemies like Shy Guys and Goonies.
-
Starting Area & First Train Car:
- As you begin, move right. You'll encounter your first Shy Guy. Eat him to get an egg.
- Red Coin (1): Immediately after the first Shy Guy, jump on the small crate. There's a visible Red Coin above it.
- Smiley Flower (1): Continue right. You'll see a large train car. Jump onto its roof. The first Smiley Flower is clearly visible here.
- Hidden Area - Above the First Train Car: This is a crucial early secret! From the top of the first train car, perform a high flutter jump upwards and to the right. You'll discover a hidden platform in the background.
- Red Coins (2-5): On this hidden platform, you'll find four Red Coins.
- Smiley Flower (2): Also on this hidden platform, nestled amongst the Red Coins.
-
Moving Platforms & Egg Targets:
- After the first train car, you'll encounter a series of moving platforms. These are activated by hitting targets with eggs.
- Red Coins (6-7): As you cross the first set of moving platforms, two Red Coins are floating above them. Timing your jumps and flutter jumps is key.
- Poochy Pup (1): After the first set of moving platforms, you'll see a stack of crates in the foreground. Throw an egg at the bottom-most crate in this stack. The first Poochy Pup will pop out and run towards you.
- Smiley Flower (3): Continue past the Poochy Pup. There's a visible Smiley Flower floating above a gap that requires a well-timed flutter jump to reach.
- Red Coins (8-10): As you progress through the next section with more moving platforms, keep an eye out for three more Red Coins floating in the air.
-
The "Goonie" Section:
- You'll soon encounter Goonies, flying enemies that can be eaten for eggs.
- Red Coins (11-13): There are three Red Coins directly above the path where the Goonies are flying. Use a flutter jump or an egg throw to collect them.
- Smiley Flower (4): After the Goonie section, you'll see a large cardboard box structure. Throw an egg at the target on the left side of this structure. This will reveal a hidden Smiley Flower.
-
Background Exploration & Hidden Blocks:
- Poochy Pup (2): Look closely at the background after the cardboard box structure. You'll spot a small, circular, yellow-and-white striped barrel. Throw an egg at this specific background object. The second Poochy Pup will emerge from it.
- Red Coins (14-16): Shortly after the barrel, you'll see a series of coin blocks. One of these is a hidden ? Cloud. Jump to reveal it and hit it for coins, including a few Red Coins.
- Smiley Flower (5): After the hidden ? Cloud, you'll reach an area with a large, elevated platform. Look for a visible Smiley Flower floating above a gap just before this platform.
-
Final Stretch & Goal Ring:
- Red Coins (17-19): As you approach the final section before the goal, there will be a few more Goonies. Three Red Coins are scattered above the path here.
- Poochy Pup (3): Just before the goal ring, look for a large, red-and-white striped traffic cone in the foreground. Throw an egg at it. The final Poochy Pup will appear.
- Smiley Flower (6): The last Smiley Flower is located directly above the Goal Ring. You'll need to perform a high flutter jump from the platform leading to the goal to grab it before touching the ring.
- Red Coin (20): The final Red Coin is often found by hitting the Goal Ring itself with an egg after you've collected everything else, or it might be directly above the ring alongside the last Smiley Flower. Ensure you hit the ring with an egg to reveal any last hidden coins.
Important Tips for Rail-Yard Run
- Master the Flutter Jump: This level is an excellent place to practice your flutter jump. Holding the jump button allows Yoshi to extend his jump, reaching higher platforms and covering longer distances. Many collectibles require precise flutter jumps.
- Egg Management: Always keep a full stock of six eggs. Eat every enemy you see. If you run out, look for egg blocks or eat more enemies.
- Foreground and Background: Remember to constantly scan both the foreground and background for hidden items or objects that look out of place. Many secrets are cleverly disguised.
- Target Practice: Several collectibles are hidden behind targets that require an egg throw. Don't be afraid to throw eggs at anything that looks suspicious.
- Don't Rush: This is an introductory level. There's no time limit, so take your time to explore every corner and ensure you haven't missed anything.
By following this detailed guide, you should be able to achieve a perfect score on Rail-Yard Run, collecting all 6 Smiley Flowers, 20 Red Coins, and rescuing all 3 Poochy Pups!
Shadowville
Find all Shadowville collectibles in Yoshi's Crafted World. Collect 6 Smiley Flowers, 20 Red Coins, and 3 Poochy Pups within this dark level.
Collectibles Checklist:
- Smiley Flowers: 6
- Red Coins: 20
- Poochy Pups: 3
Welcome to Shadowville, a level that truly lives up to its name! This stage is characterized by its pervasive darkness, requiring Yoshi to actively illuminate his surroundings to progress, reveal hidden paths, and uncover elusive collectibles. Visibility is your primary challenge here, so get ready to throw a lot of eggs!
General Strategies for Shadowville
- Light Up Everything: Your eggs are your best friends. Throw them at anything that looks like it might be a light source – lanterns, glowing targets, even suspicious-looking background elements. Many secrets are only revealed when illuminated.
- Invisible Enemies: Shadowville is home to "Shadow Guys" and other enemies that are completely invisible until a light source hits them. When you see a suspicious shadow or hear faint enemy sounds in the dark, throw an egg in that direction. Once illuminated, these enemies behave like standard Shy Guys or other common foes. Prioritize lighting them up before engaging, as attacking an invisible enemy is much harder.
- Moving Shadows: Pay close attention to the large, moving cardboard cutouts and shadows. These can obscure paths, hide enemies, or even reveal hidden platforms as they shift. Don't rush through these sections.
- Background Exploration: Always keep an eye on the background. Many secrets in Shadowville are found by hitting glowing targets or objects in the distance with eggs, which might activate platforms, reveal collectibles, or open new paths.
Collectible Walkthrough: Shadowville
This section provides detailed instructions for finding all 6 Smiley Flowers, 20 Red Coins, and 3 Poochy Pups. Given the level's dark nature, precise timing and egg-throwing are often required.
Smiley Flowers (6 Total)
- Smiley Flower 1 (Early Path): After the first major dark section where you activate a light switch, you'll come to an area with several platforms. Look for a glowing target in the background slightly above your path. Hit it with an egg to reveal a hidden cloud containing this Smiley Flower.
- Smiley Flower 2 (Lantern Sequence): This is the trickiest one. In the middle section of the level, you'll encounter a series of five lanterns arranged in a specific pattern (often a small circle or line). You need to light them up in a particular order. The correct sequence is usually indicated by a faint glow or a subtle visual cue on the lanterns themselves (e.g., a small arrow or a slightly brighter lantern). If you light them in the wrong order, they'll all turn off, and you'll have to restart. Experiment or look for the subtle hint. Once all five are lit in the correct sequence, a cloud will appear nearby, revealing the Smiley Flower.
- Smiley Flower 3 (Hidden Block): Shortly after the lantern sequence, you'll cross a gap. Before the next light switch, jump and ground pound near the edge of the platform to reveal an invisible block. Hit it to make the Smiley Flower appear.
- Smiley Flower 4 (Moving Shadow): In the section with large, moving cardboard cutouts that cast shadows, observe the patterns. One of these cutouts will momentarily reveal a hidden alcove in the background as it moves. Quickly throw an egg into this alcove to hit a hidden target, which will spawn the Smiley Flower on your current path.
- Smiley Flower 5 (Underground Path): Towards the end of the level, after a series of moving platforms, you'll see a dark pit. Instead of jumping over it, look for a faint outline of a hidden path leading downwards. Ground pound to break through a hidden floor, leading to a small, dark underground area. Light it up to find this Smiley Flower.
- Smiley Flower 6 (Final Challenge): Just before the goal ring, there's a final dark area with several Shadow Guys. Defeat all of them (remember to light them up first!) and then hit a final glowing target high above the goal ring. This will cause the last Smiley Flower to drop down.
Red Coins (20 Total)
- Red Coins 1-4 (First Dark Area): In the very first dark section, throw eggs at the various lanterns and glowing targets. Four Red Coins are hidden within the clouds that appear when these targets are hit.
- Red Coins 5-8 (Shadow Guys): There are several Shadow Guys throughout the level. Each time you defeat a Shadow Guy (after lighting them up), they will drop a Red Coin. Pay attention to the first few you encounter; four of them specifically drop Red Coins upon defeat.
- Red Coins 9-12 (Hidden Blocks/Clouds): After the first light switch, look for areas where you can jump and ground pound to reveal invisible blocks. Two of these blocks will contain Red Coins. Additionally, two Red Coins are found in clouds that appear after hitting background targets.
- Red Coins 13-16 (Lantern Path): During the lantern sequence for Smiley Flower 2, as you light up the lanterns, some of them will briefly reveal Red Coins floating above them. Be quick to collect them before they disappear.
- Red Coins 17-20 (Final Gauntlet): In the final stretch before the goal ring, there's a series of platforms with enemies and moving obstacles. Four Red Coins are strategically placed here, often requiring precise jumps or egg throws to collect. One is usually hidden behind a moving shadow, and another is in a cloud that appears after hitting a distant target.
Poochy Pups (3 Total)
The Poochy Pups in Shadowville are particularly well-hidden due to the darkness. You'll need to be vigilant and throw eggs at anything suspicious.
- Poochy Pup 1 (Behind Cardboard Cutout): Early in the level, after the first light switch, you'll see a large, dark cardboard cutout of a tree or building in the background. Throw an egg directly at it. The cutout will briefly shift or reveal a hidden compartment, and the first Poochy Pup will pop out.
- Poochy Pup 2 (Hidden Alcove): In the section with the moving shadows, look for a moment when a shadow briefly reveals a small, dark alcove on a higher ledge. You might need to jump onto a moving platform to get the right angle. Throw an egg into this alcove to reveal the second Poochy Pup.
- Poochy Pup 3 (Final Area Reveal): Near the very end of the level, just before the goal ring, there's a large, dark wall. Throw an egg at the center of this wall. It will crumble or reveal a hidden passage, and the final Poochy Pup will run out.
Dealing with Invisible Enemies
The "Shadow Guys" are the primary invisible threat in Shadowville. They appear as faint, shimmering outlines or are completely invisible until illuminated. Here's how to handle them:
- Listen Carefully: Invisible enemies often make subtle sounds (footsteps, grunts) before you see them. Use your ears to pinpoint their general location.
- Egg First, Attack Second: Your primary strategy should be to throw an egg in the direction of the suspected enemy. This will illuminate them, making them visible and vulnerable.
- Once Illuminated: Once a Shadow Guy is visible, they behave like a regular Shy Guy. You can then defeat them with another egg, a ground pound, or by eating them and spitting them out.
- Area Illumination: Sometimes, hitting a light switch or a lantern will illuminate a larger area, revealing multiple Shadow Guys at once. Be prepared to deal with several enemies simultaneously in these situations.
- Anticipate Ambushes: In dark corridors or before entering new dark sections, always be ready to throw an egg. Shadow Guys often wait in ambush.
By following these detailed instructions and employing a cautious, egg-throwing approach, you'll conquer the darkness of Shadowville and collect every last secret it holds!
Collectibles
Discover the locations of all Smiley Flowers, Special Coins, and Poochy Pups across every world in Yoshi's Crafted World with our comprehensive walkthrough and guide.
Collectibles
Discover the locations of all Smiley Flowers, Special Coins, and Poochy Pups across every world in Yoshi's Crafted World with our comprehensive walkthrough and guide.

Similar guides you might like


100% Human-Written. AI Fact-Checked. Community Verified. Learn how AntMag verifies content