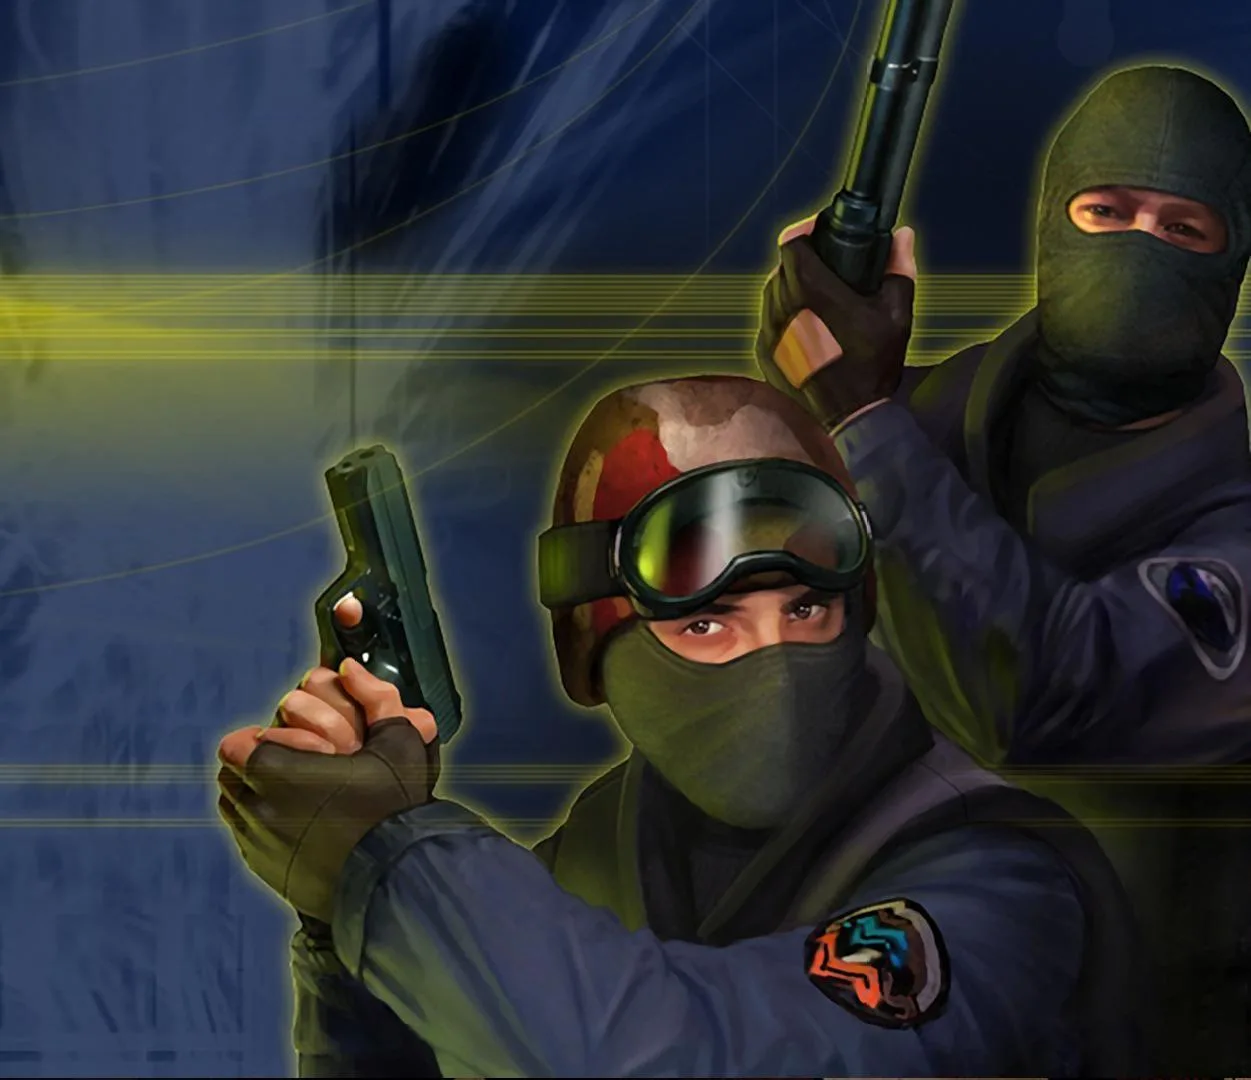
Successfully counter aggressive rushes and executes in Counter-Strike. Learn strategic utility usage and disciplined positioning to dismantle opponent rushes.
Successfully defending against aggressive pushes and coordinated executes requires a combination of early warning, strategic utility usage, and disciplined positioning. This section details actionable steps to dismantle common rush strategies across various maps.
General Principles for Countering Rushes
- Information is Key: Early sound cues (footsteps, grenade pulls) and visual confirmation (peeks, drone usage) are invaluable. Communicate enemy numbers and intentions immediately.
- Delay and Deny: Use utility to slow down the enemy push, buying time for rotations and setting up crossfires.
- Trade Fragging: If a site is being overwhelmed, focus on trading kills to even the numbers. Don't be afraid to fall back to a more defensible position if necessary.
- Anticipate and Adapt: Learn common execute timings and utility lineups. Adjust your defense based on enemy tendencies.
Specific Counter-Strategies by Map & Site
Dust II - B Site Rush
The B Site rush on Dust II is a classic, often involving a fast push through Tunnels. Countering it effectively requires coordinated utility and aggressive peeking.
- Early Warning:
- "Window" Player: Position a player at "Window" (the small opening from B Site to Upper Tunnels) with an AWP or an aggressive rifle. Listen for footsteps in Tunnels.
- "Car" Player: A player behind "Car" can listen for pushes and provide initial support.
- Utility Usage:
- Smoke Tunnels Entrance: As soon as the rush is confirmed, throw a smoke grenade to block the Tunnels entrance from "Upper Tunnels" to "Lower Tunnels". This cuts off their vision and slows the initial push.
- Molotov "Upper Tunnels": Follow up the smoke with a Molotov cocktail thrown into "Upper Tunnels" to deny entry or force enemies out into the open.
- Flash "Lower Tunnels": A well-timed flashbang thrown over "Car" into "Lower Tunnels" can blind rushing enemies as they emerge, allowing your "Window" or "Car" player to get easy picks.
- Positioning & Engagements:
- "Window" AWP: Hold a tight angle on the Tunnels exit. Prioritize headshots.
- "Car" Rifle: Play a more aggressive angle, ready to peek and trade.
- "Plat" Support: A player on "Plat" (the elevated platform on B Site) can provide crossfire and re-frag if the "Window" or "Car" player goes down.
- Rotate from Mid: If the rush is heavy, have a player from Mid rotate through "CT Spawn" to "B Site" for reinforcement, ideally with a flashbang ready.
Mirage - A Site Execute
A common A Site execute on Mirage involves a coordinated push through "Palace" and "Ramp", often accompanied by a barrage of smokes and flashes.
- Early Warning & Information:
- "Palace" Player: A player holding "Palace" (the entrance from T Spawn to A Site) is crucial. Listen for footsteps and grenade pulls. Consider an early peek or a pop-flash to gather information.
- "Ramp" Player: A player on "Ramp" (the main entrance to A Site from T Spawn) should listen for a fast push and communicate numbers.
- Utility Denial:
- Smoke "Palace" Entrance: If a "Palace" rush is detected, smoke the entrance to deny vision and delay the push.
- Molotov "Ramp" Corner: A Molotov thrown into the "Ramp" corner (near the default plant spot) can deny a quick plant or force enemies out.
- Counter-Flashes: If you hear multiple flashes, throw your own flashes to blind the incoming enemies. A deep flash over "Connector" can catch enemies pushing "Ramp".
- Smoke "Jungle" / "Connector": If the execute is overwhelming, smoking off "Jungle" (the path from CT Spawn to A Site) or "Connector" (the path from Mid to A Site) can buy time for rotations and allow for a retake.
- Strategic Positioning:
- "Default" Plant Spot: A player can hold the "Default" plant spot from "Triple Box" or "Firebox" for early picks.
- "Connector" Hold: A player in "Connector" can provide crucial support, either by peeking "Ramp" or rotating to "Mid" if the push shifts.
- "Jungle" / "Stairs" Anchor: A player holding "Jungle" or "Stairs" (the stairs leading up to "Jungle") can be a strong anchor for a retake, especially with an AWP.
- Crossfire from "CT Spawn": If the site is smoked, players from "CT Spawn" can hold tight angles for enemies pushing through smokes.
Inferno - B Site Rush
The Inferno B Site rush, often through "Banana", is notorious for its speed and aggression. Early utility and coordinated defense are paramount.
- Early Information & Delay:
- "Banana" Aggression: An aggressive player with an HE grenade and a Molotov can push "Banana" early to gather information and throw utility. A well-placed HE can deal significant damage to a grouped rush.
- Sound Cues: Listen intently for footsteps and grenade pulls in "Banana".
- Utility Deployment:
- Molotov "Banana" Entrance: The most critical piece of utility. Throw a Molotov into the "Banana" entrance from "T Spawn" to deny the initial push and force enemies to wait or take damage.
- Smoke "Banana" Exit: If the Molotov wears off or is not available, a smoke at the "Banana" exit into "B Site" can buy precious seconds.
- Flash "Banana" Push: A flashbang thrown over the wall from "CT Spawn" or from "Coffins" can blind enemies pushing through "Banana".
- Defensive Positions:
- "Coffins" Anchor: A player in "Coffins" (the small alcove on B Site) provides excellent cover and a strong angle on the "Banana" exit.
- "New Box" / "Old Box" Crossfire: Players positioned at "New Box" (the box near the default plant) and "Old Box" (the box closer to "CT Spawn") can establish a devastating crossfire on enemies entering B Site.
- "CT Spawn" Support: A player from "CT Spawn" can rotate quickly to B, often with a flashbang or smoke to assist.
- "Quad" Peek: An aggressive peek from "Quad" (the corner near "CT Spawn" on B Site) can catch enemies off guard, but be wary of being traded.
100% Human-Written. AI Fact-Checked. Community Verified. Learn how AntMag verifies content