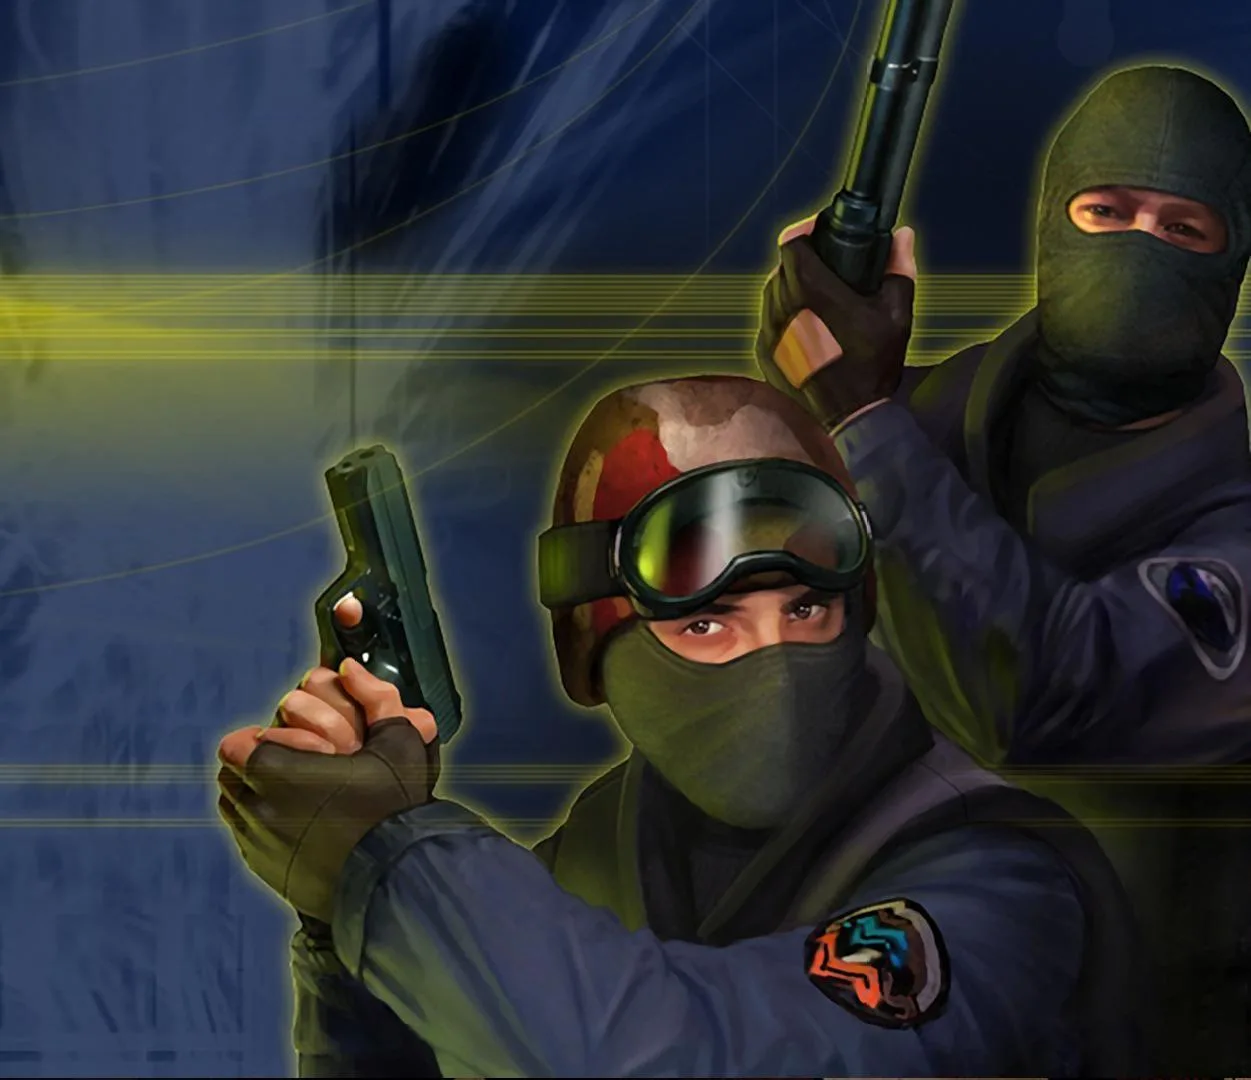
Coordinate devastating Counter-Strike grenade combinations and stacks. Master timing and utility synergy to outplay opponents and secure objectives.
Mastering individual grenade throws is crucial, but true Counter-Strike mastery comes from coordinating multiple utility pieces into devastating combinations and stacks. These advanced tactics can clear entrenched positions, secure bomb sites, or create crucial entry frags. Effective grenade combinations require precise timing, communication, and a deep understanding of common enemy holds.
I. Entry Fragger's Delight: Pop Flashes & Smokes
This classic combination aims to blind defenders and obscure their vision, allowing your entry fragger to push a site with a significant advantage. This strategy is particularly effective on maps like Dust II (B Site) or Inferno (A Site).
- The Setup (Dust II - B Site):
- Player 1 (Smoker): From "Tunnels" (Upper B), throw a Smoke Grenade that lands deep in "B Site" to block vision from "Plat" (Platform) and "Back Site". Aim for the corner near the default plant spot.
- Player 2 (Flasher): Immediately after the smoke pops, from "Tunnels" (Upper B), throw a Flashbang that pops high above "B Site" (a "pop flash"). This should blind any defenders holding angles from "Plat", "Back Site", or "Window".
- Player 3 (Entry Fragger): As the flashbang detonates and the smoke expands, push aggressively out of "Tunnels" (Upper B) into "B Site". Focus on clearing "Close B" and any immediate threats.
- Key Considerations:
- Timing is paramount: The flashbang must pop as the entry fragger is about to peek, not too early or too late.
- Communication: Call out "Smoking B!" and "Flashing B!" to ensure your teammates are aware and don't get blinded.
- Follow-up: The entry fragger should be prepared to engage immediately, taking advantage of the blind enemies.
II. Area Denial & Damage: Molotov/Incendiary & HE Grenade Stack
This powerful combination is designed to force enemies out of cover, deal significant damage, and prevent retakes. It's excellent for clearing tight corners or denying defuses.
- The Setup (Inferno - Banana Control):
- Player 1 (Molotov/Incendiary): From "T-Spawn" or "Mid", throw a Molotov (T-side) or Incendiary Grenade (CT-side) into "Banana" (the narrow passage leading to B Site). Aim to cover the main choke point or a common defensive position like "Car" or "Sandbags".
- Player 2 (HE Grenade): Immediately after the Molotov/Incendiary lands, throw an HE Grenade directly into the burning area. The Molotov/Incendiary forces enemies to either take fire damage or move, and the HE grenade will catch them as they reposition or deal additional damage if they remain in the flames.
- Key Considerations:
- Predict enemy movement: Anticipate where enemies will try to escape the flames.
- Retake Prevention: This stack is incredibly effective for preventing CTs from pushing "Banana" during a retake attempt.
- Alternative Uses: Can be used to clear "Apartments" on Mirage, or "Long A" on Dust II.
III. Coordinated Smokes for Site Takes & Retakes
While individual smokes are useful, a coordinated set of smokes can completely reshape a bomb site, creating pathways for entry or blocking off critical angles during a retake.
- The Setup (Mirage - A Site Take):
- Player 1 (Stairs Smoke): From "T-Spawn" or "Ramp", throw a Smoke Grenade that lands at the top of "Stairs" (connecting "Palace" to "A Site"). This blocks vision from "CT Spawn" and "Connector".
- Player 2 (Jungle/Connector Smoke): From "T-Spawn" or "Ramp", throw a Smoke Grenade that lands at the entrance of "Jungle" (from "Connector"). This blocks vision from "Connector" and "Jungle".
- Player 3 (CT Spawn Smoke): From "T-Spawn" or "Ramp", throw a Smoke Grenade that lands in "CT Spawn" (near the "Triple Box" area). This blocks vision from "CT Spawn" and forces defenders to push through smoke or rotate.
- Key Considerations:
- Team Coordination: All three smokes should be thrown in quick succession to ensure simultaneous deployment.
- Entry Paths: These smokes create clear paths for your team to push onto "A Site" from "Ramp" and "Palace".
- Post-Plant: Similar coordinated smokes can be used during a post-plant scenario to deny enemy retake angles.
IV. The "Fake & Flank" Stack
This advanced strategy involves using utility to feign an attack on one site, drawing enemy rotations, while your team executes a swift push on the opposite site.
- The Setup (Any Map with Two Bomb Sites):
- Player 1 & 2 (Fake Site): On one bomb site (e.g., "A Site"), throw Smoke Grenades and Molotovs/Incendiaries into common entry points and defensive positions. Fire a few unsuppressed shots to create noise. The goal is to make the enemy believe a full-scale push is underway.
- Player 3, 4 & 5 (Real Site): While the fake is happening, the rest of your team rotates quickly and quietly to the other bomb site (e.g., "B Site").
- Execution: As enemy rotations are committed to the fake site, the real push begins on the undefended or lightly defended site. Use standard entry utility (flashes, smokes) on the real site.
- Key Considerations:
- Convincing Fake: The utility and noise on the fake site must be convincing enough to draw rotations.
- Swift Rotation: The team pushing the real site must rotate quickly and silently to capitalize on the distraction.
- Economy: This strategy is utility-heavy, so consider your team's economy before attempting.
100% Human-Written. AI Fact-Checked. Community Verified. Learn how AntMag verifies content