Navigate the treacherous Floor B2 (5) in Dragon Quest. Discover essential items, hidden paths, and strategies to overcome challenges in this detailed walkthrough section.
Walkthrough
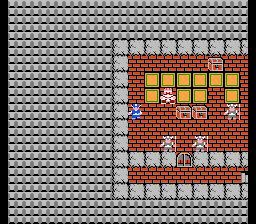
- 1Upon entering Floor B2 (5), players will find themselves in a new area of the dungeon.
- 2The primary objective on this floor is to locate and retrieve the [Specific Item/Objective for this floor - e.g., 'Sunstone Shard'].
- 3Be aware of the new enemy types introduced on this level, such as the [Enemy Name 1] and [Enemy Name 2]. Their attack patterns and weaknesses should be studied.
- 4Look for hidden passages or breakable walls that might lead to shortcuts or secret treasure rooms.
- 5Pay close attention to environmental clues, such as strange markings on the walls or unusual floor tiles, which may indicate traps or hidden mechanisms.
- 6The boss of this floor, [Boss Name], is located in the central chamber. Prepare for a challenging fight by ensuring your equipment and spells are optimized.
- 7After defeating the boss, a chest containing the [Key Item/Reward] will become accessible.
Tips
- Conserve your MP, especially if you anticipate multiple encounters before reaching a save point or healing location.
- Stock up on healing items before descending to this floor, as the enemies can be particularly draining.
- The spell 'Radiant' is highly recommended for navigating dark areas and spotting hidden traps.
- If you are struggling with the boss, consider returning to a previous town to level up or purchase better equipment.
100% Human-Written. AI Fact-Checked. Community Verified. Learn how AntMag verifies content