Locate and face spectral inhabitants in Kuon. Understand enemy types, spawns, and strategies for Yokai encounters in Yin, Yang, and Kuon Phases.
Navigating the haunted estate in Kuon requires not just courage, but also a keen understanding of where and when the spectral inhabitants will appear. This section details the common enemy types, their typical locations, and effective strategies for dealing with them across the Yin, Yang, and Kuon Phases.
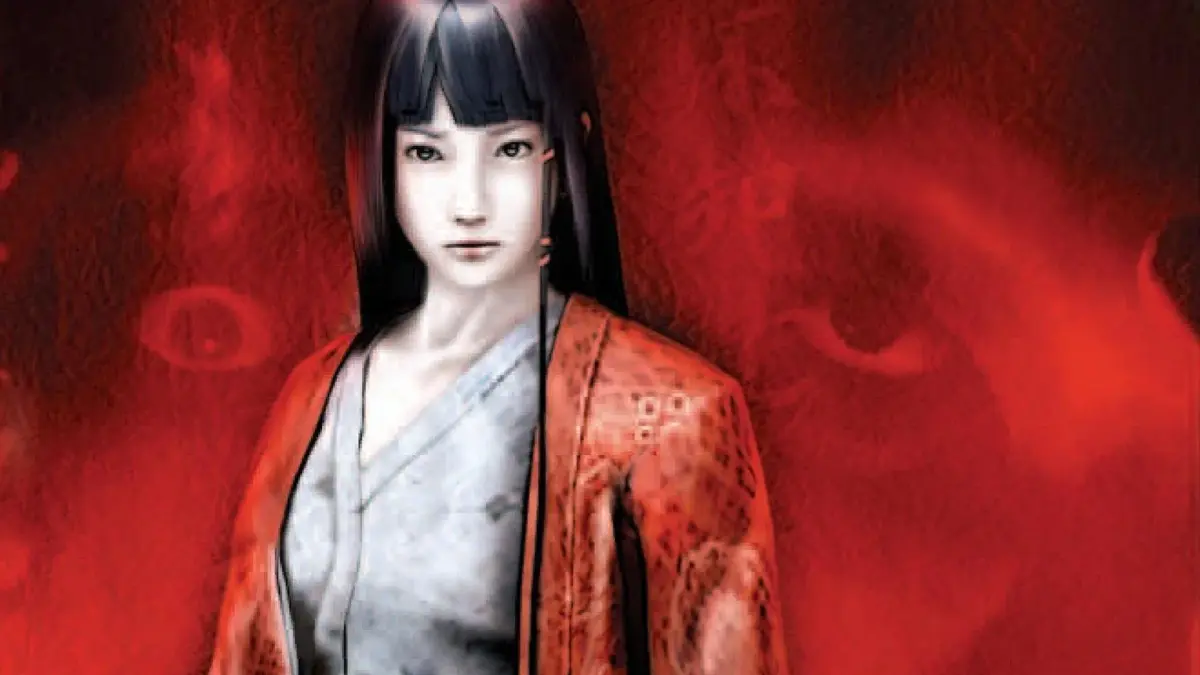
Common Yokai Encounters
- Wandering Spirits (Onryo): These translucent, moaning figures are the most frequent adversaries. They often patrol hallways and larger rooms.
- Crawling Shadows (Tsuchigumo): Low to the ground and surprisingly fast, these spider-like creatures can ambush you from corners or beneath furniture.
- Possessed Dolls (Karakuri): Found primarily in the Doll Rooms and areas associated with the Fujiwara sisters, these dolls animate and attack with surprising ferocity.
- Floating Heads (Kubikiri): Less common but more dangerous, these disembodied heads float eerily and can inflict significant spiritual damage.
Yin Phase: Utsuki's Journey
As Utsuki, your initial encounters will primarily be with Onryo and Tsuchigumo. Focus on evasion and conserving your limited resources.
- Main Hallway: Expect 2-3 Onryo to patrol the main corridor leading from the entrance. Use the Talisman of Binding to temporarily incapacitate them and slip past.
- East Wing Corridor: A Tsuchigumo often spawns near the collapsed bookshelf. Approach cautiously and be ready to use a Purification Scroll if it latches onto you.
- Doll Room (1F): The first encounter with Karakuri occurs here. There are usually 2-3 active dolls. The Wooden Sword is effective, but prioritize dodging their lunging attacks. Look for the Doll's Eye item on the central display table.
- Garden Path: After solving the Stone Lantern Puzzle, 1-2 Onryo will appear on the path leading to the Shrine. They are easily bypassed by hugging the wall.
Yang Phase: Sakuya's Exploration
Sakuya, with her more direct combat abilities, will face similar enemies but often in greater numbers or more confined spaces. She also encounters the more potent Kubikiri.
- West Wing Library: Upon entering, 3-4 Onryo will materialize. Use Sakuya's Katana to dispatch them quickly. A Healing Herb can often be found on a nearby desk.
- Underground Passage: This cramped area is a hotbed for Tsuchigumo. Expect 4-5 of them to scurry from the shadows. The Lantern can help illuminate them, making them easier targets for your Katana.
- Shrine Courtyard (Night): After activating the Bell of Purification, 2 Kubikiri will appear. These require precise timing with Sakuya's Spirit Shot to avoid their devastating attacks. Aim for their glowing eyes.
- Master's Study: After collecting the Sealed Scroll, 2 Karakuri and an Onryo will ambush you near the exit. Prioritize the Karakuri first, as their attacks are faster.
Kuon Phase: The Twin's Reckoning
In the Kuon Phase, enemies are at their most aggressive, and new, more powerful variants emerge. Expect combinations of previous enemy types and increased spawn rates.
- Forbidden Chamber: Upon entering, you'll face a gauntlet of 5-6 Onryo and 2 Tsuchigumo. This is a good place to use a Mass Purification Talisman if you have one, or strategically use the environment to funnel enemies.
- Altar Room: After interacting with the Sacred Mirror, 3 Kubikiri will appear simultaneously. This is a critical encounter. Utilize both characters' unique abilities – Utsuki's evasion and Sakuya's ranged attacks – to survive. Focus fire on one Kubikiri at a time.
- Final Descent: The winding path to the final boss is riddled with all enemy types. Expect continuous spawns of Onryo and Tsuchigumo, with occasional Karakuri. Conserve your Spirit Water and Healing Elixirs for the boss fight.
100% Human-Written. AI Fact-Checked. Community Verified. Learn how AntMag verifies content