Follow our comprehensive Sea of Stars walkthrough for the Wind Tunnel Mines, detailing enemy encounters, treasure locations, and strategies to overcome the Salamander mini-boss.
Walkthrough
- 1Enter the Wind Tunnel Mines from the Stonemasons Outpost. Drop down the hole and meet the mayor. The elevator is out of order.
- 2Head north to find a save point, a ladder, and a doorway leading to a campfire and merchant.
- 3Climb the ladder and proceed through the opening. You'll encounter Ant Bruisers and Drillbats. Loot a basket on the left for 3x Eggs.
- 4Pull a lever to move a platform south, allowing access to a climbable wall. Use it to reach a central platform, which lowers and opens a door on the right.
- 5Pull the lever again to return the first platform to its original position. Shimmy along the ledge to continue.
- 6Climb ledges, collect Mushrooms, and find a chest containing the Green Leaf accessory (increases max HP by 15).
- 7Drop down, collect more Mushrooms, and head right to fight another group of enemies (Ant Bruiser and Drillbat).
- 8Take the northeastern path, loot a basket by a ladder for 3x Dairy, and climb the ladder. Ignore the locked door and the exit on the right.
- 9Go left, hop across platforms, and loot a chest for Teal Amber Ore.
- 10Backtrack to the right and take the exit at the top. In the next room, drop down and fight a Bushtroo and two Drillbats.
- 11Enter the hole where the Bushtroo was to return to the main room. This activates the elevator. The mayor leaves.
- 12Head to the rest room to heal and save. Drop down the elevator shaft to Floor B2.
- 13Head left and fight two Drillbats and an Ant Bruiser. Find a hidden chest to the right of the ladder containing a Rainbow Conch.
- 14Go up the ladder, cross the rope, and exit south. Head right, up a ladder, and drop left into an opening.
- 15Collect Potatoes on the left. Climb another ladder and a climbable wall.
- 16Reach another campfire and save point. Drop right and enter the room above to find a big chest with the Mistral Bracelet (allows wind bursts to push blocks).
- 17Exit the room and use the Mistral Bracelet to push the green block south, then west. The Salamander mini-boss will appear.
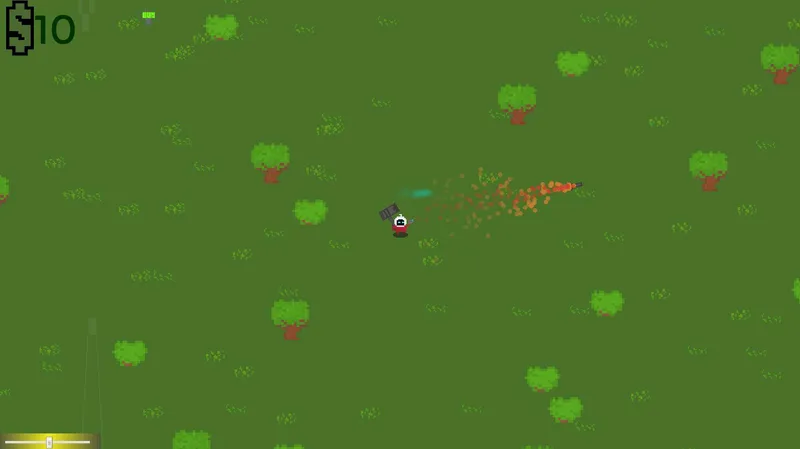
- 18Salamander Mini-Boss: This boss has two moves: a normal attack (around 20 damage) and Salamanger (swallows a character and spits them, dealing damage to two party members). It is weak to sun and moon damage.
- 19After defeating the Salamander, hop the gap to the left and find a green crystal. Use the Mistral Bracelet to push it onto a button on the left.
- 20Slide the crystal up, right, down, left, up, and left to reach the button. This replaces the crystal with a green block.
Tips
- The Drillbat's normal attack hits three times, requiring precise blocking for all hits. Their special attack hits all party members once.
- The Green Leaf accessory is valuable for increasing a character's max HP.
- The Bushtroo's special attack involves dropping ore on party members.
- The Mistral Bracelet's wind burst ability is crucial for solving puzzles involving green blocks.
- Exploit the Salamander's weakness to sun and moon damage.
- 3x Egg
- Green Leaf (Accessory)
- 3x Dairy
- Teal Amber Ore
- Rainbow Conch
- Mines Key (implied by locked door, though not explicitly collected in walkthrough)
- Mistral Bracelet
- Mushrooms (collected multiple times)
- Potatoes (collected)
100% Human-Written. AI Fact-Checked. Community Verified. Learn how AntMag verifies content