Find Gramr and all 6 Lorestones in Senua's Saga: Hellblade II's Mirror area. Learn how to navigate Senua's injured movement.
After a long cutscene (a narrative sequence that plays out automatically), you'll start back on the beach underneath the bridge, in a new area.
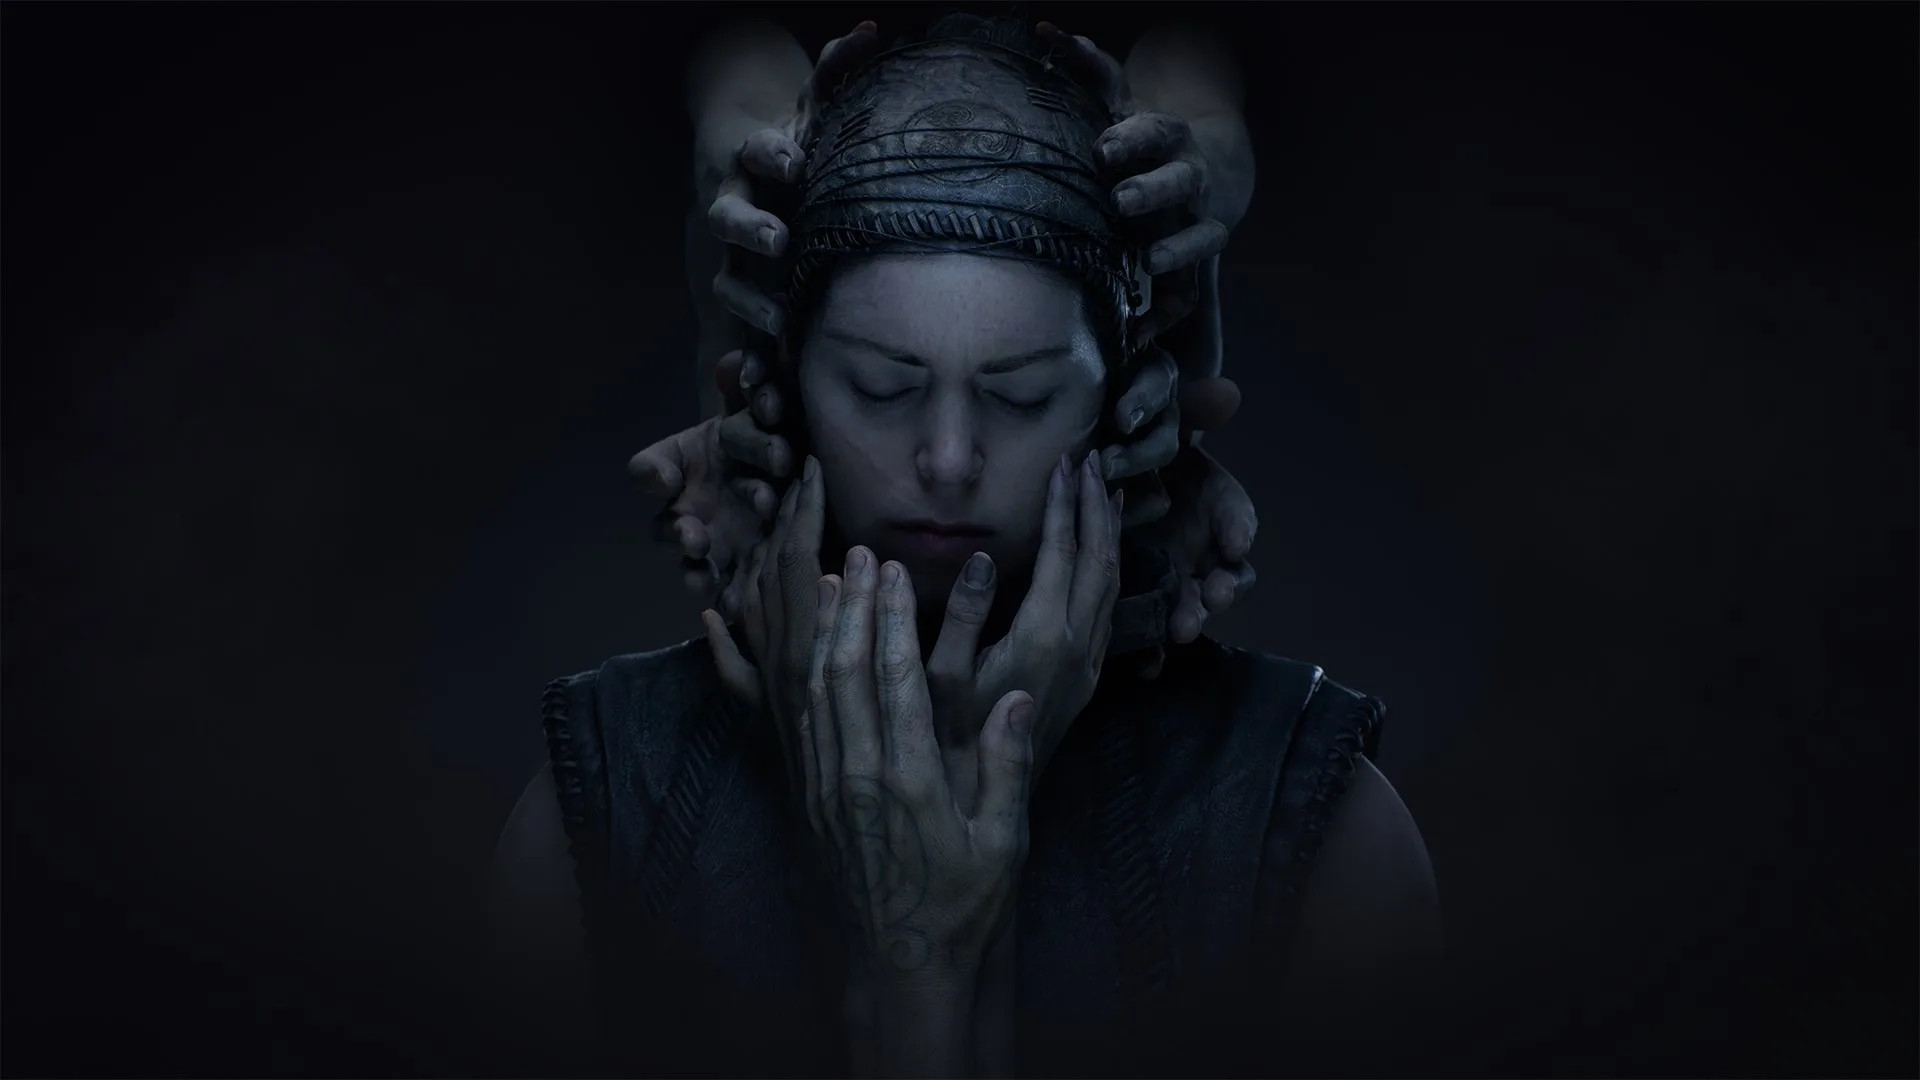
Senua is injured here and moves more slowly than normal. She also cannot run to the side; attempting to do so causes her to limp. This significantly hampers movement when searching for Lorestones (collectible items that reveal lore), as looking around with the camera slows you down further.
Continue moving forward, looking for a bright blue light in a generally human shape. You will go between two rows of wrecked ships on the beach. The light will disappear near a wooden ramp ahead. Go up to the end of the ramp and press [button prompt] to jump down.
Continue moving forward, looking for glimpses of the light. It will lead you between two large rock formations. There is a wood ramp leading up. Before heading up, explore the small inlet on the cliffs to your right to find another talking Galena head carved in the rock. These Galena heads are for story purposes only and have no associated achievements or goals in the game.
Head up the ramp, where the light will disappear as you get close. Moving forward, you'll reach the edge of a cliff. Looking out over the cliff, you'll see a large dead tree in the distance with the light dancing underneath it.
Turn to your left and follow the path down to the beach. At the end of the path, jump down off a small ledge to the sand below.
You'll find Lorestone 1/6 directly ahead, on a piece of wood sticking out of the sand. This Lorestone is unmissable.
Keep close to the cliffs and take the path to your right, which leads up to a stone staircase heading toward a broken segment of bridge. At the top of the first staircase, there is another staircase going up to the bridge on your right. You cannot enter the door up there yet, and there is nothing else of interest. Ignore the second staircase for now.
The next Lorestone 2/6 is just past this staircase, on another piece of broken wood sticking up near the rocks on your right, just before you go under the bridge. It's possible to miss this Lorestone if you stay on the beach instead of taking the stairs up toward the bridge on the cliffs.
Go under the bridge and you'll find a ladder to your left that takes you back down to the beach. You can see the next Lorestone from the top of the ladder.
Climb down the ladder. There is a wrecked ship just ahead. You can go around the ship to the right, staying close to the cliffs, or to the left, staying close to the water. Go to the left to find Lorestone 3/6 just before a triangular stone arch. Going the wrong way around the ship can cause you to miss this Lorestone.
After collecting the Lorestone, go under the stone arch and follow the path, which will lead you back to the cliffs at the far edge of the beach. When you reach the cliffs, turn left and continue following the path toward the tree with the dancing light underneath it.
The path will take you into a graveyard of ship hulls. Eventually, the path turns left, and you'll see the dancing light and the tree clearly ahead. When this happens, stop immediately and turn around. There is a small path that goes back behind the ships on your left that leads to Lorestone 4/6. This is likely the most missable Lorestone in the game. If you go too far, an interactive cutscene (a pre-scripted event that plays out during gameplay) will trigger. You can return for the Lorestone after the cutscene if necessary, but you may not be focused on it. By the time you naturally return to this area, you will no longer be able to collect this Lorestone, so make sure to get it now.
After collecting the Lorestone, head back toward the tree and the dancing light. As you get closer, Senua will experience a flashback (a brief memory sequence). Continue moving toward the tree to trigger a cutscene.
After the cutscene, you'll be close to the tree, but unable to reach the trunk due to its sprawling roots and rocks, which form a path. There is a hollow at the base of the tree with something glowing blue inside. Turn left and follow the path, which will eventually lead you around to the base of the tree.
As you go left around the tree, when you reach the water again, you'll find Lorestone 5/6 on a piece of wood sticking up out of the shallow water on the beach. This Lorestone is not hard to find.
As you continue around the tree, you'll find the final Lorestone 6/6 for this area on the beach behind the tree, next to a large rock formation sitting right on the water. This is also not something you are likely to miss.
Continue following the path, which will wind its way up to the base of the tree. You'll be able to enter the hollow in the tree to see what is creating the glowing blue light inside.
It is a sword. Based on stories Senua has heard, she concludes this must be the legendary sword Gramr. This tree may represent Barnstokkr from Norse mythology, though the area does not resemble the description.
100% Human-Written. AI Fact-Checked. Community Verified. Learn how AntMag verifies content