Your friendly guide to Star Ocean: The Last Hope's Wandering Dungeon. Learn about its layout, bosses like Ethereal Queen, NPCs, and crucial items. No spoilers, just tips!
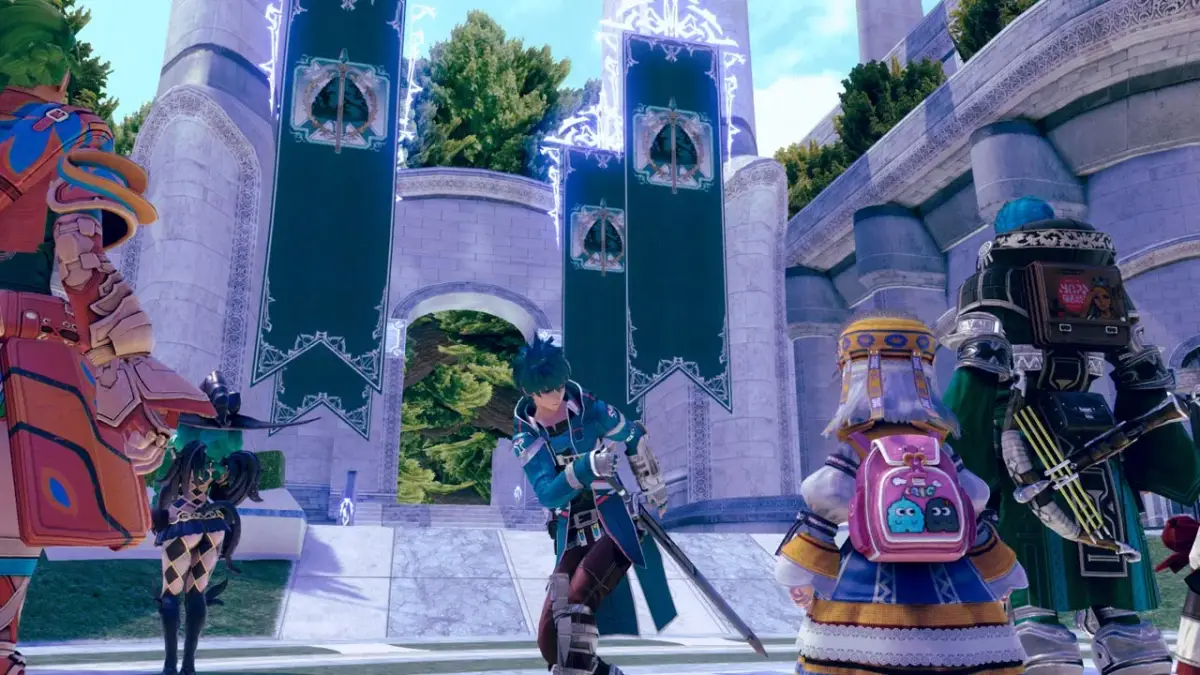
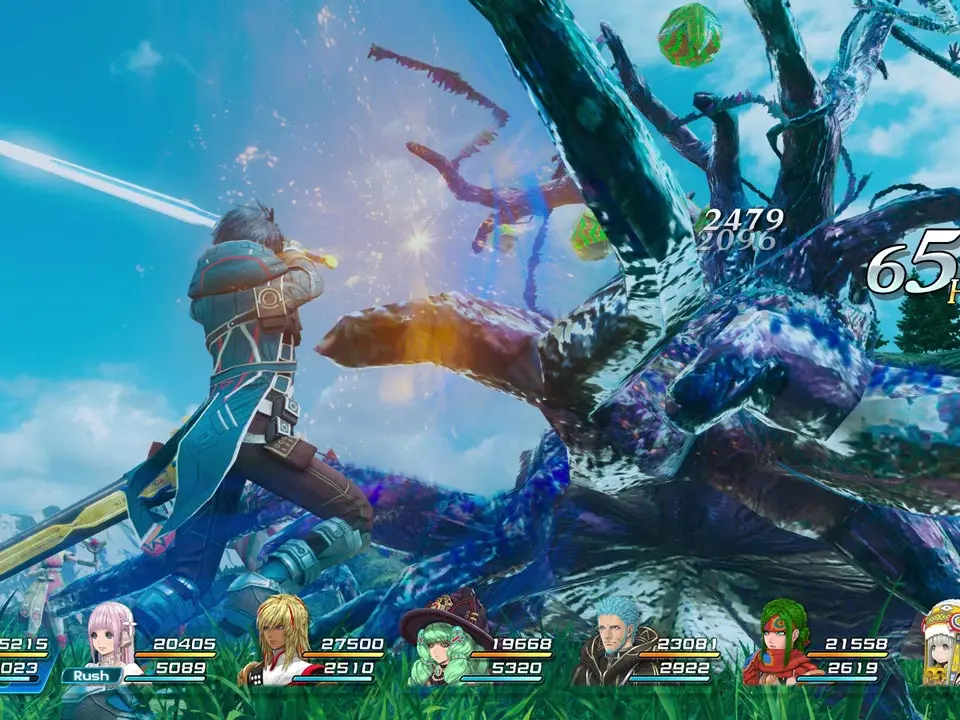
Alright, so you're diving into the Wandering Dungeon in Star Ocean: The Last Hope? Awesome! Just a heads-up, this isn't a spoiler-free zone, so consider yourself warned. Think of me as your experienced buddy walking you through this extra-tough, super-rewarding place. This hidden gem is tucked away on En II and only opens up after you've taken down Gabriel Celesta in the Cave of the Seven Stars. It's where the really powerful gear and the toughest monsters hang out, so get ready! ## Layout This place is pretty wild – each of its 20 floors is randomly generated. The way you get to the next floor can change too: sometimes you'll need to grab key items from monsters, other times destroy elemental crystals, or just beat waves of enemies. But here's a key thing: every other floor, you'll need a special 'doll,' which you get from beating the bosses on those floors. And the treasure chests? Totally random! You might get lucky and find everything you need, or you might have to grind a bit. If you decide to bail and come back later, you have to start all over from floor 1. Keep pushing, though, because on the 20th floor, the Ethereal Queen is waiting for you. After that, the dungeon just loops back to floors 19 and 20. ## Bosses Besides the big boss, the Ethereal Queen, on floor 20, you'll face other bosses every other floor. They're usually the same ones each time: * 2F: Prehistoric Psynard * 4F: Ring Beast * 6F: Chimera Beast * 8F: Imperfect Armaros * 10F: Armaros Manifest II * 12F: Runaway Dragon * 14F: Kokabiel Risen * 16F: Shadow Edge, Bacchus and Myuria * 18F: Shadow Faize, Lymle, Meracle * 20F: Ethereal Queen ## NPCs There are only two important NPCs here: * Barago: He's chilling outside the dungeon and you need to talk to him to get in. * Santa: You'll find her after you clear floor 8, usually on floors with bosses. She's got items to sell and 8 quests for you. Completing these is necessary for the 'Dutiful Deliverer' trophy/achievement. ## Items Each floor has a bunch of chests, and they can hold anything from Fol to some of the best armor and weapons for your characters. Just remember, it's not guaranteed you'll get the best stuff, and you only get one item per chest (except for Fol, which can be between 1 and 30,000). Here's a peek at some of the top-tier gear you might find: * 3F: Plate of the Lost Monarch - Bacchus (A) * 4F: Artifact Bow - Reimi (W) * 5F: Plate of the Lost Monarch - Bacchus (A) * 6F: Artifact Bow - Reimi (W) * 7F: Blazing Wand - Lymle (W) * 7F: Infinity Saber - Faize (W) * 8F: Blazing Wand - Lymle (W) * 9F: Trident Harpoon - Sarah (W) * 10F: Hidden Claws "Crimson Falcons" - Meracle (W) * 11F: Absolute Protector - Reimi/Meracle (A) * 11F: Infinity Saber - Faize (W) * 12F: Hidden Claws "Crimson Falcons" - Meracle (W) * 13F: Absolute Protector - Reimi/Meracle (A) * 13F: Trident Harpoon - Sarah (W) * 14F: Blood Scepter - Myuria (W) * 15F: Blood Scepter - Myuria (W) * 16F: Absolute Protector - Reimi/Meracle (A) * 16F: Ultimate Cannon - Bacchus (W) * 17F: Demon Sword "Levantine" - Edge (W) * 18F: Ultimate Cannon - Bacchus (W) * 19F: Demon Sword "Levantine" - Edge (W) _Key: X F = Floor Number; Y = Item Name; N = Character(s) who can equip; (Z) = Armour (A) or Weapon (W)_ ## Strategies Remember those floor requirements? They're usually one of these: Geostone, Seraphic Doll (Boss), "Assassins" (Ambush attack), or Disintegration Crystals. * Geostone Floors: Check all chests first; they often have a geostone. If you're short, fight enemies. Try to lure 2 or 3 into a room for an ambush. Keep doing this, and you'll get enough. * Pro-Tip 1: If you have Meracle and have done two Sandbird quests in Tropp (from the old adventurer in Tatroi), you can teach her the Ocarina skill. This respawns enemies around Edge, making farming easier. * Pro-Tip 2: To speed up geostone drops, pick party members whose -ology types match the enemies you're fighting. This also helps with battle trophies! But remember, this only works if you're controlling that character. * Pro-Tip 3: If you don't want to swap party members, Myuria's or Meracle's passive100% Human-Written. AI Fact-Checked. Community Verified. Learn how AntMag verifies content