Your expert guide to Mission 3: Down in the Bonehoard in Thief: The Dark Project. Learn how to find the Horn of Quintus, Mystic's Soul, and Mystic's Heart, plus all the loot!
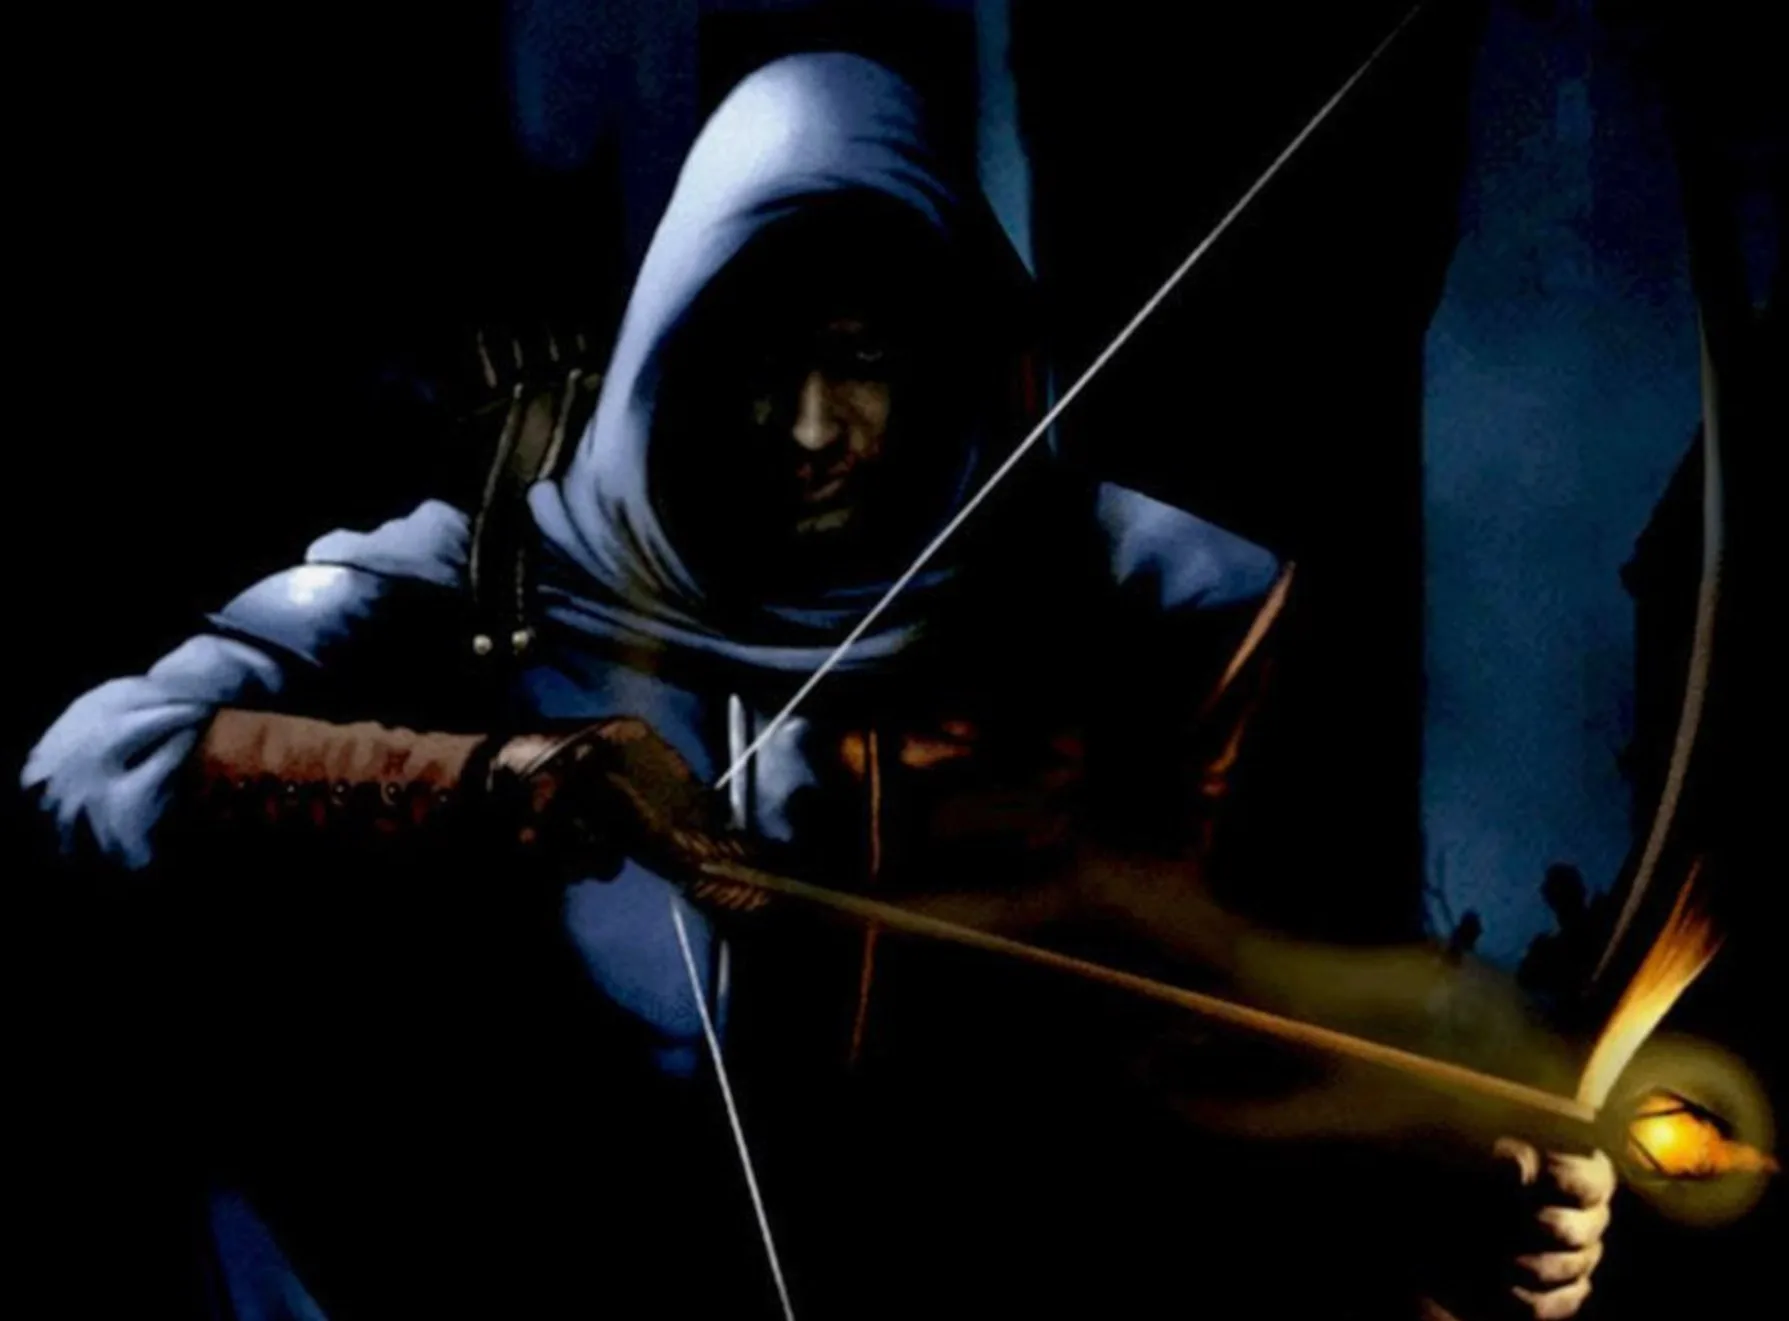
Alright, let's dive into Mission 3, 'Down in the Bonehoard.' This one can be a bit tricky, but stick with me, and we'll get through it. Remember to grab your Holy Water, Water Arrows, and Healing Potions before you head out. And a crucial tip: save about 5 Fire Arrows for the end of the mission. Seriously, don't skip this. Also, keep an eye out for any Golden Bone sub-missions; they're marked in gold italics and are super helpful later on. ### Entrance/ Upper Southern Vaults First up, there's a crypt to the west with a chalice worth 15. After that, head down the rope and onto the boards. There's a zombie below, but no loot, so just drop down and make your way out the Southeast corner. Follow the stairs. The left path gives you some lore about the Horn if you're curious. The right path leads to a hall. Take a right at the drop-off and snag a Healing Potion off the floor in the Alarus extension – you gotta look closely for it. Continue down the hall into a big room. Turn right in there and head up the green stairs into the Upper Northern Vaults. ### Upper Northern Vaults Climb the stairs and you'll pass a chapel on your left. It's got a holy water fountain, which is good to remember if you run into zombie trouble later. Keep going. The first room you enter has a vase worth 100 in the Southeast corner. Watch out for floor traps in there. In the next room, climb down the rope on the left. Head South and open the blue box by the body to find a gem worth 100. Now, go to the next room and jump into the water, heading North. You'll pop up in a room with windchimes. Go to the far end and open the boxes. Be careful, they're booby-trapped, so stand to the side. The left box has a Speed Potion, and the right one holds six Fire Arrows. Head back across the pool and climb down the ladder. Watch out for a falling rock at the bottom – move fast! Then, go into the red caves. ### Where Am I? (The Burrick Caves) The map isn't much help here, so just follow the tunnel to the end. Keep an eye out for burrick patrols. Jump into the earth tunnel and go right. Drop through the hole and swim Southwest towards a set of stairs. Be really careful of the darkened floor traps here. The best way through is to walk diagonally between them – don't try to jump. The red dots show where the traps are. After you're past the traps, read the info about the Mystic's Heart, grab the six Fire Arrows, and the purse worth 100. Head back down the stairs, swim over to the East earth tunnel, and use a rope arrow to get back down to the main burrick cave. From there, go right in the main cave and then right again into the tunnel in the rock. Head East to the 4-way intersection. Go right (East) and then right again at the end. Run past the burrick in this cave and grab the rope. In this room, you'll find some info on the Mystic's Heart and 6 Water Arrows. Climb back down and take the first passage to your right, through the room with the dead burricks, then left back to the 4-way intersection. Take the West passage until it ends and grab a gold nugget worth 50. Watch out for the hole here; it's a very, very long drop. (Note: this hole isn't in the Gold Edition). Back to the 4-way intersection and head South to the large burrick cave again. Go left until you see another tunnel up high with a rope dangling. Climb up and follow it until you reach a huge cavern with several openings. Drop onto the ledge and head left to the next red tunnel. Follow it to the Halls of Echoing Repose. _Scenic route: If you want to take the scenic route, drop into the water and swim East to the shore. You'll find some info on the Mystic's Soul. Follow the tunnel around to a ledge and jump across. Drop left, enter the burrick tunnel, and stick to the left side. When you find a passage too small for you, take the one immediately to your right and follow it to the red tunnel. Jump out and follow the water around to a crack in the ceiling and swim up._ _If you're collecting the golden bones (which is a good idea!), stop in the first air pocket you find and grab the first of four you'll need._ _Climb the stairs and head East through the structures to the red tunnel where the instructions for the Halls of Echoing Repose begin._ ### The Halls of Echoing Repose To keep things simple, we'll break this section into three parts. I'll guide you from one objective to the next, and each part will start with a reference point: Horn; Main entrance (where you are now, we'll call this 'the main entrance'). Mystic's Heart; Wooden ramp (the first wooden ramp you'll see, we'll call this 'the wooden ramp'). Mystic's Soul; Main ramp (the first ramp you'll see with two coffins near the bottom, we'll call this 'the main ramp'). Remember: Save at least 5 fire arrows!100% Human-Written. AI Fact-Checked. Community Verified. Learn how AntMag verifies content