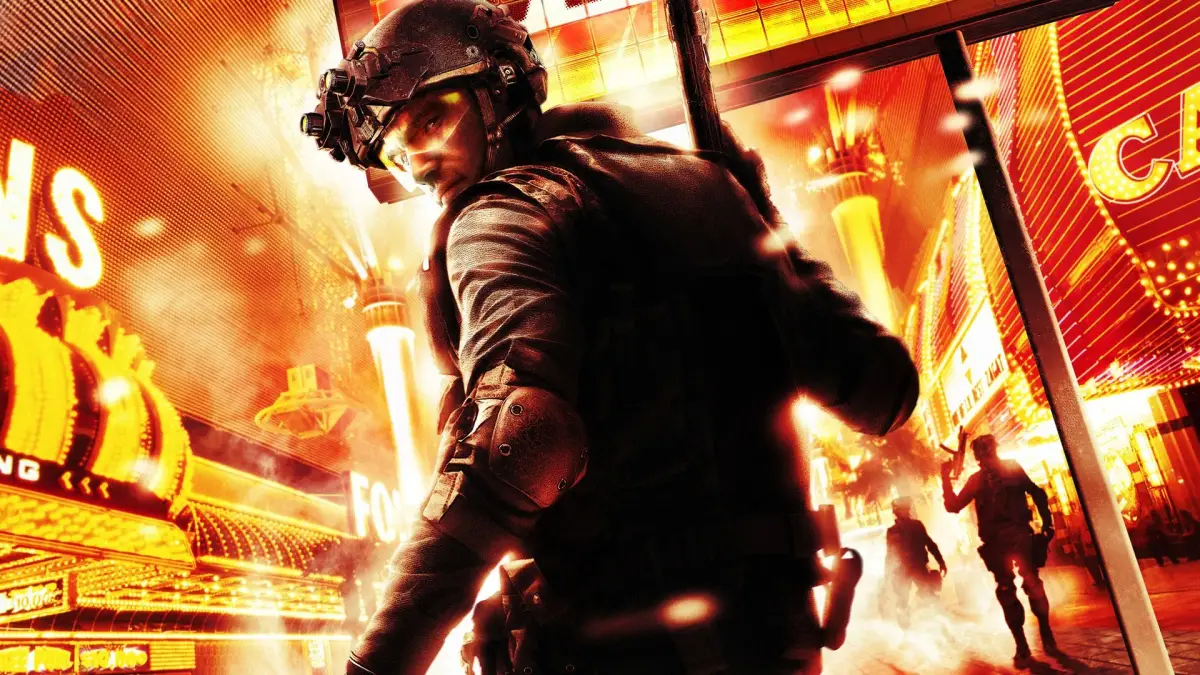
Follow the Tom Clancy's Rainbow Six Vegas Part 13 walkthrough to rescue Dr. Williams, defuse a bomb, and extract to the chopper.
- 1From the roof, descend via stairs or rappel down near neon lights. Equip a pistol suppressor and rappel. As you reach the window, invert and wait for two tangos and a civilian to exit. After they kill the civilian, eliminate them while they are distracted. Be swift and discreet to avoid alerting enemies in the next room.
- 2Enter the next room through one of two double doors. This room contains 7 tangos positioned closely. Stack your team on the first door and prepare yourself at the second. Simultaneously order a breach and clear while opening your door. Prioritize eliminating tangos deeper in the room to the left and right, and those hiding behind the bar counter. A frag grenade can also be effective. If executed correctly, all 7 tangos can be eliminated in under 2 seconds.
- 3Exit through the metal double doors and watch the opening on your right for an attack. Eliminate the 3 tangos that appear and proceed to the next door. You will find Dr. Williams on the balcony with a tango preparing to execute him. Tag this tango and another. Breach or flash and clear the area. A second door on the left can be used to set up a crossfire if desired. Eliminate the three tangos and approach Dr. Williams.
- 4OBJECTIVE UPDATED: Defuse the Bomb Located in the Bar of the Tower
- 5Exit through the door labeled "Employees Only".
- 6In the Tower Bar, you will find an equipment crate. Resupply if necessary.
- 7Proceed to the next large room, which is divided into two sections by stairs, with one section raised. The bottom section has two double doors on one side, and the raised section has one entrance. Position your team on the furthest door on the bottom level and head upstairs.
- 8Snake the door and look left to see two or more tangos aiming at the bottom door. Eliminate them swiftly before ordering your team to clear inside. There are an additional 2 tangos at the top, but they will not be visible from your current position. Clear what you can and enter the room, ordering your team to follow.
- 9While your team engages downstairs, move to the back of the raised section near the railing. From this vantage point, you can snipe reinforcements emerging from a door below. Thermal goggles are useful for spotting threats through the railing. Deploy smoke for extra (cover (press the cover button to crouch behind walls or objects)). Eliminate approximately 8-10 terrorists on the bottom floor, then regroup with your team below.
- 10Move through the door at the end of the room and stack up at the next door where you hear terrorists talking. Snake and tag both targets. Clear the area and watch the stairs for two or three more patrolling tangos. Descend the stairs to engage two more terrorists at the very bottom.
- 11Order your team to stack on the first double doors near the piano. Snake and tag two targets in the back. Retreat and exit through the opening on the left. Sneak past the window and identify any untagged terrorists. Order a room clear and simultaneously eliminate a target. Watch for two tangos on the balcony to your right. There are 4 tangos on the bottom floor near the bomb.
- 12Once the area is clear, order Michael to defuse the bomb.
- 13OBJECTIVE UPDATED: Extract to Chopper
- 14Return to the top of the stairs you descended earlier. At the top, a previously locked door will open, revealing a single tango. Eliminate him and proceed inside. The path to the heli is now clear. Ascend the stairs to the roof and take the short rappel down to board the helicopter.
Scene 5: Dante's Casino
Scene Notes:
- Enemies carry: (Common) MP5N, UMP45, FAMAS, XM-26 LSS; (Uncommon) USP40, AUG A3.
- Be particularly cautious of enemies wielding the XM-26 LSS, as they tend to use full-auto fire.
Hell's Gate
OBJECTIVE UPDATED: Locate Gabriel and Kan
Upon landing, you will encounter an ambush. Your paths down are the stairs on the right and a fast rope on the left. Note the balcony ahead, which can be used to engage terrorists below. You can either send your team to the balcony while you descend, or provide (cover) for your team from the balcony while they advance. Be aware of red canisters scattered around the area that will explode when shot. The initial encounter involves 8-10 terrorists.
If you choose to provide (cover) from above, watch for the tango manning the turret at the far end. Send your team down to the right and have them secure that side. Advance cautiously, helping them clear the area, as you may be forced to descend early if the situation becomes difficult. The fast rope on the left is the quickest route down.
If you choose to descend, send your team to the balcony and take the stairs on your right. Watch for two tangos running for (cover) directly in front of you. At the foot of the stairs, be aware of your left. Avoid the center path to prevent being hit by the turret and crossfire from multiple directions. When it seems safe, move to the left side and get behind cover.
100% Human-Written. AI Fact-Checked. Community Verified. Learn how AntMag verifies content